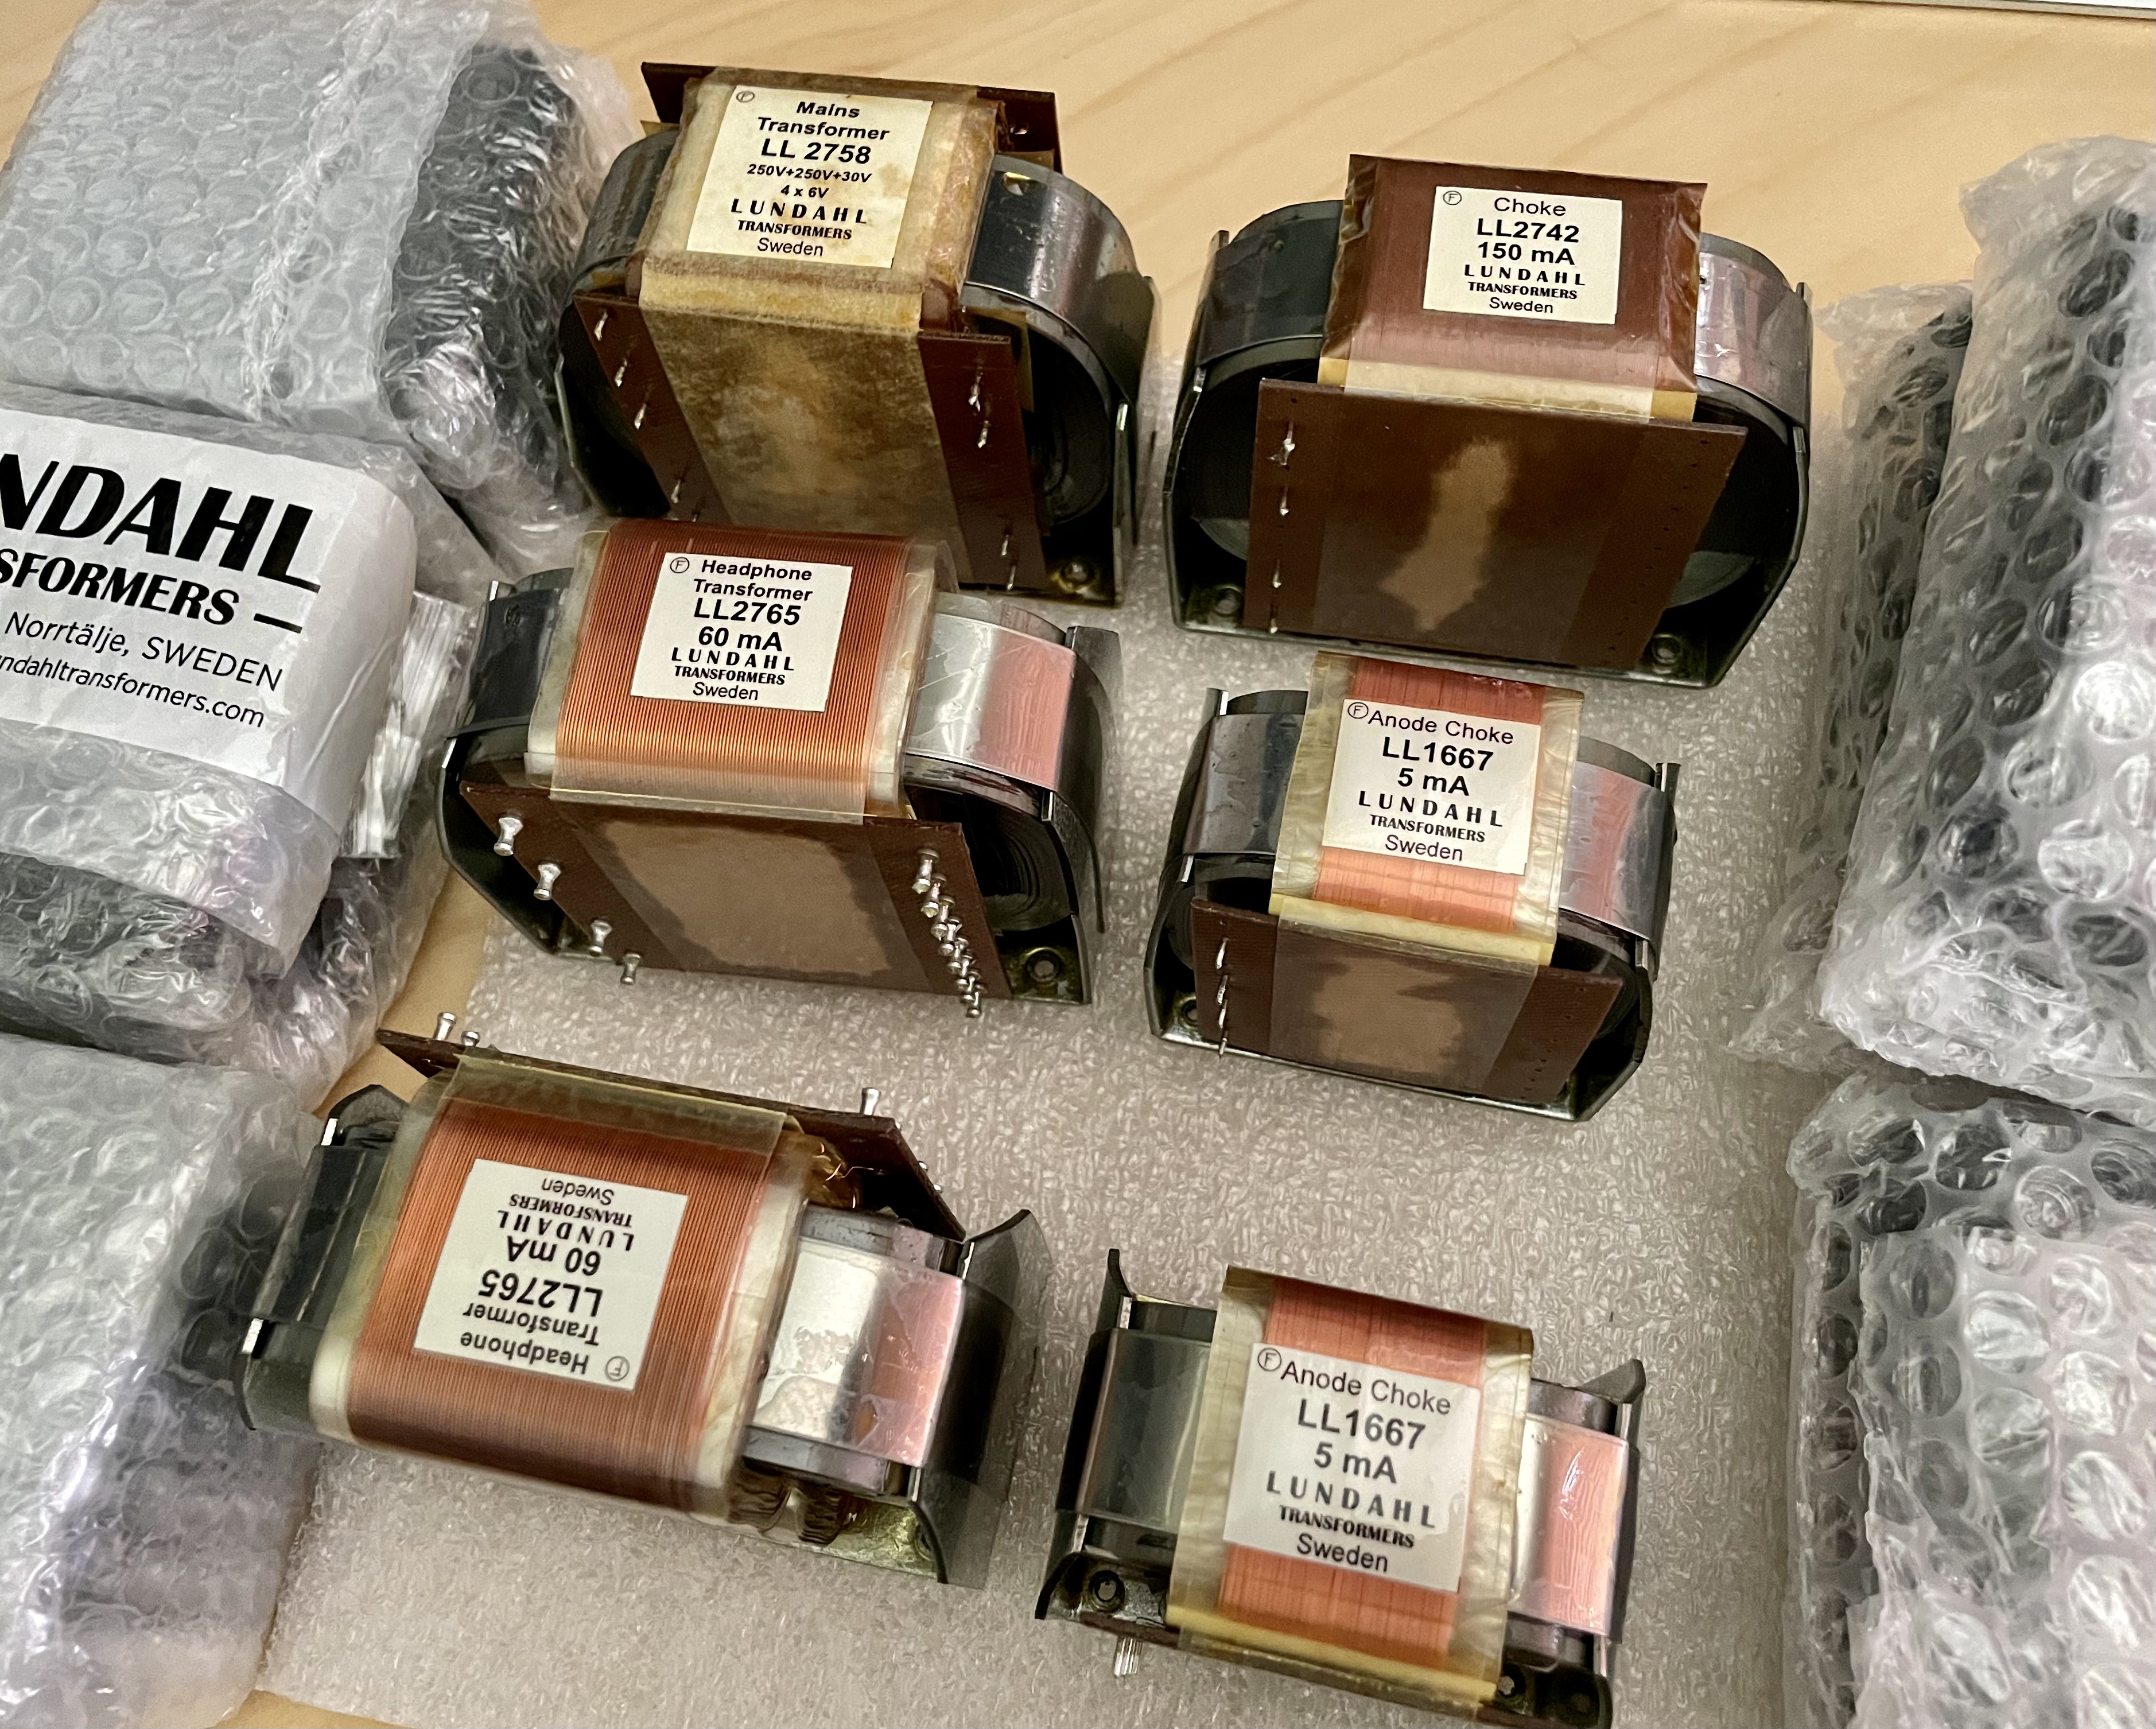
Looks like I have some work to do! Transformers arrived… just waiting on the chassis but plenty of wiring to do for now and a bit of woodworking too!
3 Likes
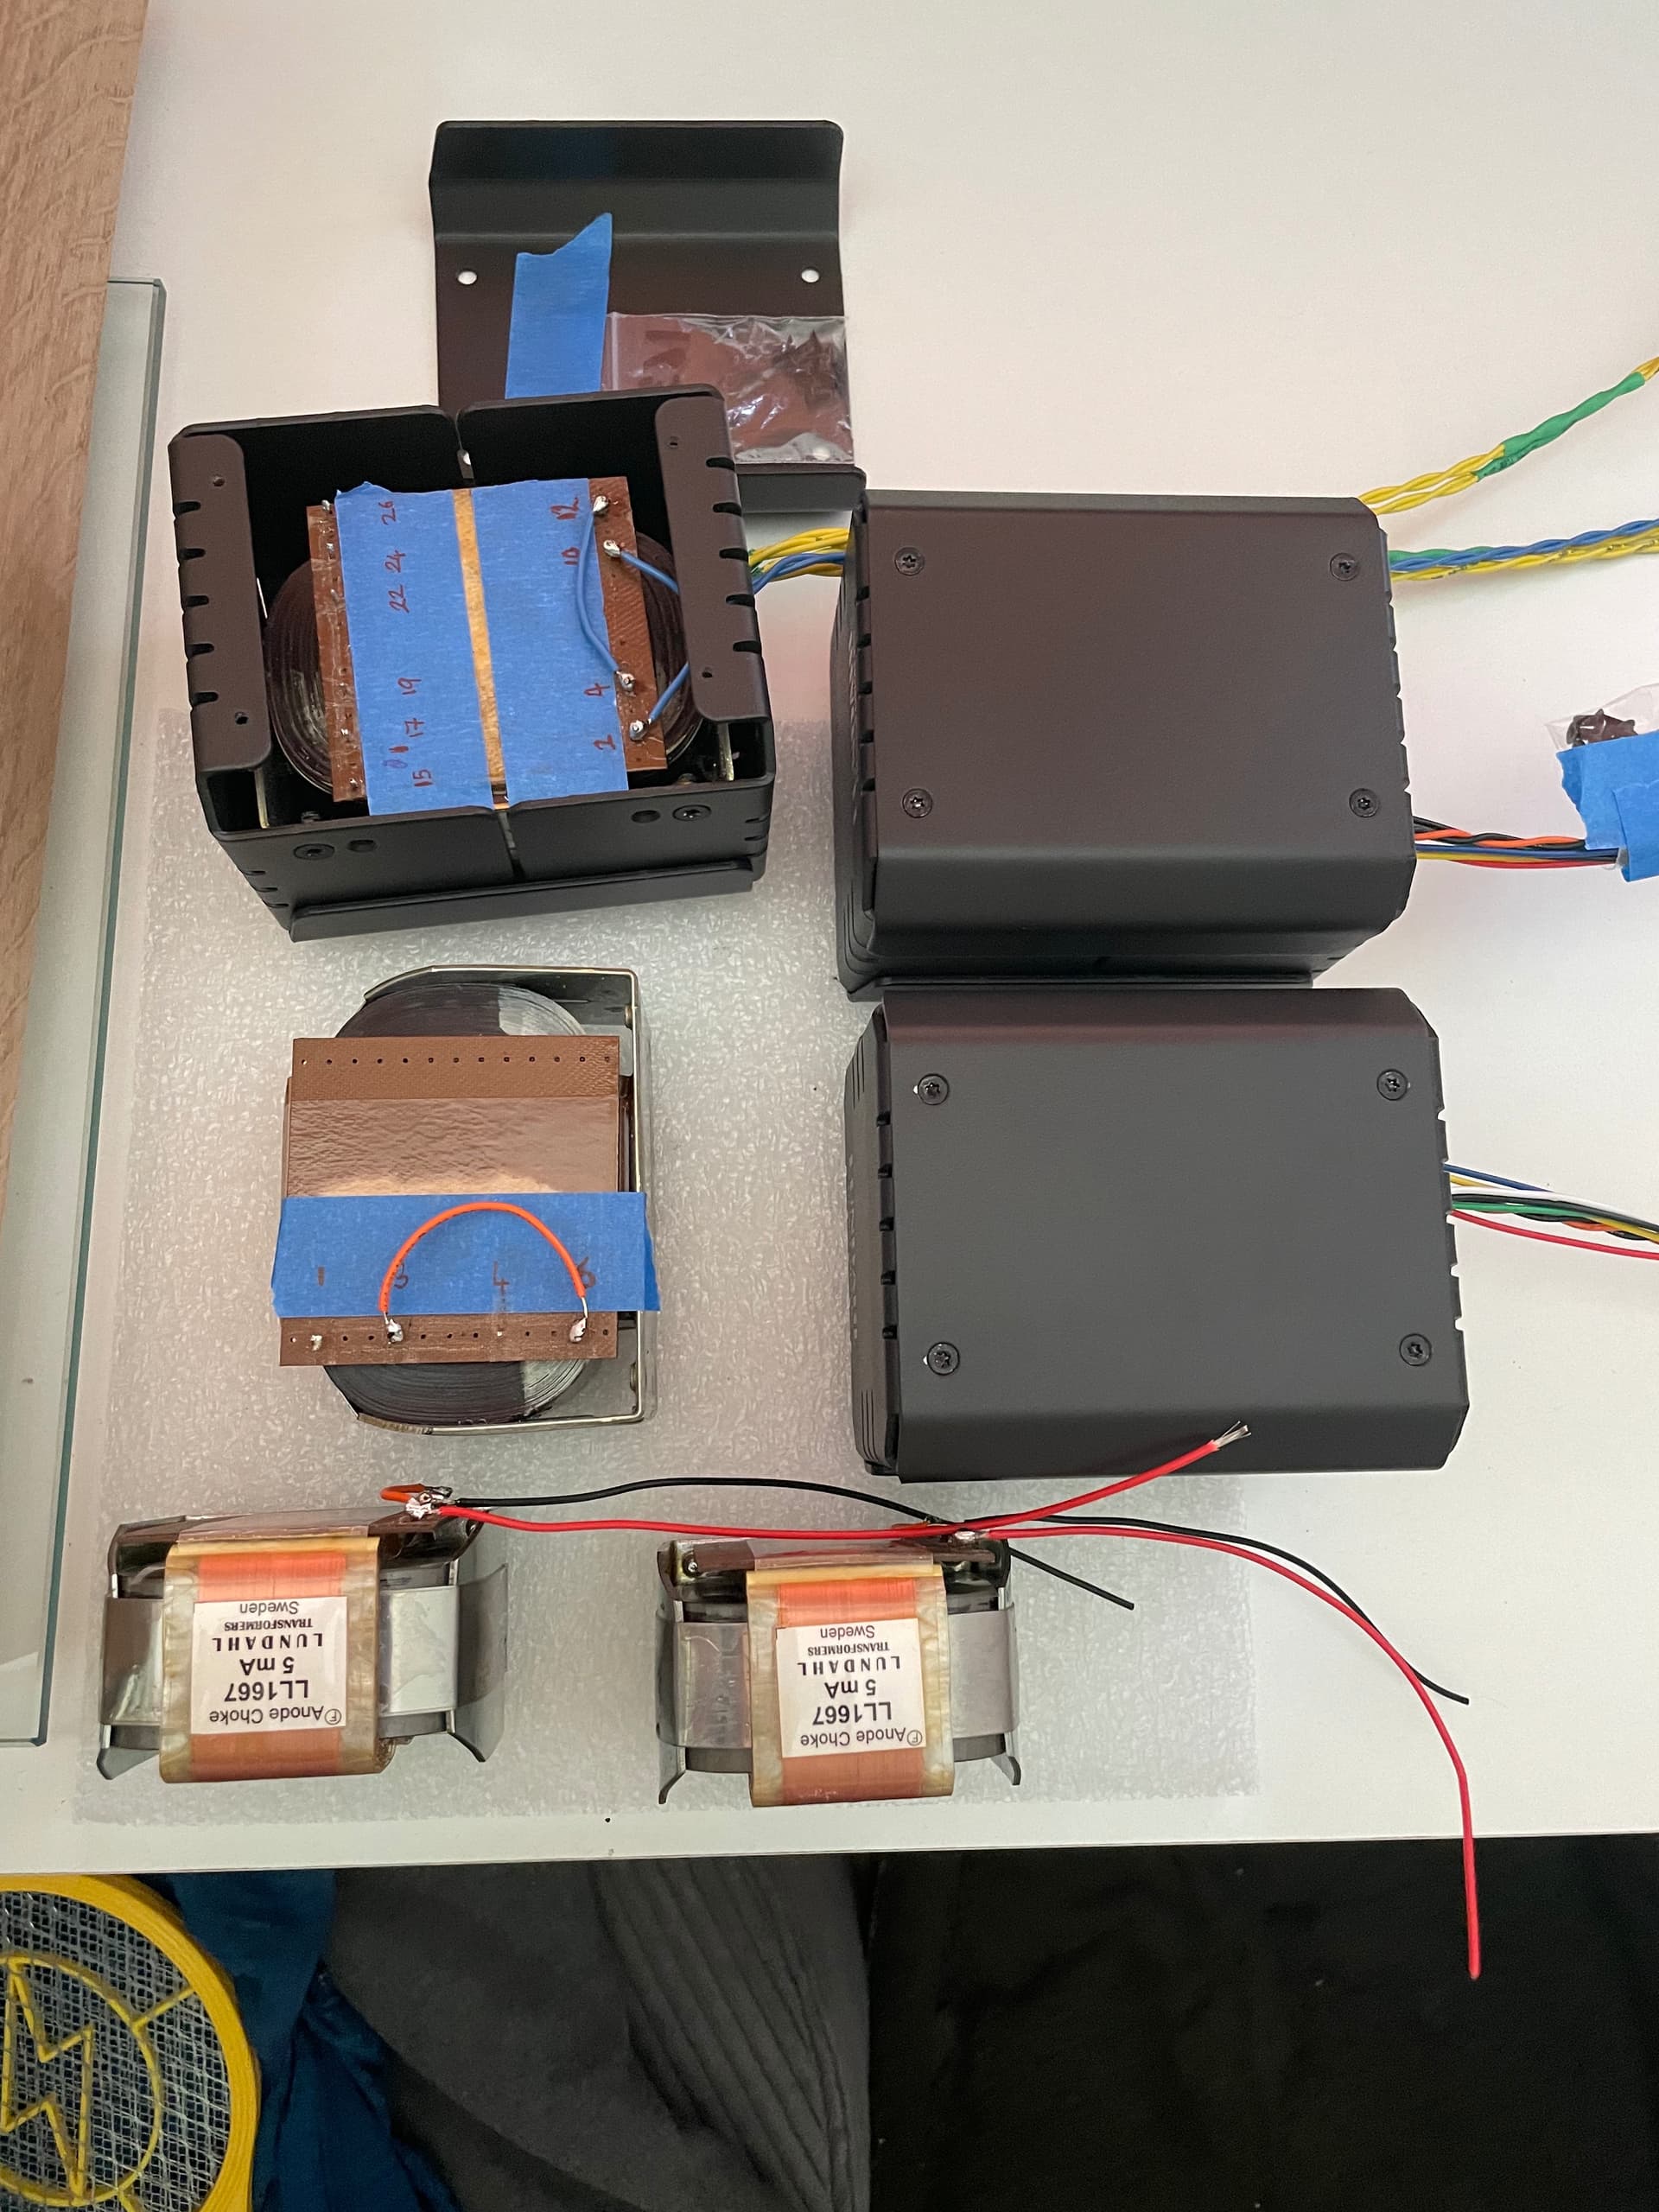
They’re all done now but here are a few pics revealing some bits of the mains transformer and output transformers plus a group shot!
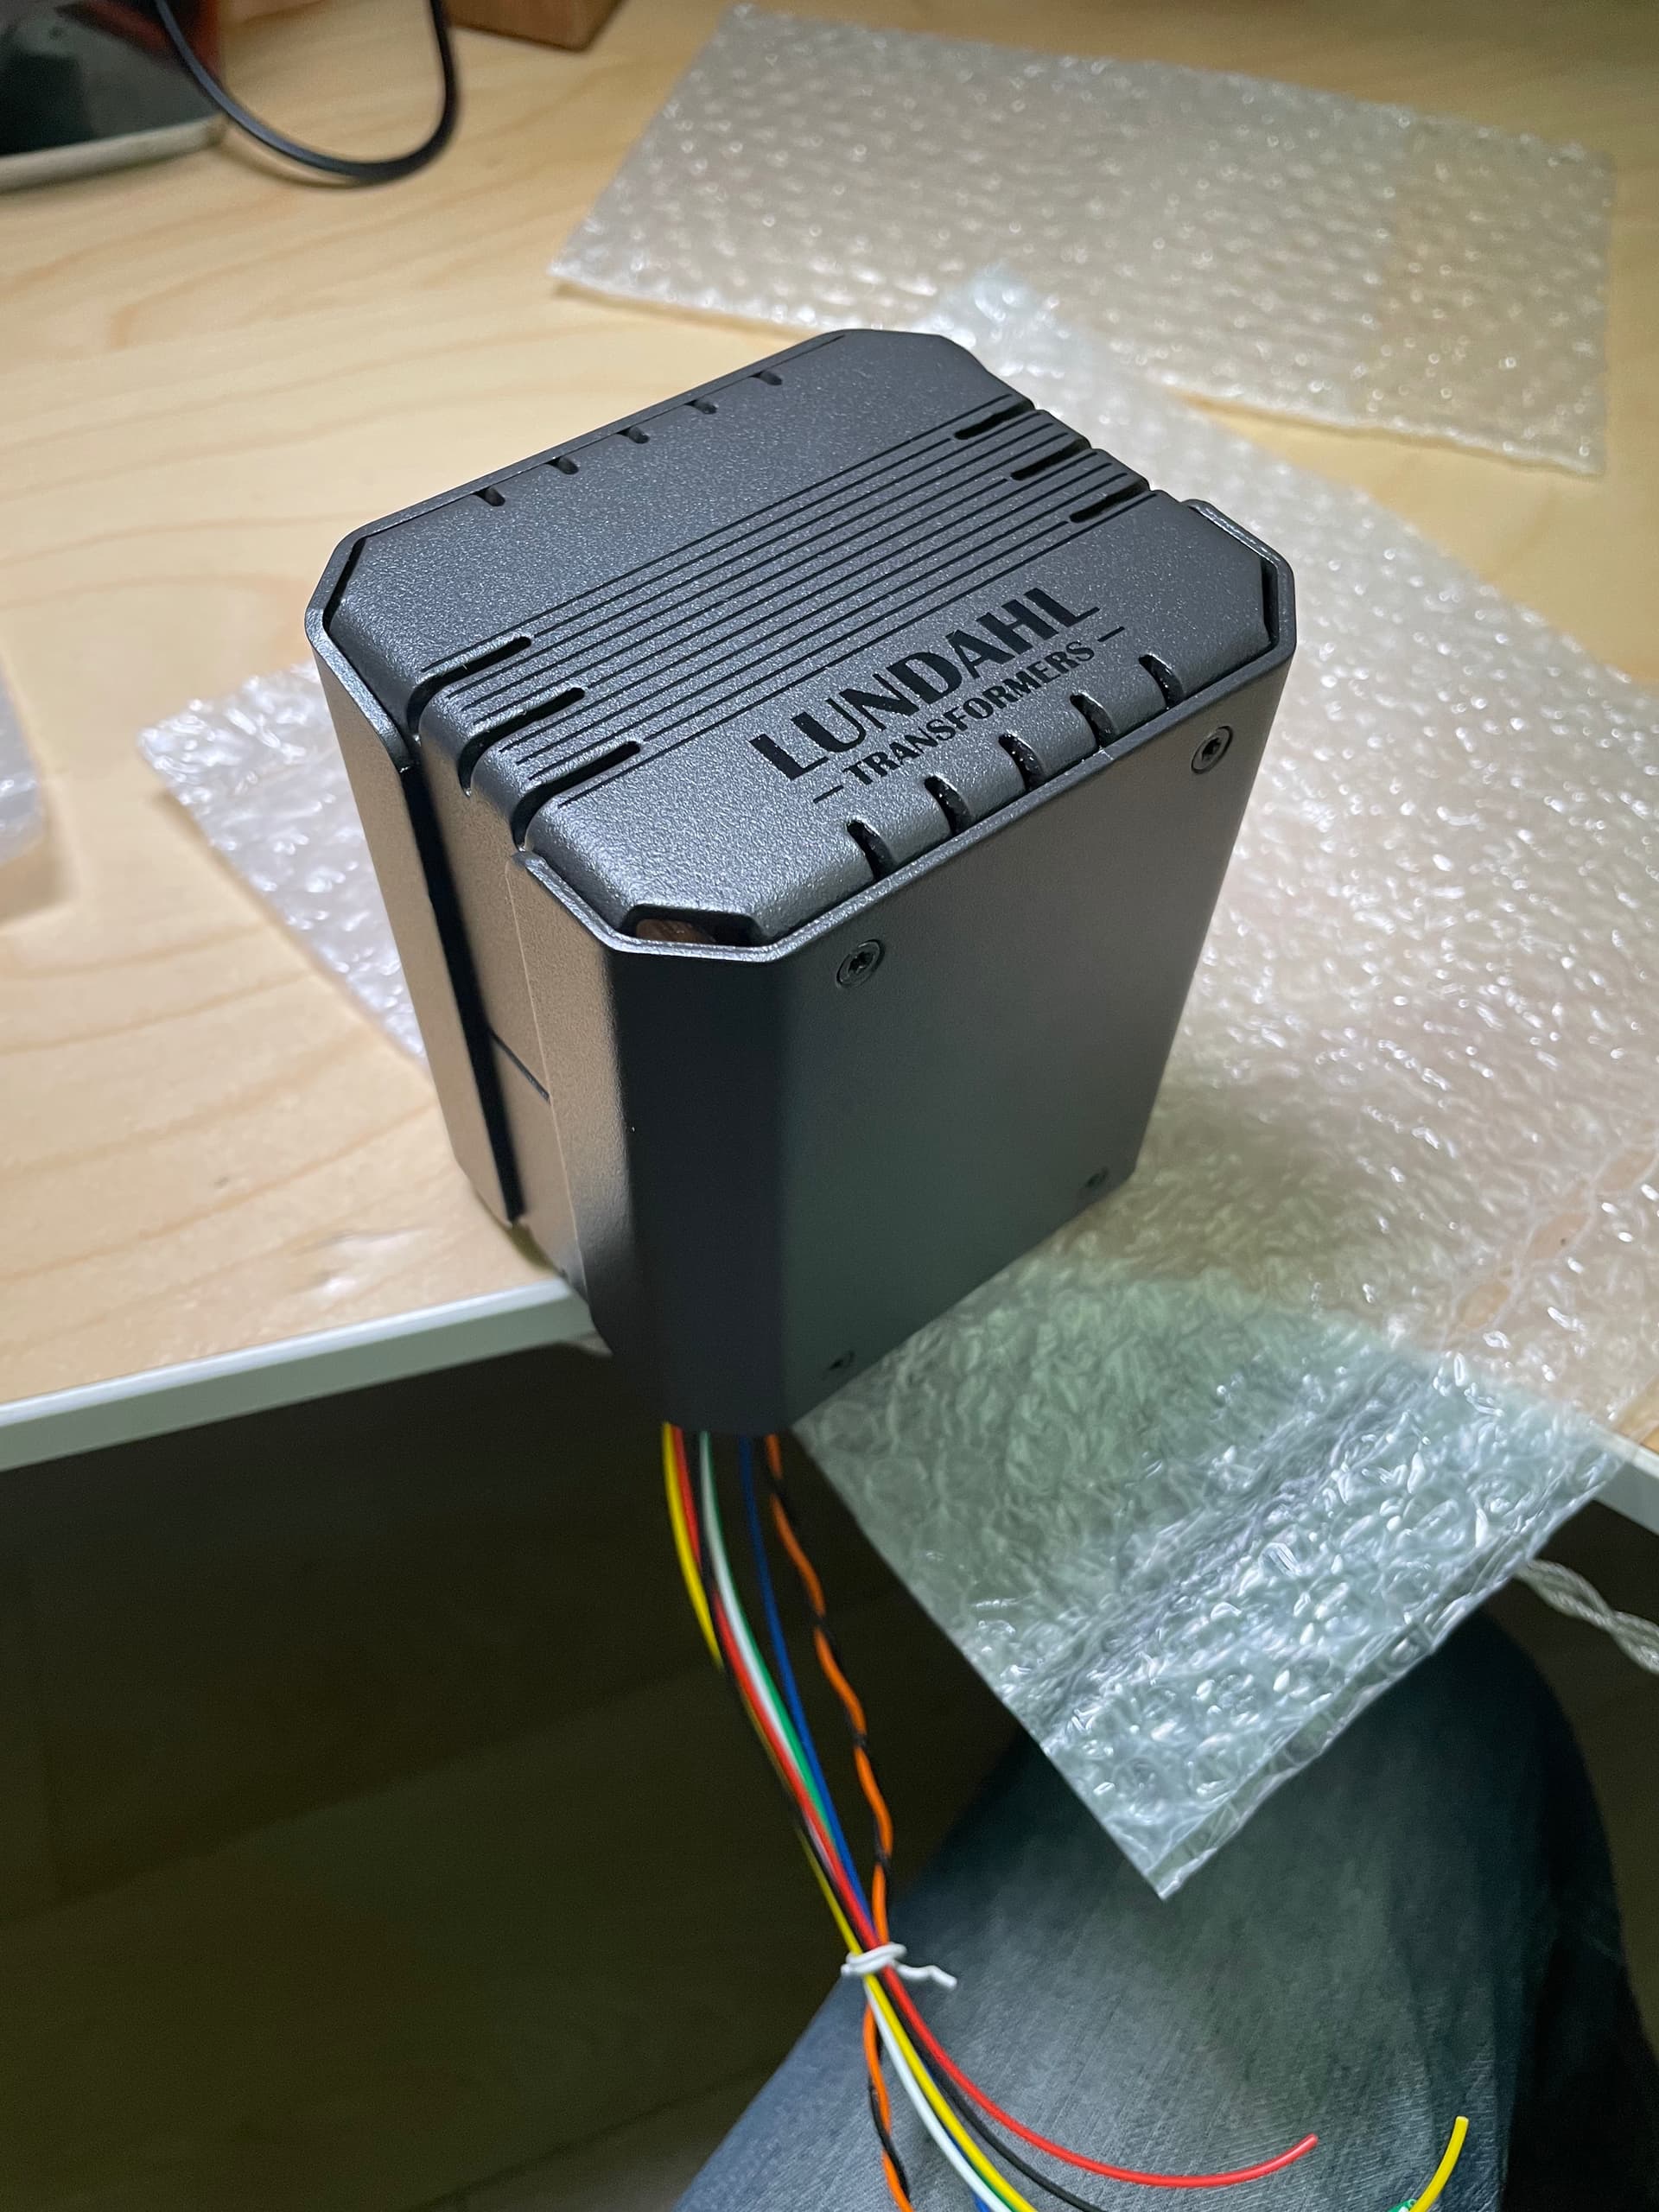
First up is one half of the mains transformer… the B+ voltage supply wiring is completed later on in the assembly. The soldering for that is on the opposite side so this is ready for the case… well, half of it. That can be seen in the last photo.
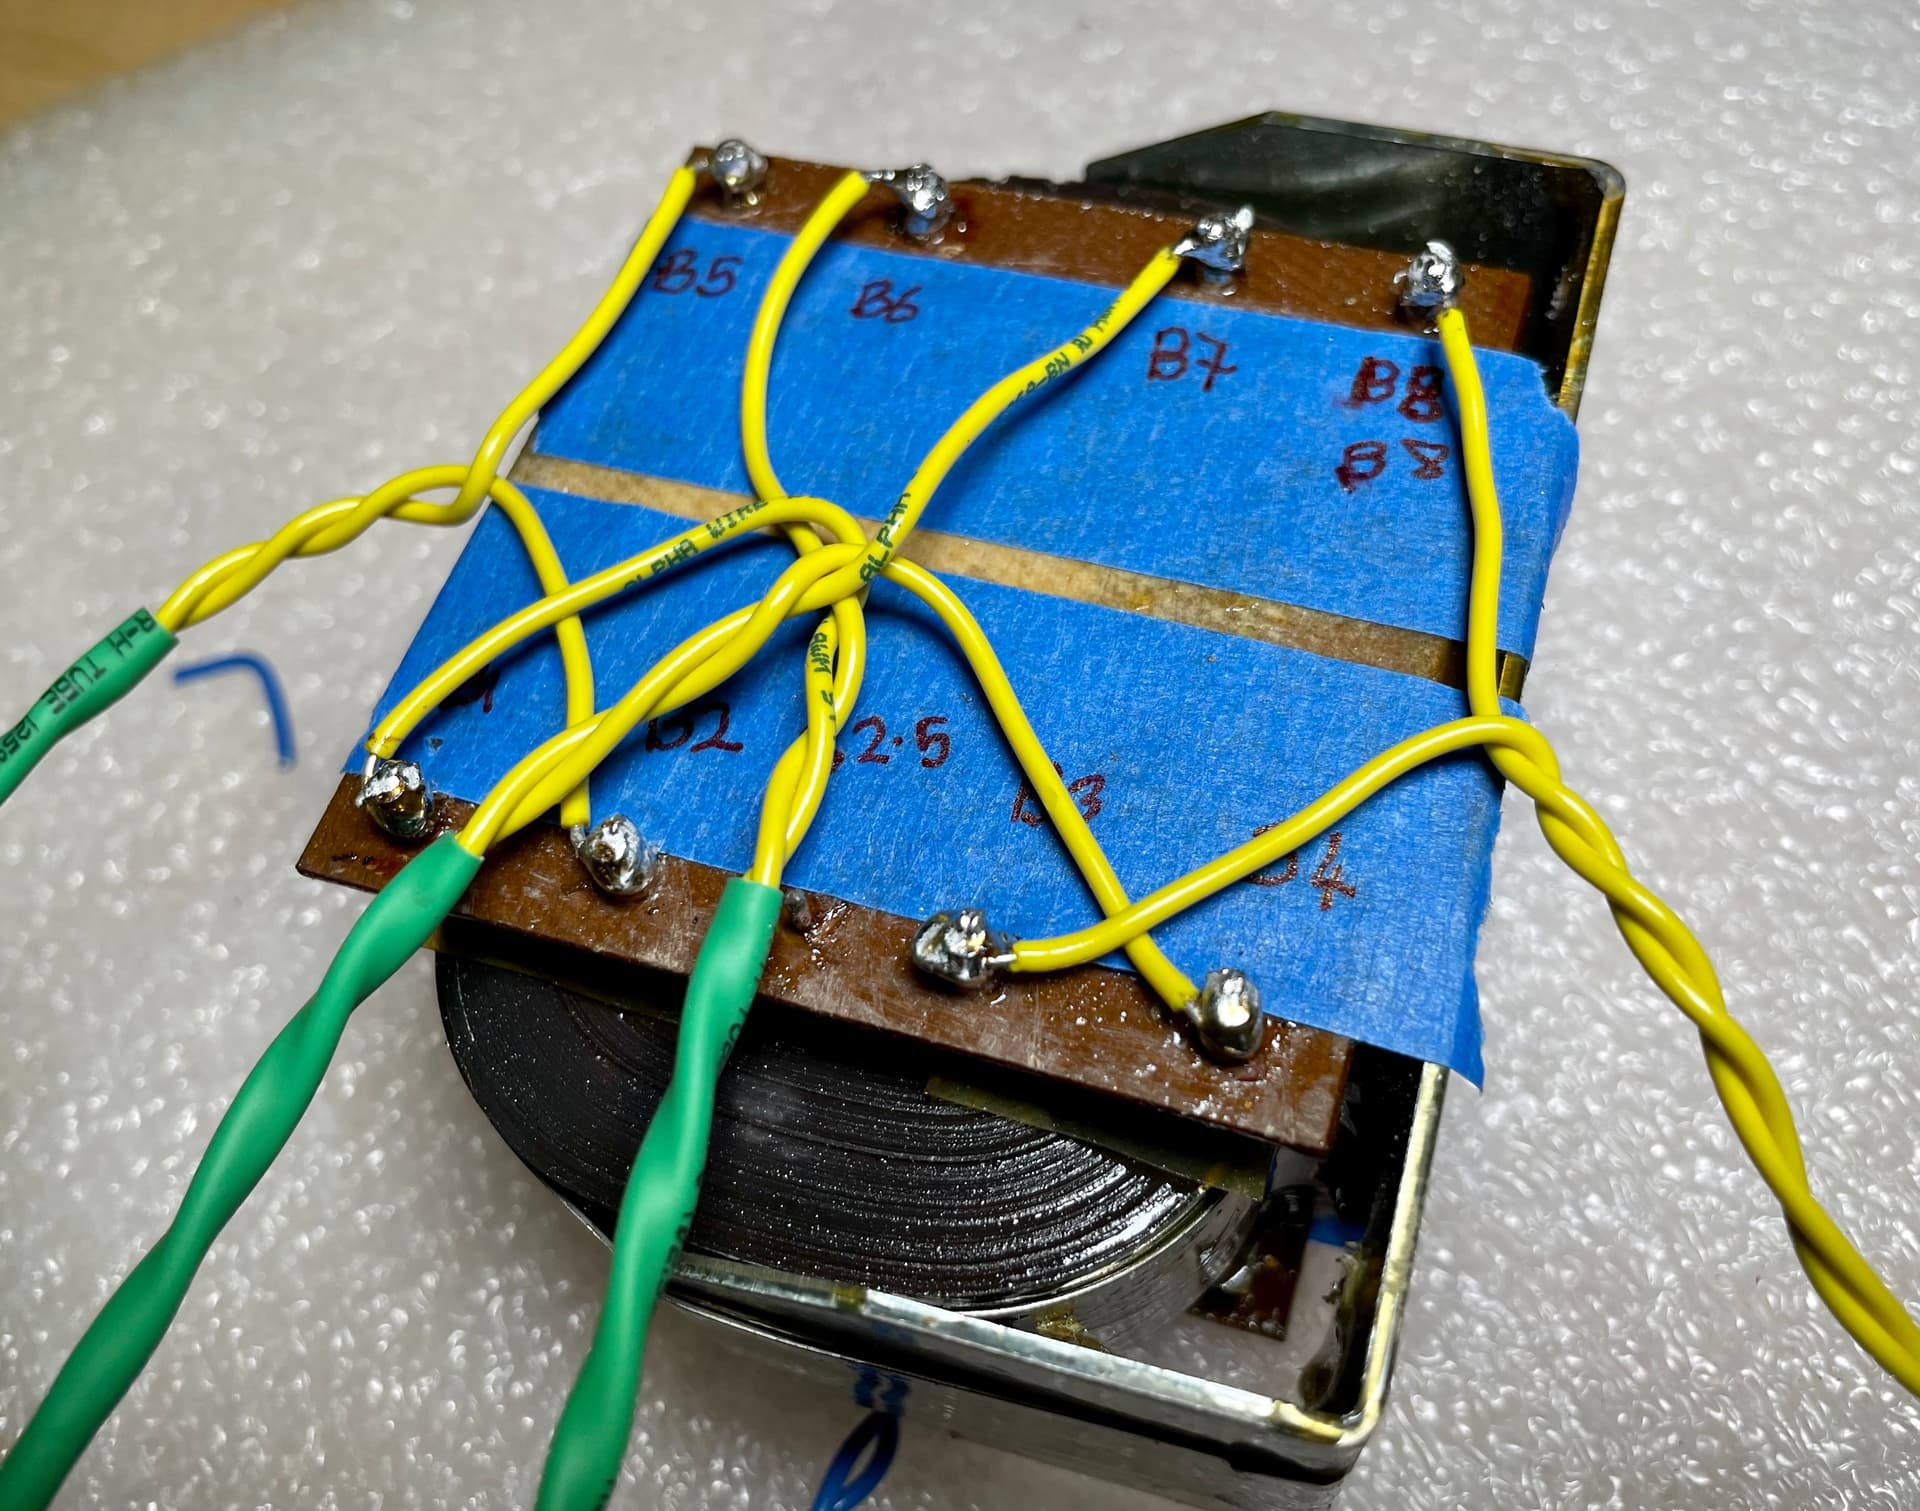
Here is the completed wiring of one of the output transformers. The red is just shrink wrap protecting the ends of the wires right up to the solder. They’re all coloured differently so as to easily identify them later on when connecting them to the output switch. That’s also part of the later assembly when the chassis arrives.
This is the opposite side of the wiring on the output transformer.
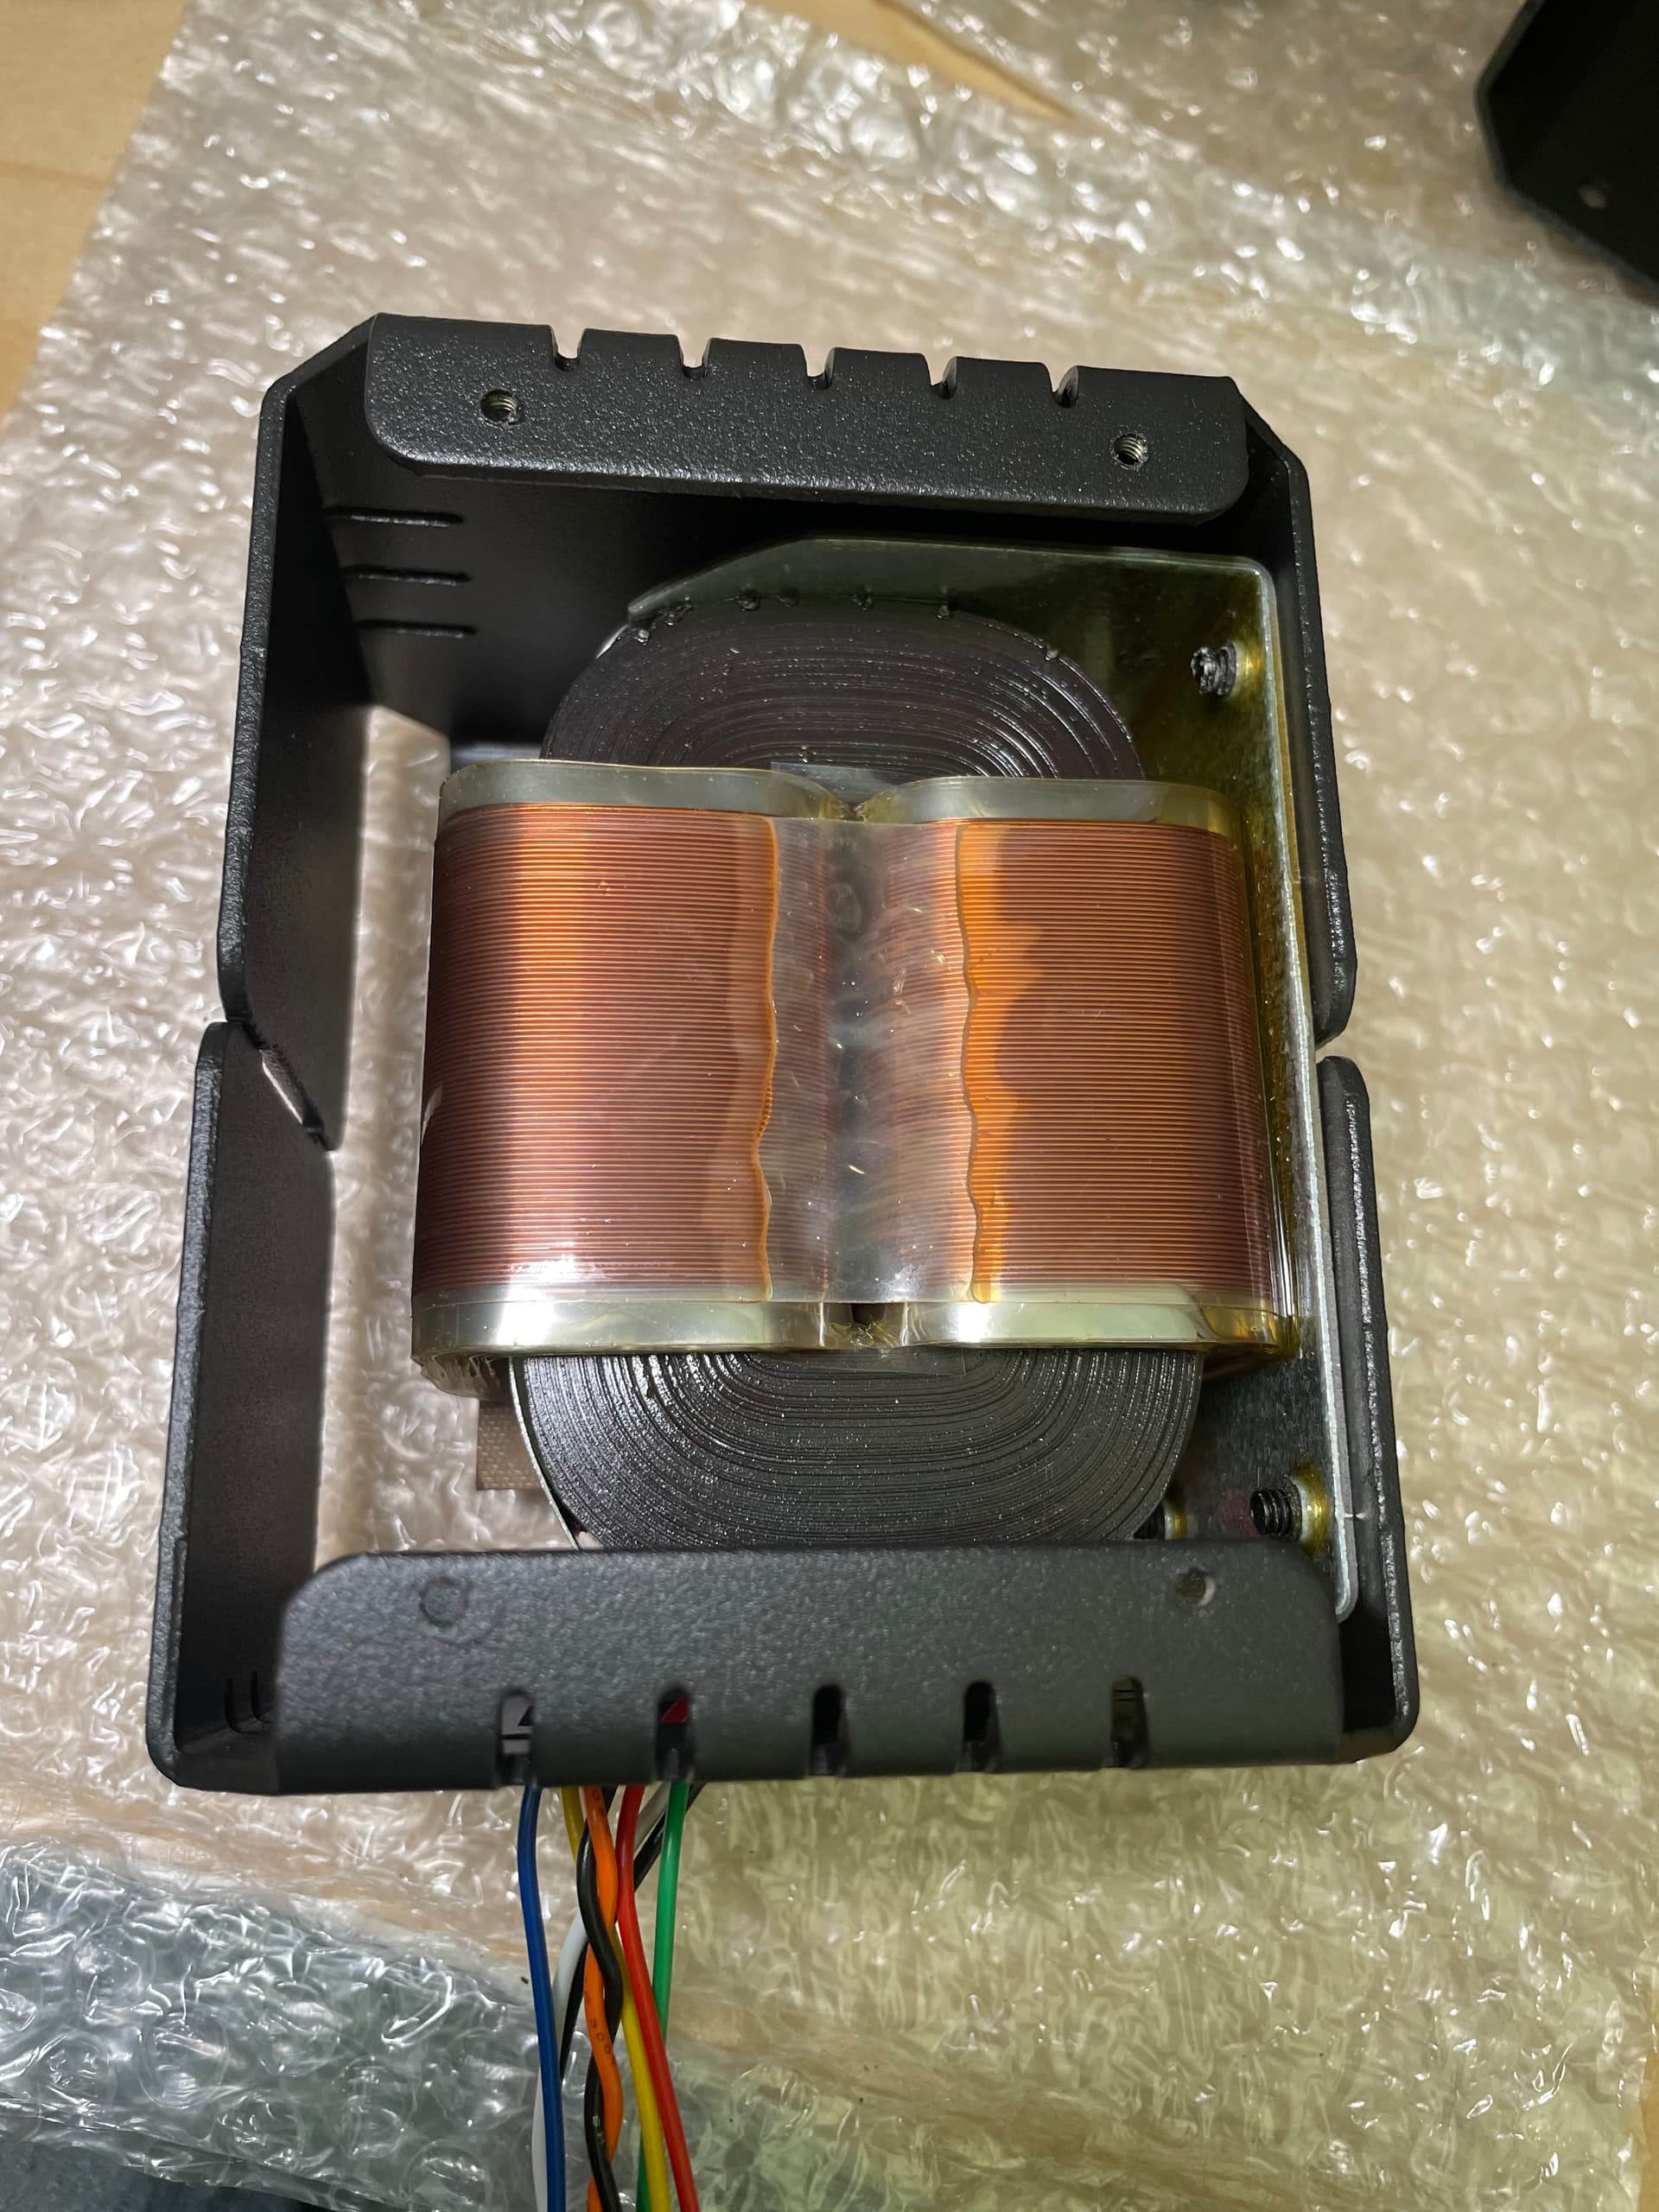
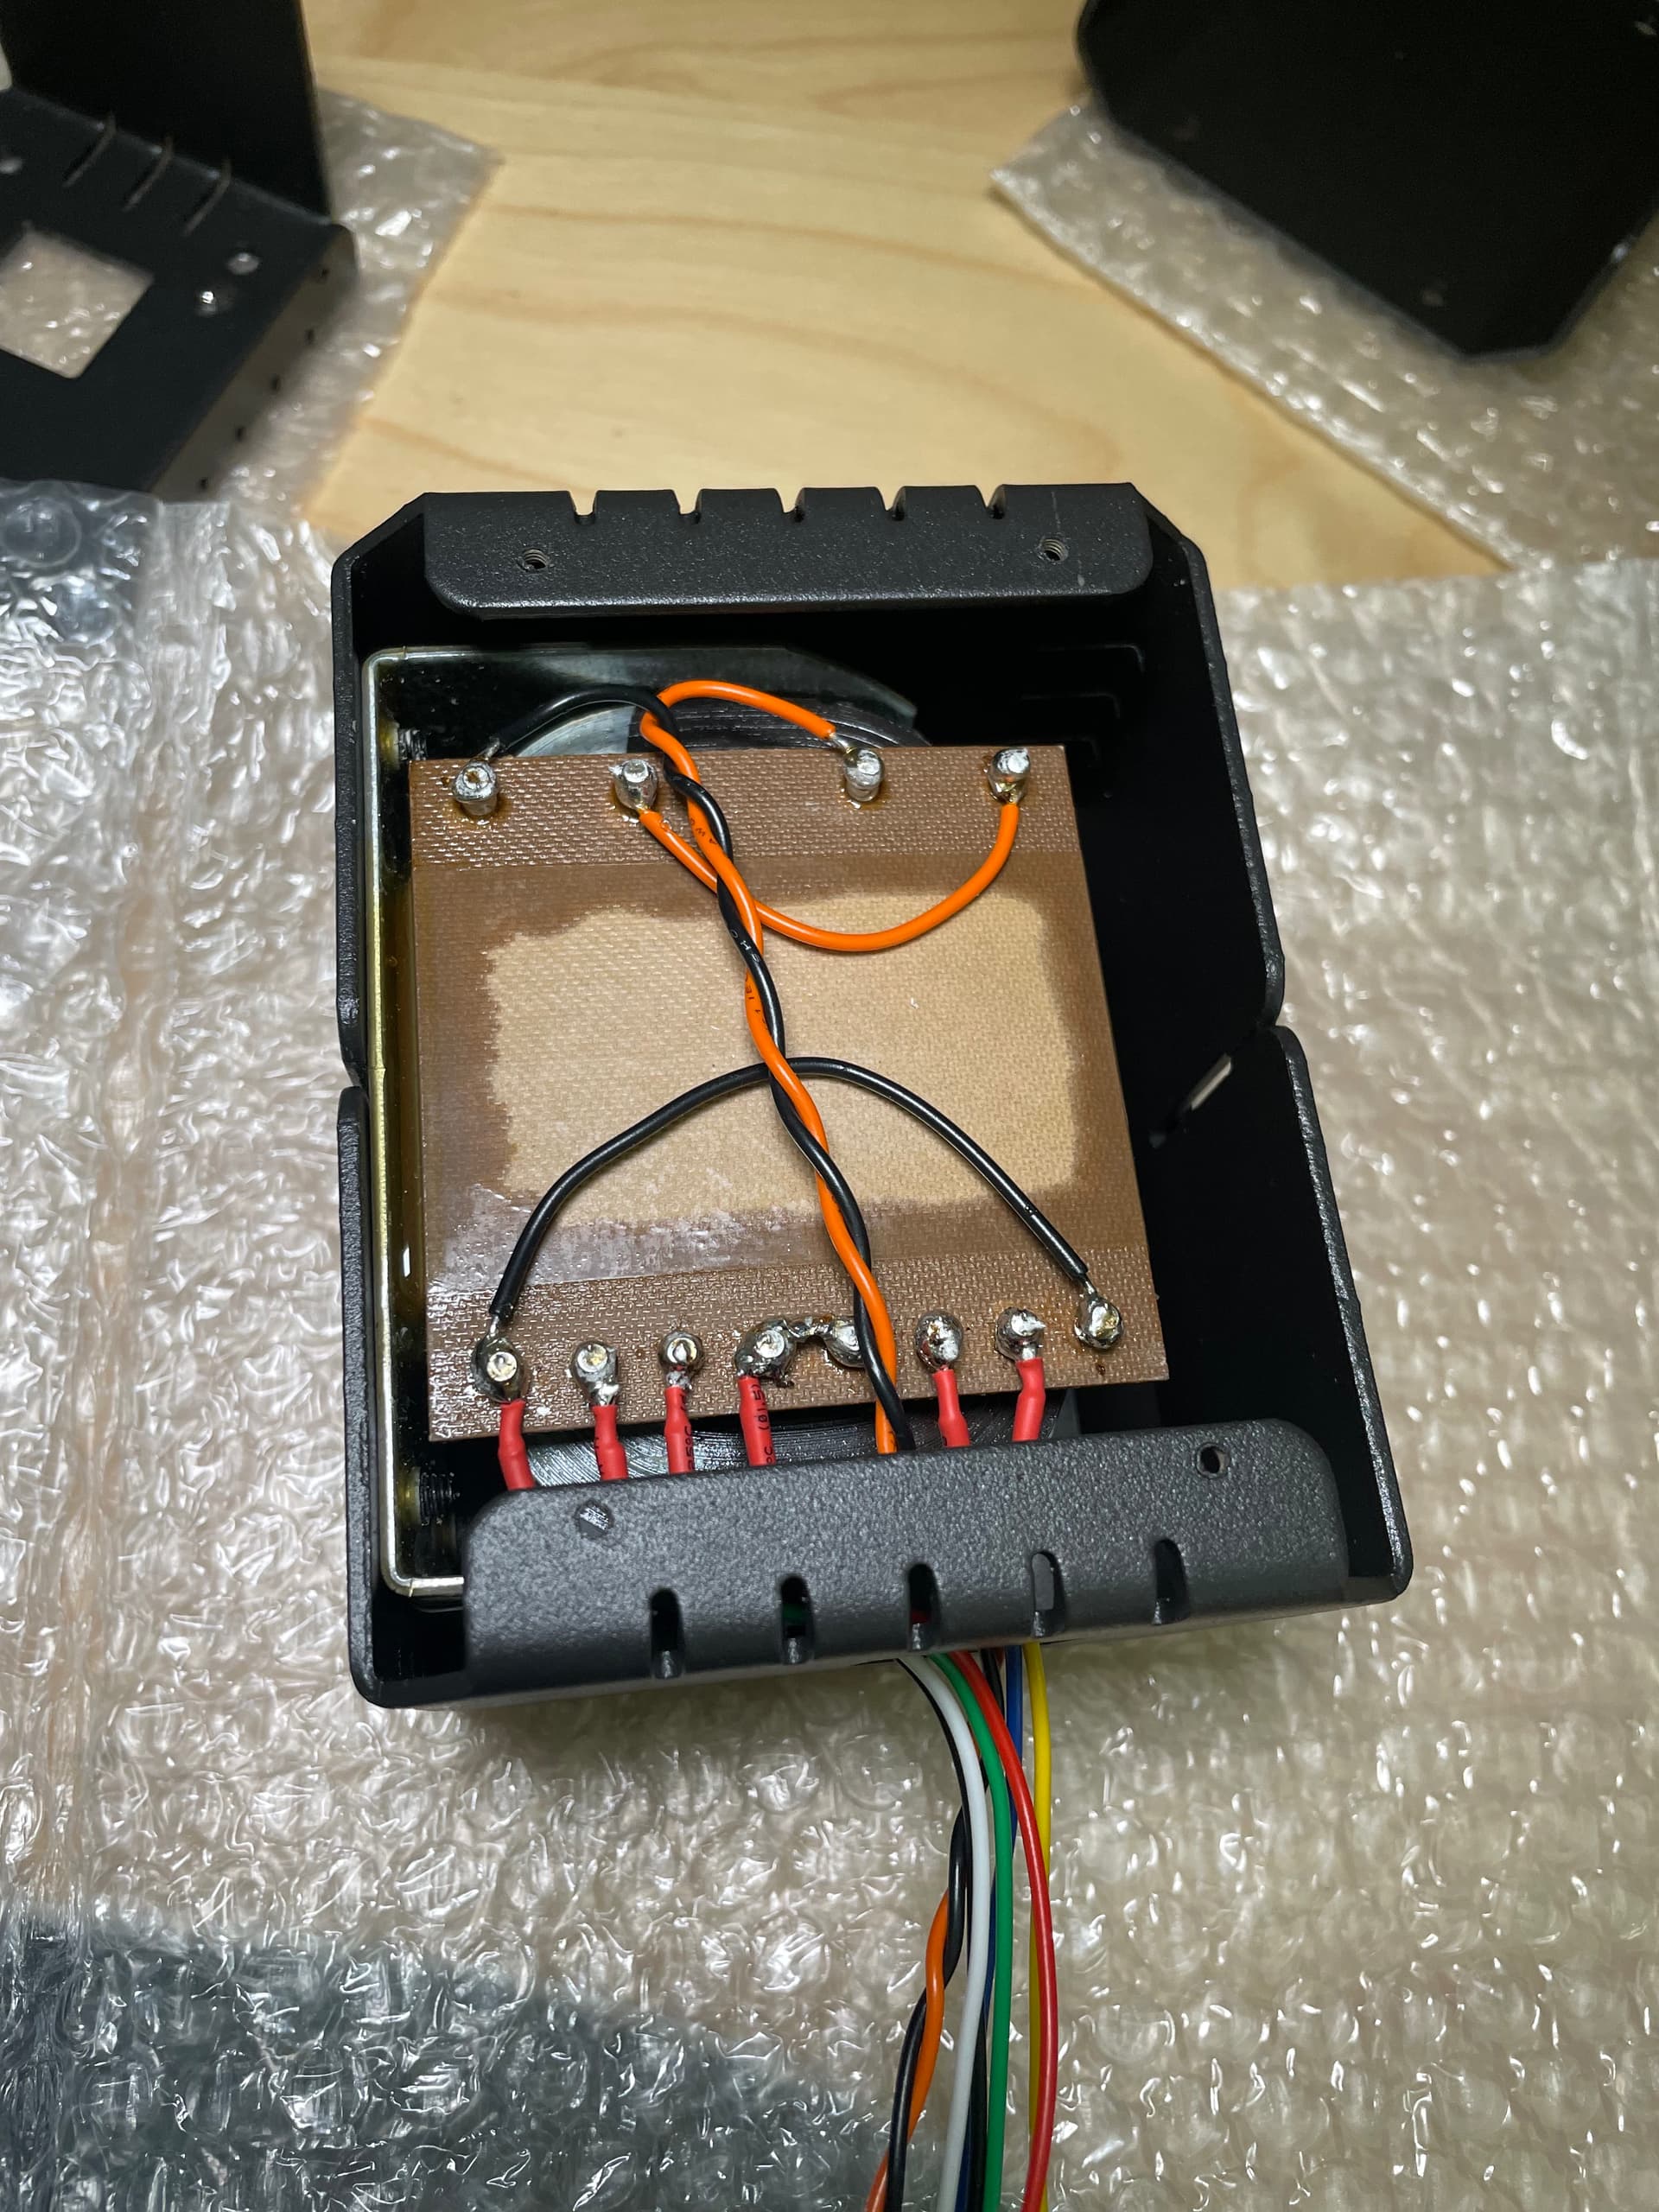
This is the completed output transformer and is ready to be attached to the chassis. Just 2.3kg each plus the mains transformer on the top with the others inside. I have a feeling the total weight is going to be impressive!
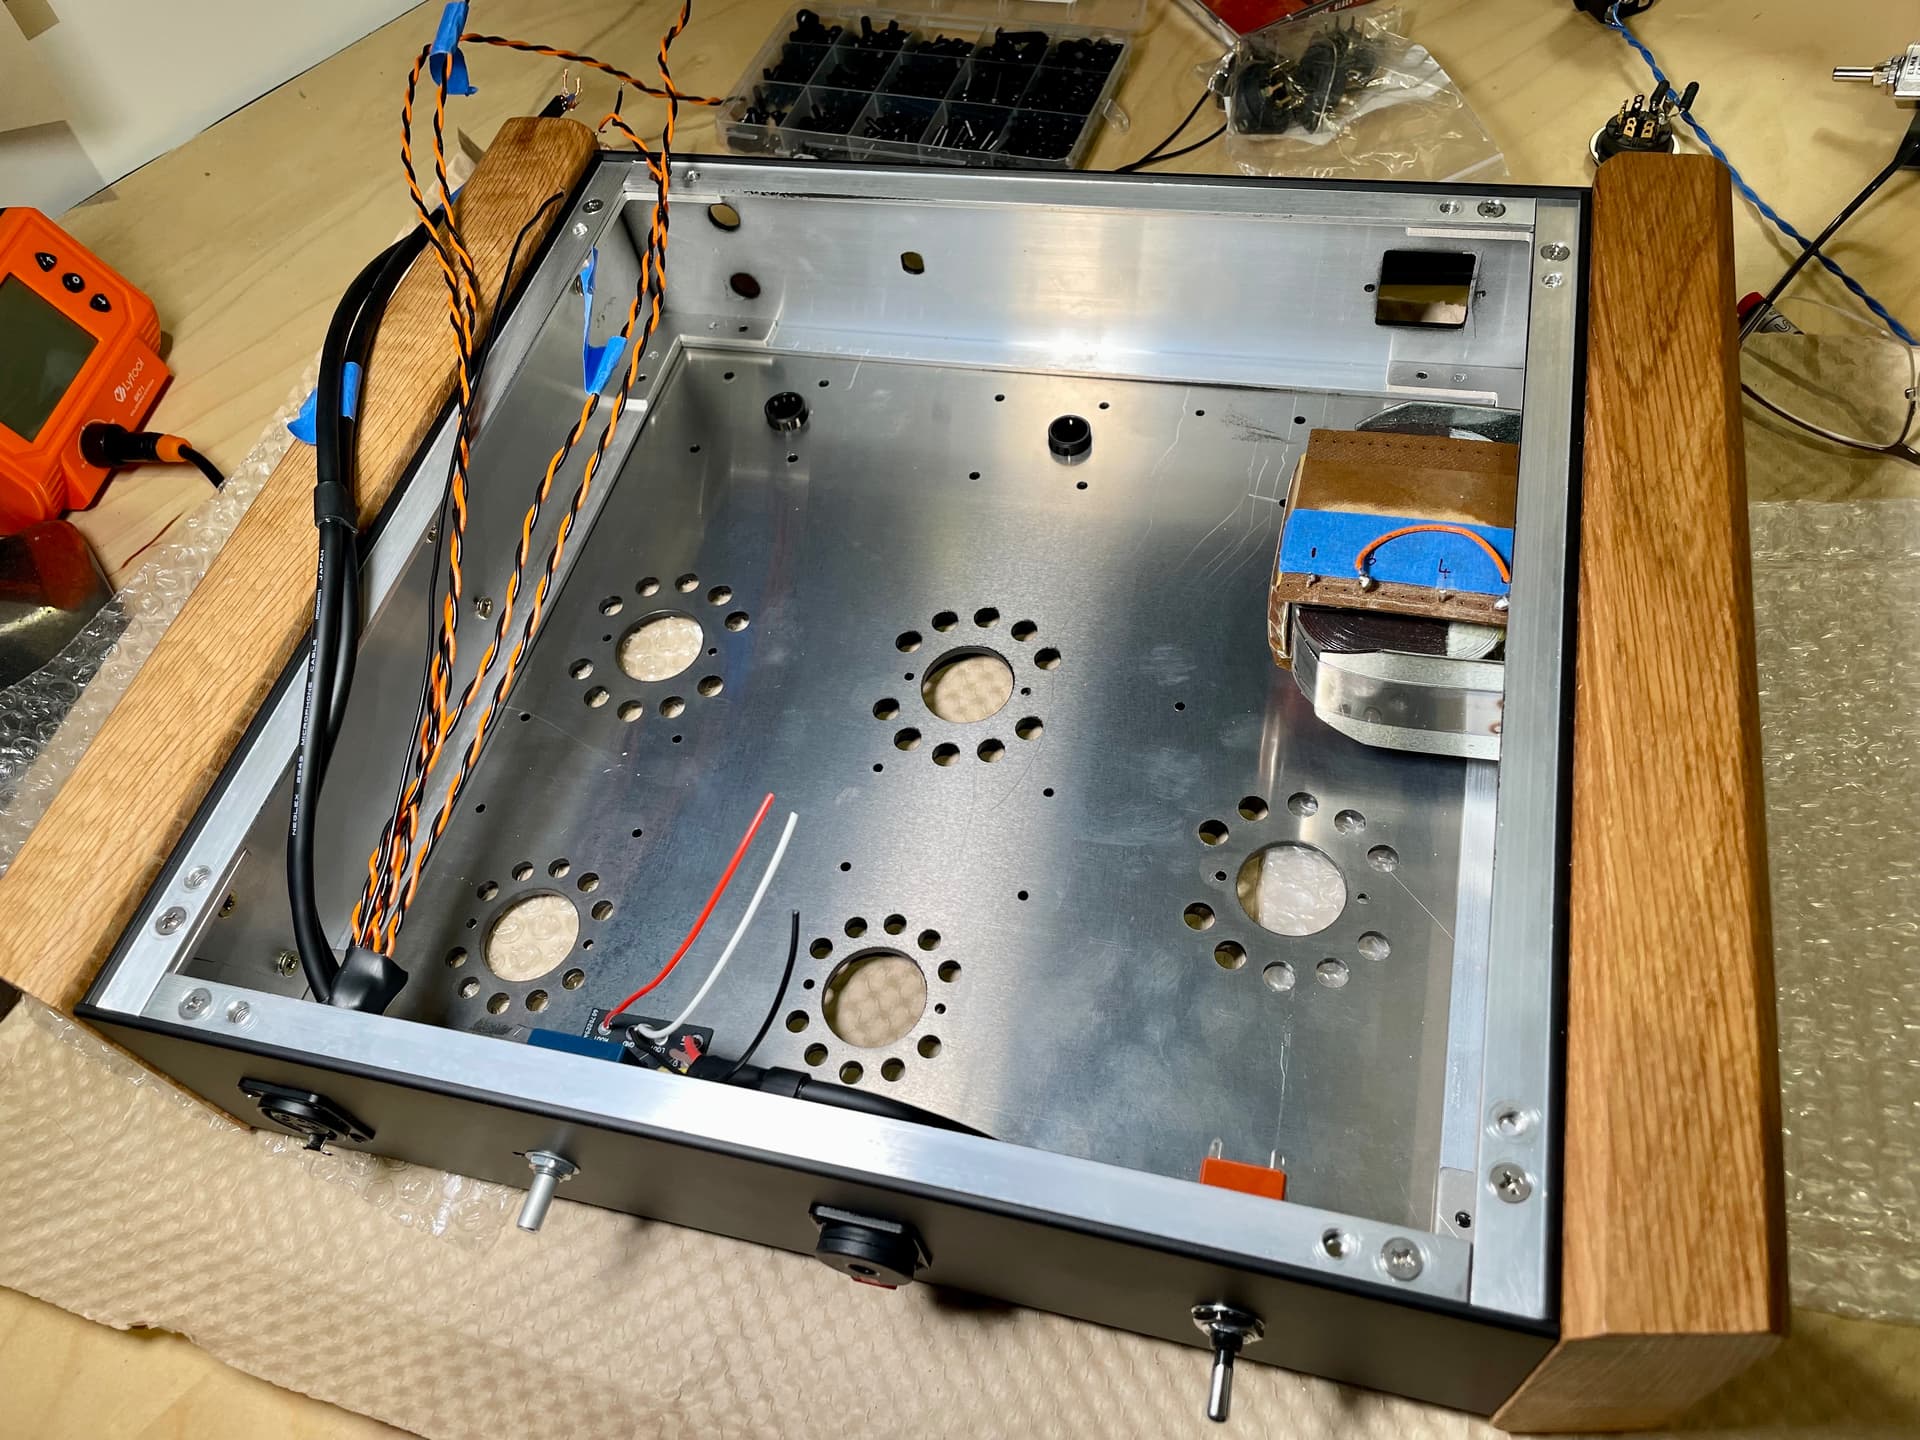
All done and waiting to be fitted on / into the chassis!! Which is Chicago at the moment… needs to get a wiggle on ![]() .
.
There are a few other smaller pieces to build / solder such as the 4 Pin XLR socket, terminal strip + wiring and capacitor as well as the rectifier socket that needs a couple of resistors attached to drop the voltage. But, that’s another day!
3 Likes
Well… this is the closing post. All the elements were completed before the chassis arrived the other day so all that was left was a sizeable fitting / soldering job.
First was sizing the wood side panels and fitting the mains choke. The choke had to go in first as the screws to fit it would be covered by the wood. This also means drilling recess holes so the wood would fit flush to the aluminium.
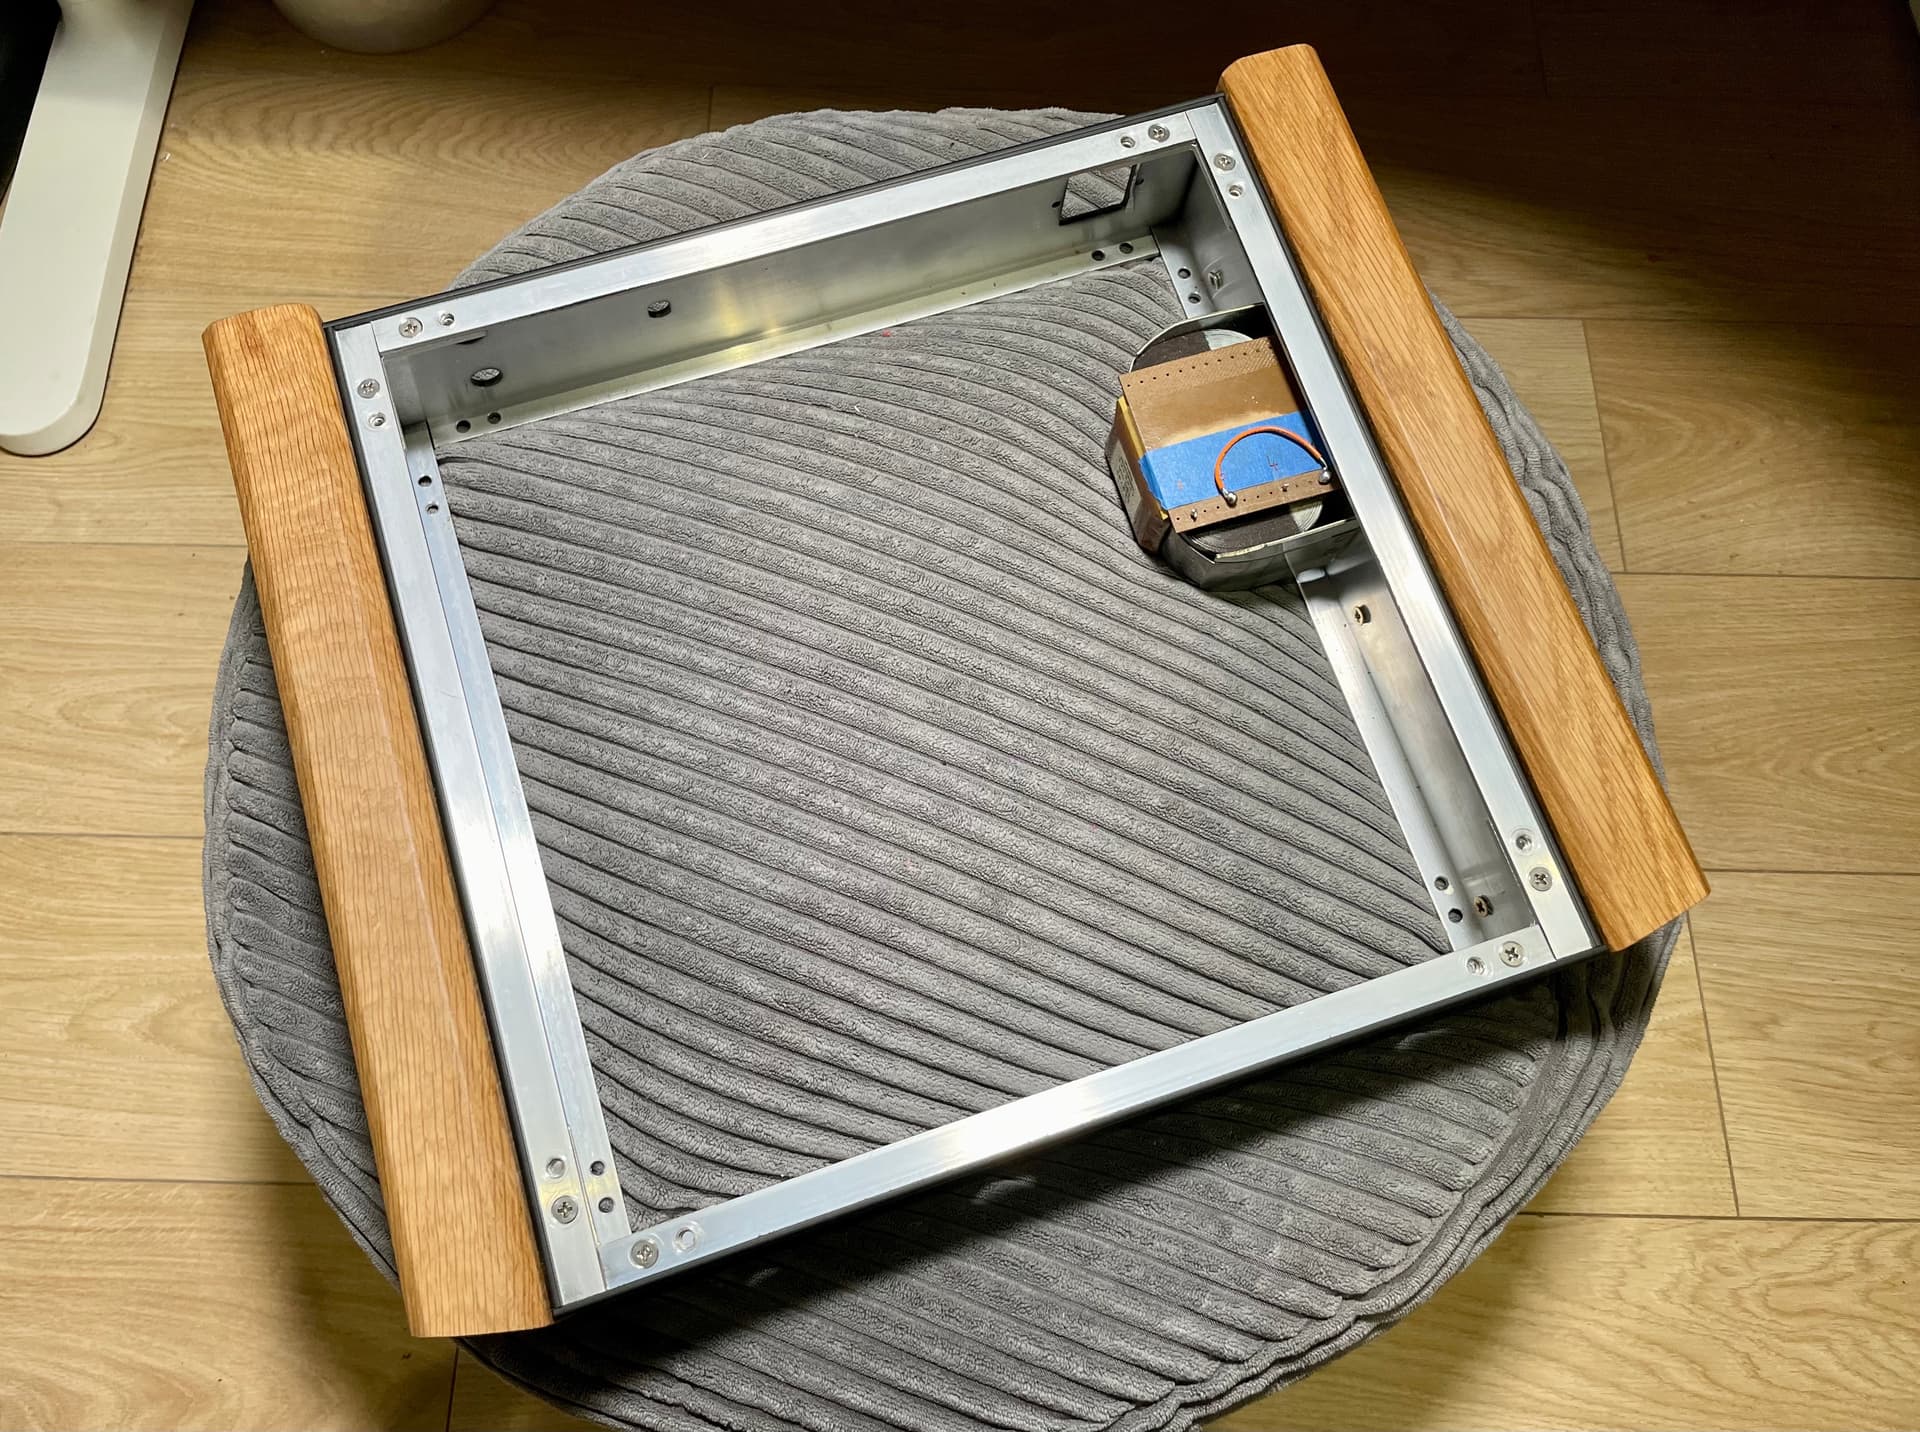
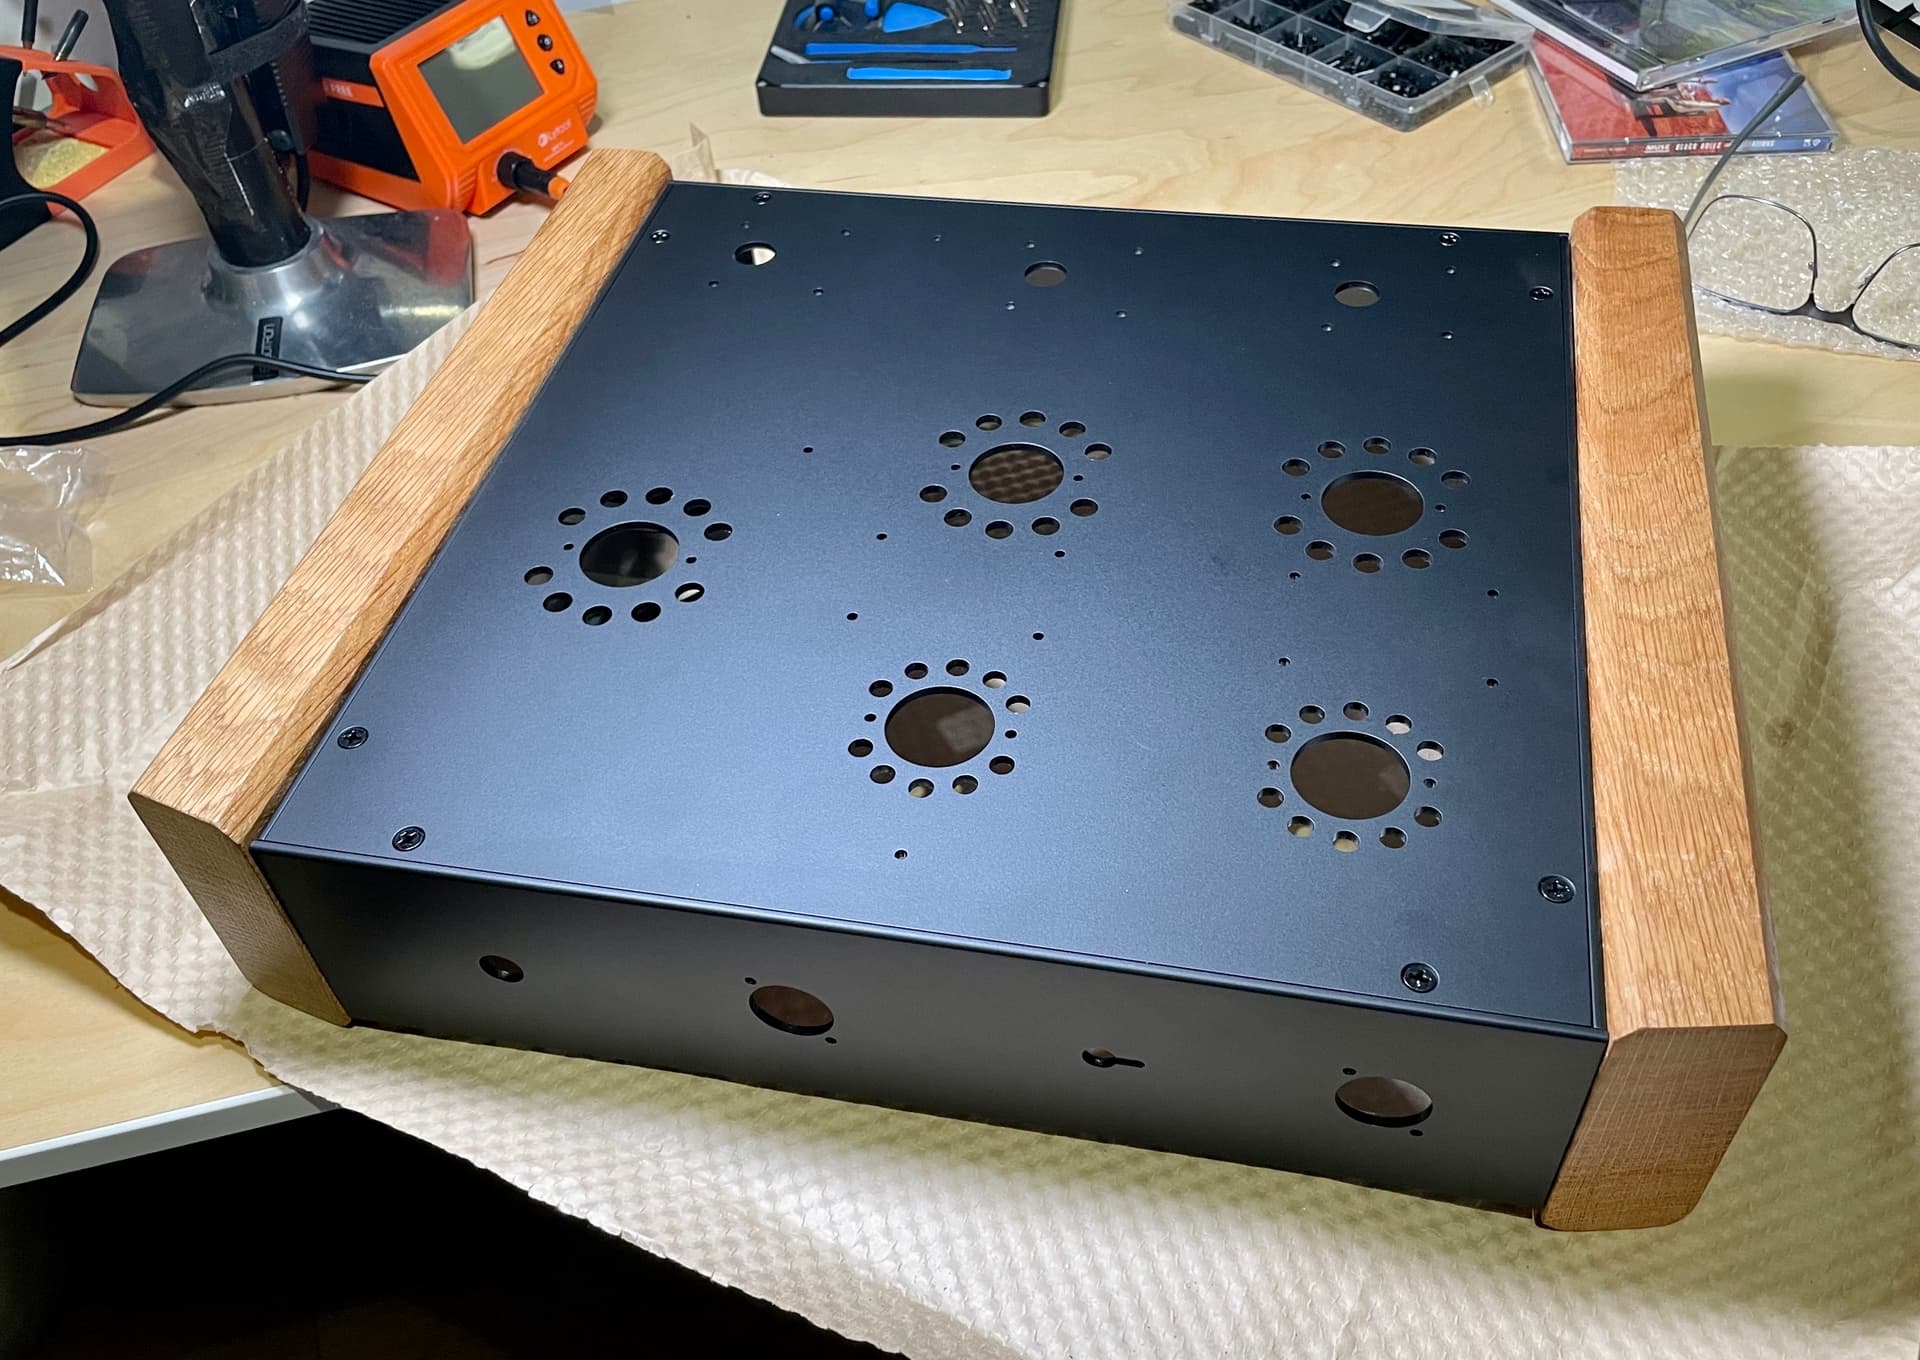
Once I was happy with the fit of the wood the top plate was added. This is the plate that all the parts are fitted to.
Fitting the XLR 4 pin and 6.35 socket to the front panel. Also, the switch and volume dial along with the XLR cables used to connect the volume dial to the RCA sockets.
Next up. After fixing all the tube sockets to the chassis, the PCB board is soldered to them. After that, the Anode Chokes are fitted and the wiring of heater cables is completed. Also, the cables from the XLR socket to the 6.35 socket are soldered into place and at the other end, the cables going from the XLR to the output PCB are soldered in place.
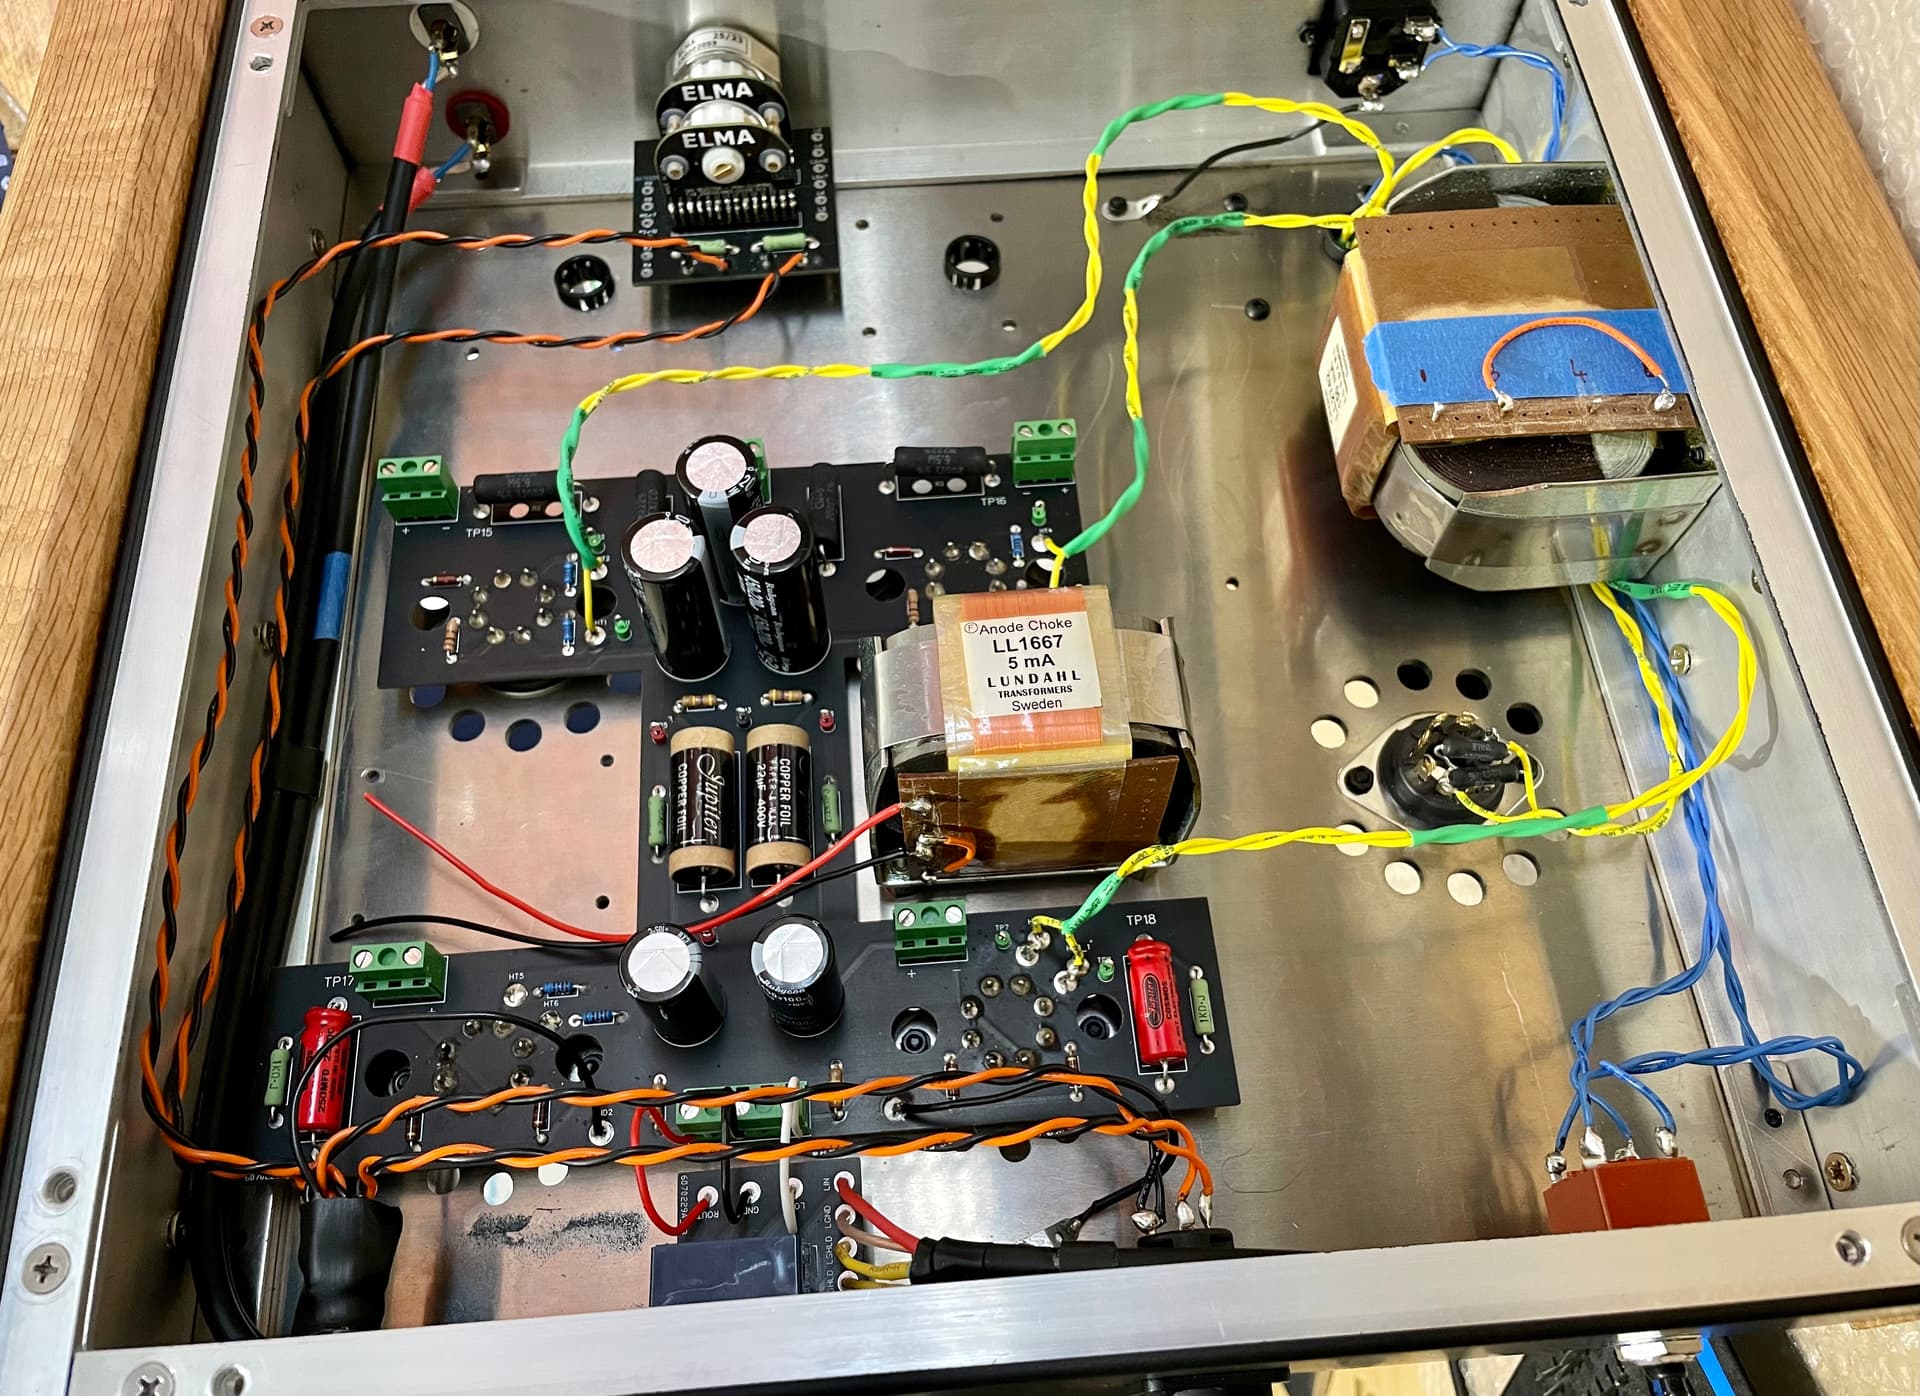
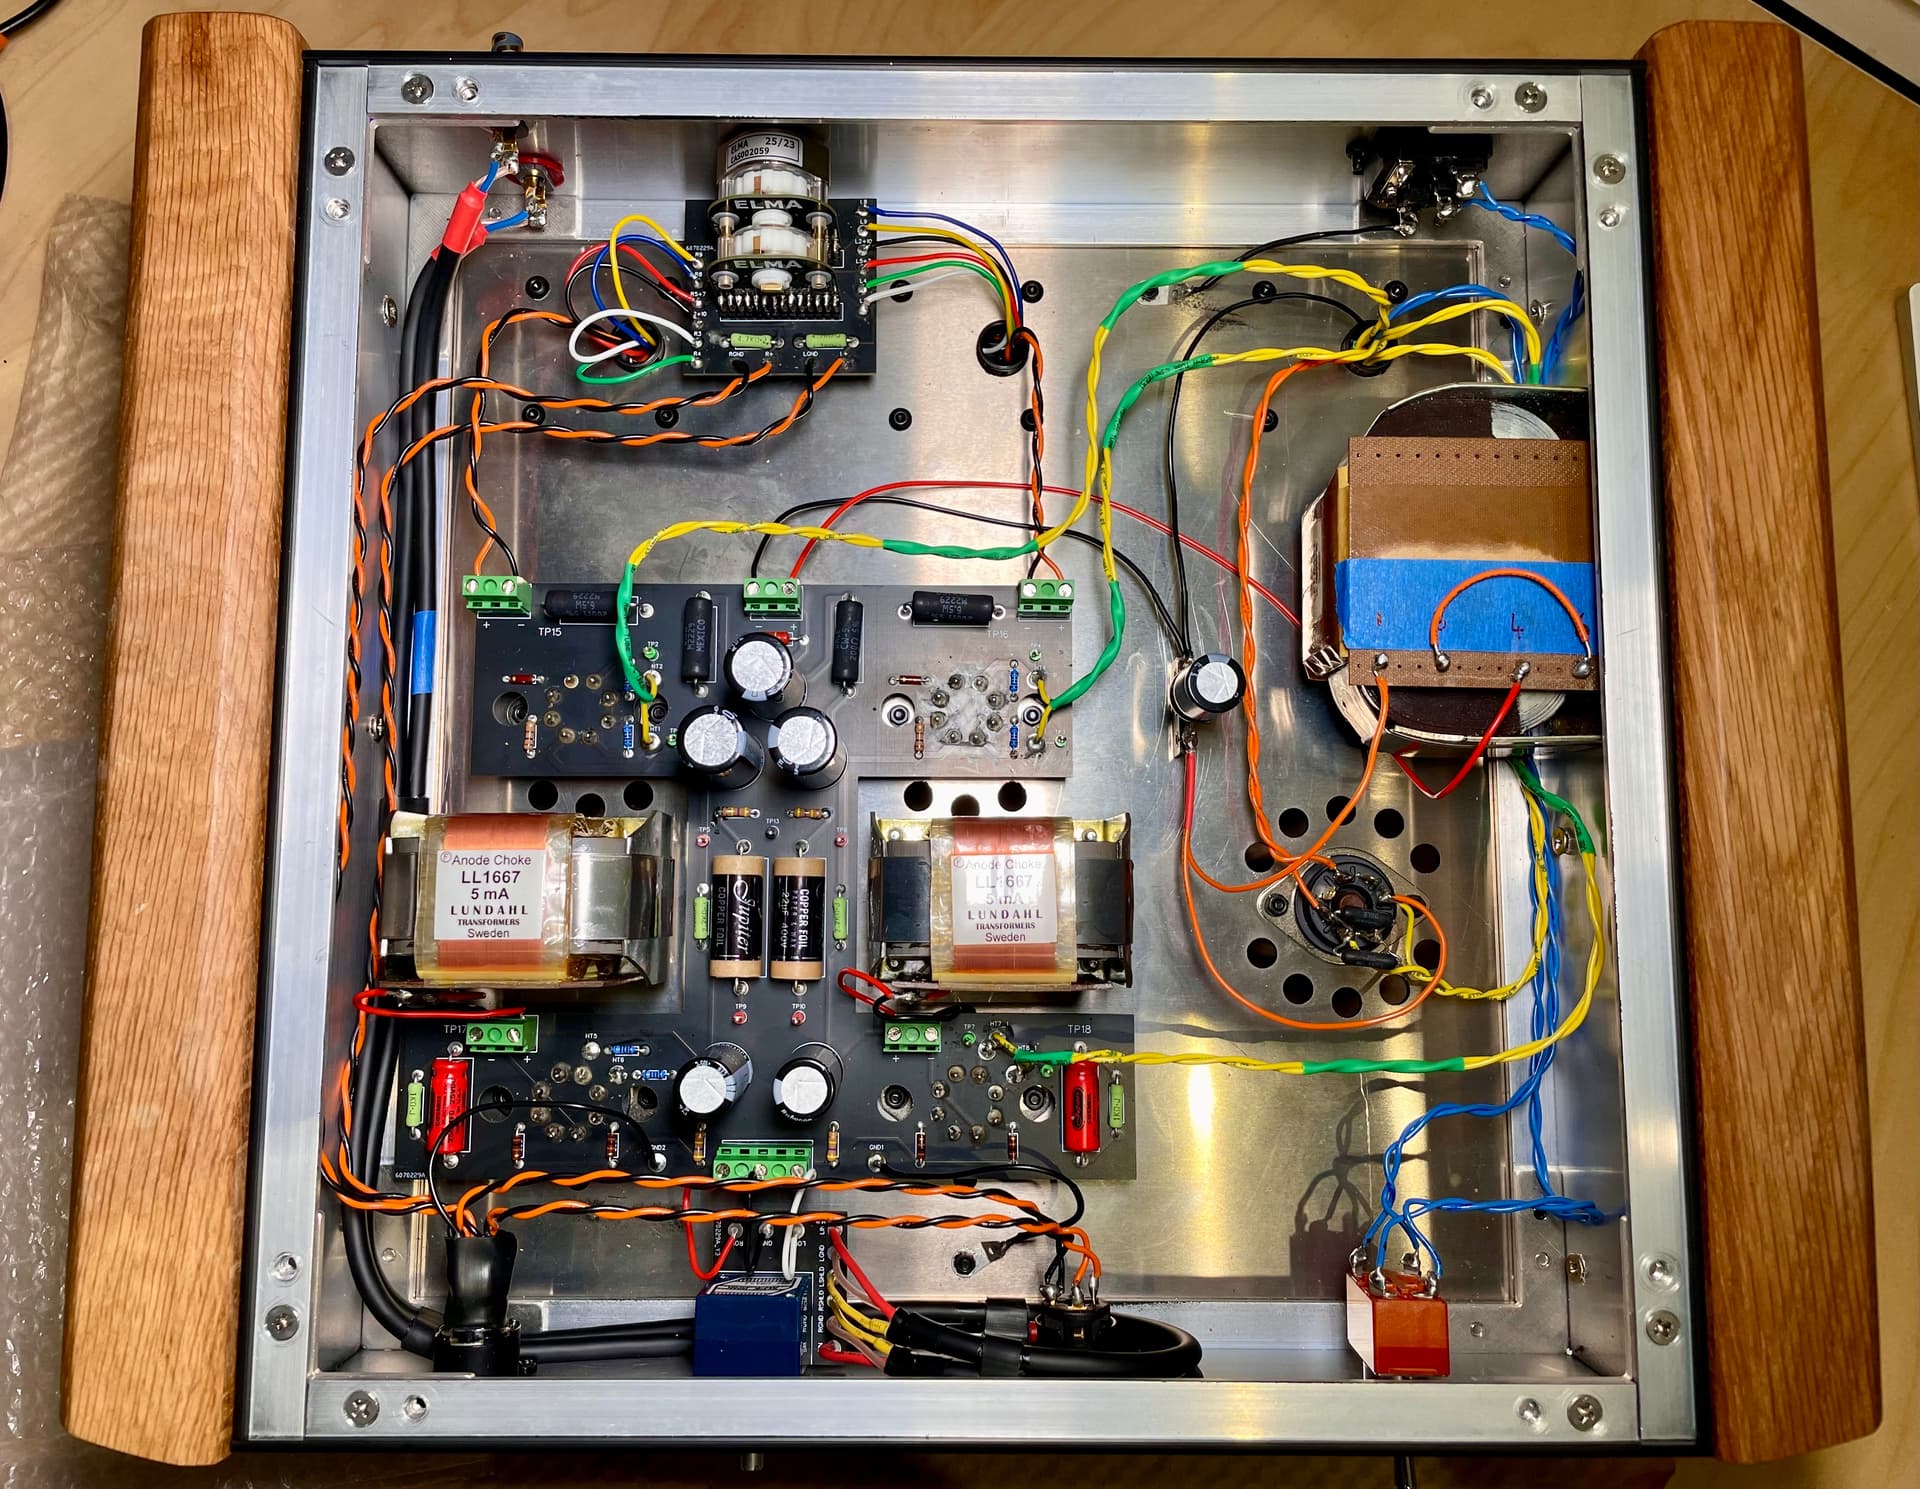
At this point the only parts to fit are the Output Transformers and the re mainly mains capacitor and connections to the mains choke. Once done, the inside looks like this.
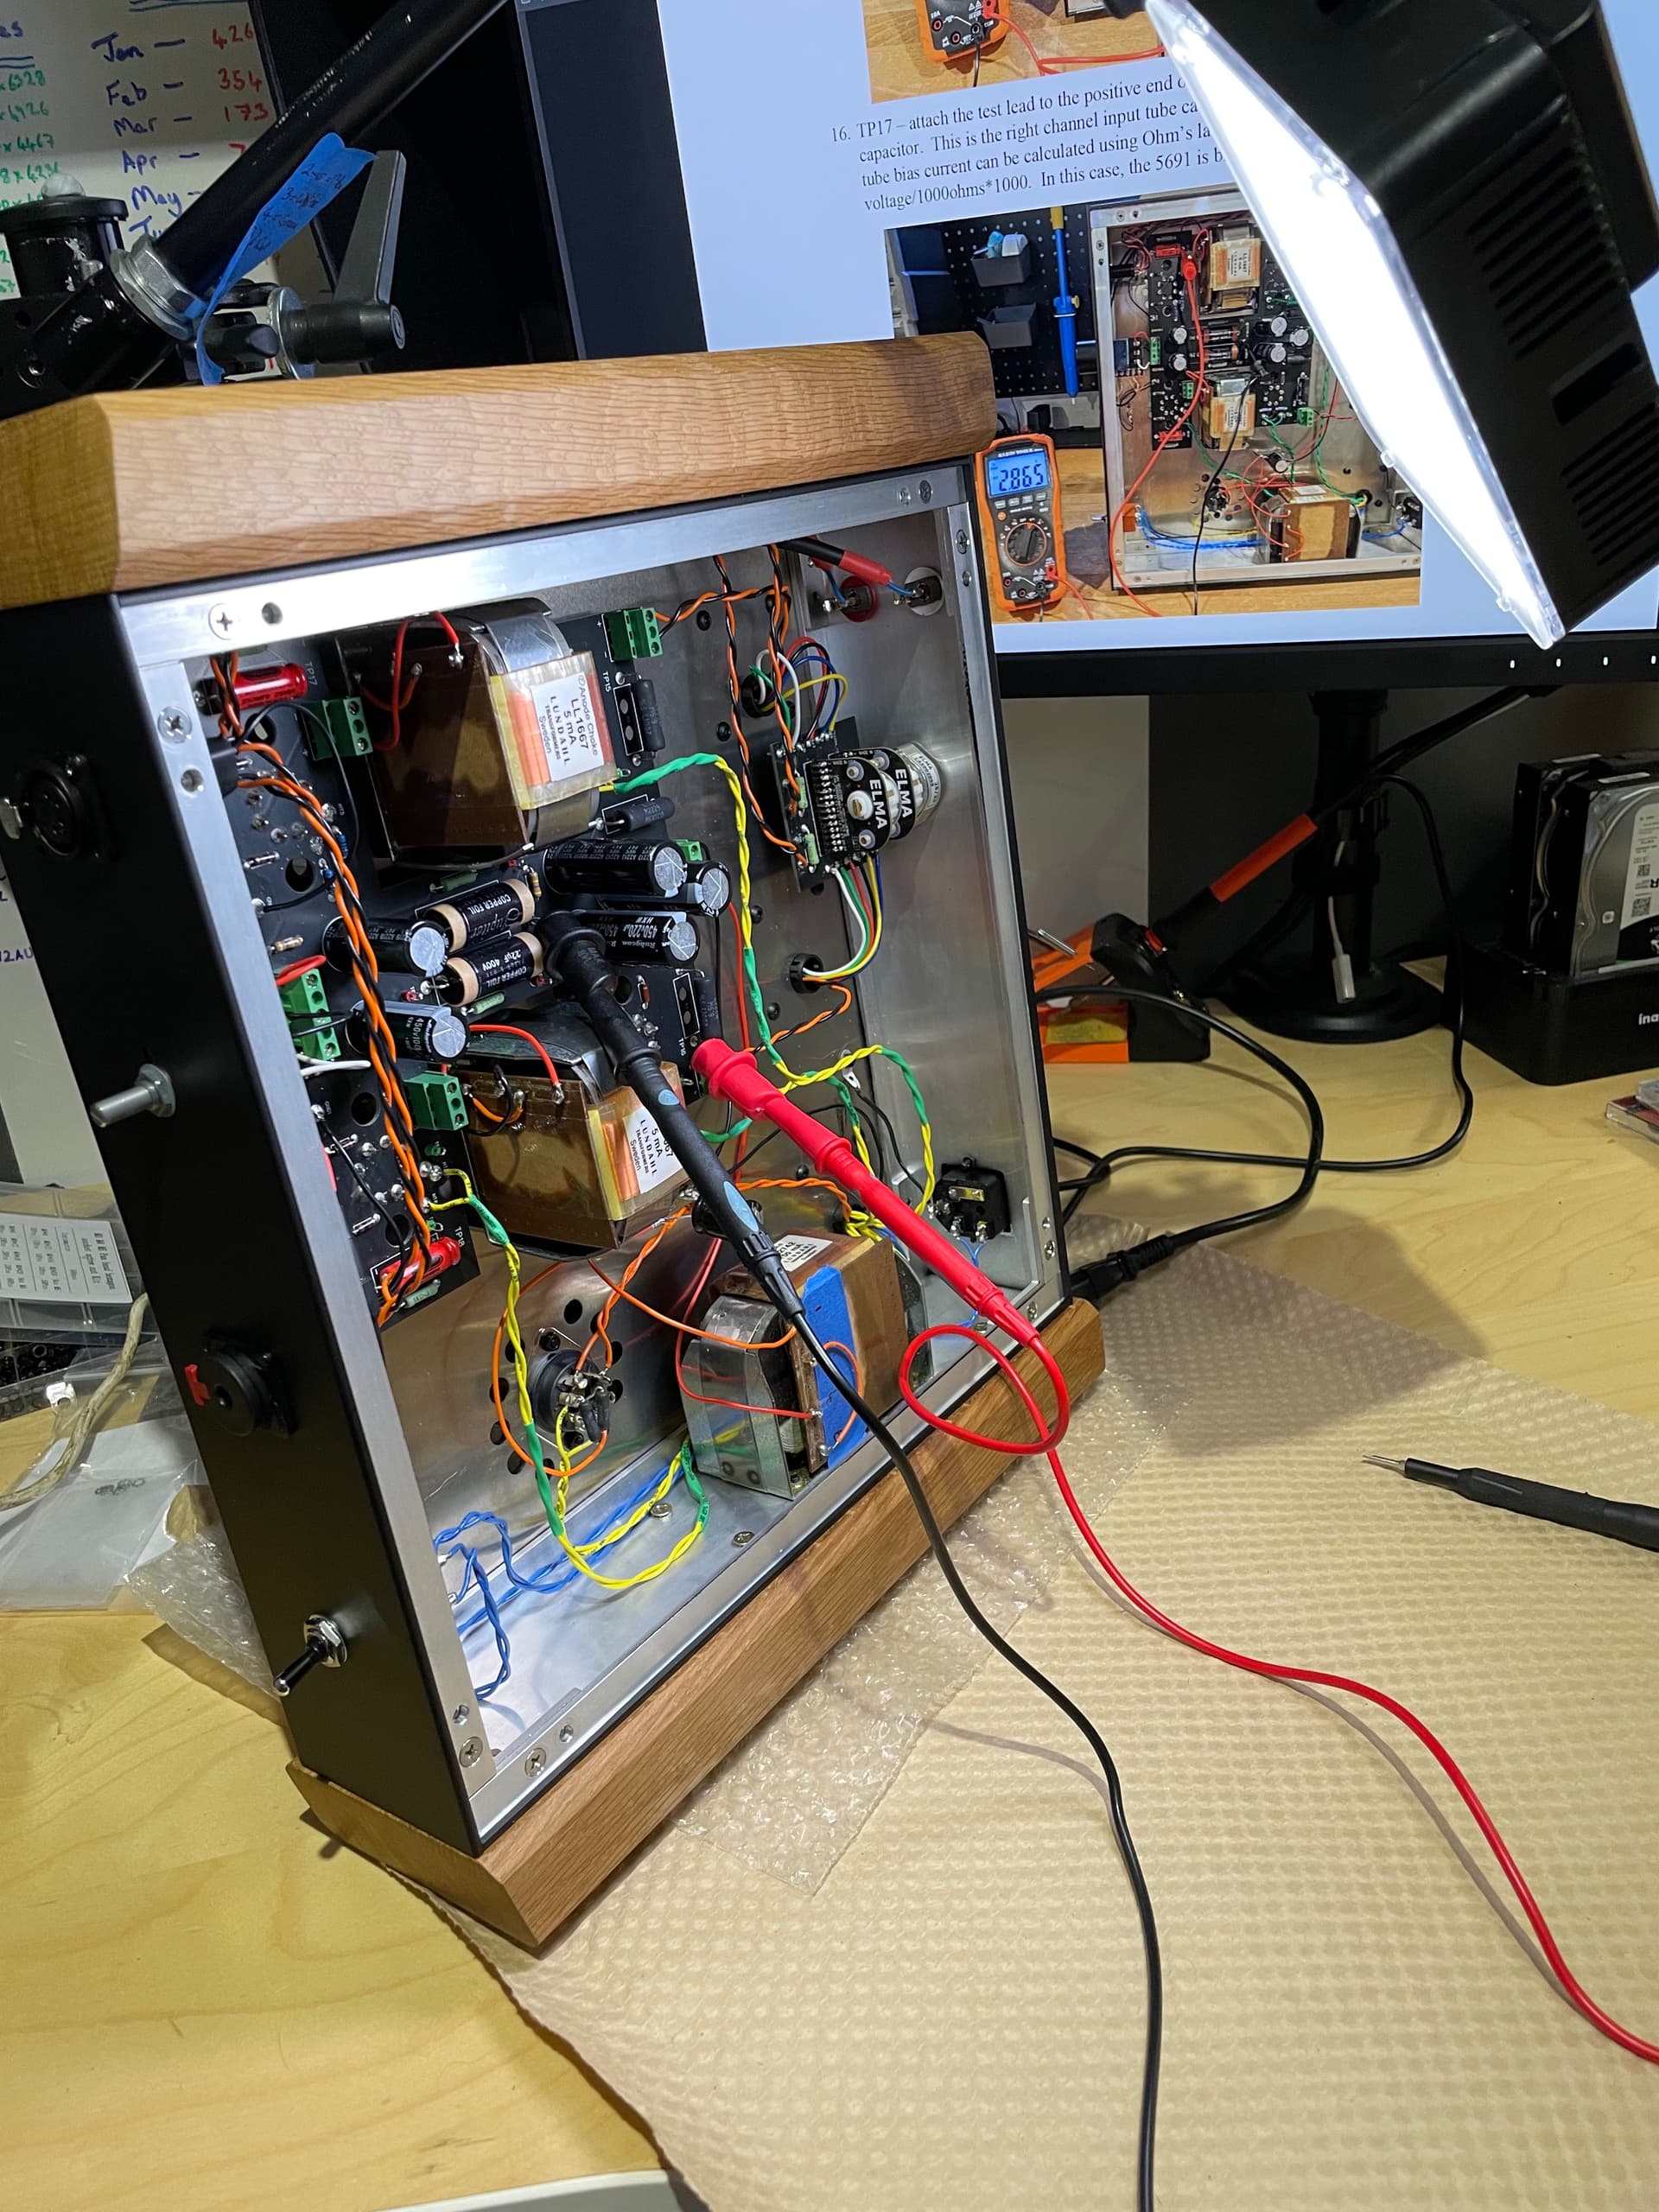
What’s next? A stack of testing from checking heater voltages, resistance checks and voltages of each socket. All passed off with flying colours.
And here it is, fully completed and the wood side panels blend in nicely with the Auris Nirvana. Now just a case of running it all in which I’m expecting to take 100hrs or so.

Tubes fitted are Mullard GZ34 (rectifier) pair of 1950’s Brimar 6SL7 (input tubes) and a pair of 1950’s Mullard EL37 (power tubes).
7 Likes
Congratulations, it looks really nicely done. Thanks for sharing your progress along the way and it would be good to get your listening impressions both now and after it’s run in to cap the thread off.
2 Likes
Well, when I decided on this amp as a build project it was for its ability to take so many different tubes, power and rectifier and even the 6SL7 has a lot of variants available.
One of the power tubes that really interested me was the Mullard EL37 which is quite an old tube but was know to have great sound staging, fairly airy but good bass extension. The EL34 (which it will also take) has better mids and possibly extends a bit deeper in bass, especially in the Nirvana but the EL37 was supposed to be better in soundstage and sounding “real”.
So, that paired with the Jupiter capacitors which are also known for great sound staging this is what I was looking for and the initial sound is very impressive. Feels very open and easy to pick out positions of instruments and artists. Bass sounds tighter than I expected for this combo, not as tight as the EL34 but still very good. The decay of notes is very nice and lingers just long enough to sound very real and natural. Listening to classical music at the moment and it sounds extremely good when paired with the Meze Elite.
I’ve learned over the past year with the Nirvana that tubes do need a minimum of 50-60 hrs to settle in. They may improve a bit after this but they can change a lot during this time. Normally an improvement in 3d positioning, clarity.
One thing that is really impressive with this amp design is how quiet it is when nothing is playing. It’s inky black. I found myself having to check it was turned on. L0rdGwyn did say this is part of the design and said there is no reason for background noise if it’s designed correctly!
1 Like
very meticulous tidy work! well done. I built a world audio kt88 integrated years ago and certainly not as tidy as that! but it worked at least.
1 Like
Thanks. I think, in a round about way I benefited from the delay of a couple of parts. There was no rush to complete as I didn’t have everything needed so I just divided it up into different groups and focused on each one making it as tidy as possible. As most of the parts were built / soldered outside of the case and fitted later, I also had more space to work in which helps
1 Like
Very nicely done! I enjoy electronics kits and have found this tool to be very useful for trimming excess bits from the back of the boards.

Very inexpensive and of good quality available from Ali, Ebay etc.
1 Like
Yeah, they’re better than the wire cutters I used ![]()
If Keenan (L0rdGwyn) ever designs a DIY 300b headphone amp I’ll have to buy a pair of these! That said, the Aegis that I’ve built here (after 60hrs) is sounding incredible with the Mullard EL37 tubes. Classical has never sounded so good. I’ll be adding some different tubes before long!
1 Like
This topic was automatically closed 60 days after the last reply. New replies are no longer allowed.