Could I find a jig online, or should I make one (sounds like fun to do it yourself… I haven’t got two left hands, luckily)
Hi Pieper,
I’ll try to put something together over the next week or so. I’m up to my eyeballs with work at present (luckily) but I’ll look up my posts from the old forum, repost them and add some other things I’ve learned in the meantime.
Best regards,
Mark Dunn
3 Likes


Made a jig… the plinth isn’t level on the front… will have to get that done… afterwards have to get the platter level (it’s level now, but the plinth isn’t completely… got some work to do…): it was definitely not level any too high on the left hand side…
2 Likes
…
Got it as level as I can…
Definitely more open on the left channel…
Now for some intense listening…
May need a bit of twerking, but definitely better than it was.
Got ca 2.44 grams of fishing lead on a piece of fishing line (have ordered a thinner longer, 0,3 mm is still a bit thick… have ordered 0,16 mm…) hanging from the first notch and have the hook aligned with the fifth notch ( hope that’s okay Mark !?)…
Tracking weight is 1,99-2,00 grams (depending on the mood of the electronic scale). VTA is not level but pointing a bit downwards…
Azimuth weight had been taken off…
Am still waiting for my weight from tiger paw…
I’ll keep you informed. Any advice on tweeking would be helpful.
For me, the spirit levels on the plinth are far too small. They’ll give false readings. better with a 12" one or so.
2 Likes
Better still, I would think, an 11.5 inch one that doesn’t sit on the raised lip of the platter.
I tried it with a longer one, which was way off… I couldn’t get a good reading on that one.
A very decent one is not cheap…
I tried it in the end with just on spirit level and turned it face forward and back forward to see if it was level and tried it on more than one point in the plinth… I used that on the platter as well, because that thing with the two spirit levels combined was way, way off.
In the end, I seem to have done a good job, because the sound is definitely better than it was.
I will, however, be looking for a high grade spirit level ( I have had quite a few longer ones, the last one was ca 35 cm ( I don’t do inches🤷♂️) and that one was not level enough…)
But thank you for the tips anyway guys👍🏻
It’s a little bit trial and error when levelling the plinth, platter, armboard and Aro. The plinth surface isn’t always perfectly flat for a start. Multiple readings, high quality spirit levels and time will get you there. I use a Stabila 81s (non magnetic) in 25cm and 40cm lengths and the Aro bubble level
I don’t like long levels on the platter. Due to the weight, they alter the platter’s position.
I had a stabila which had a small bump underneath, which made for lousy leveling…
I have ordered another type stabila spirit level and hope that will be better (20 cm…)

This is a picture of my bias weight ( will be using a thinner type of fishing line in a few days)

VTA is only slightly downwards…
Here are some pics of my starett machinist level, and the locations I use to level the plinth. I use the audio technica bubble level to level the platter/arm board.
Also, be sure that your anti skate hangar is positioned so the filament hangs as horizontal as possible through the loop and to the post. Your hangar looks bent out of position. My weight just touches the arm board when the arm is Swung at the Furthest point on the arm rest.


1 Like
My weight seems of, because I’ve got it dangling in front of the fifth notch (as per Mark Dunn’s advice…)
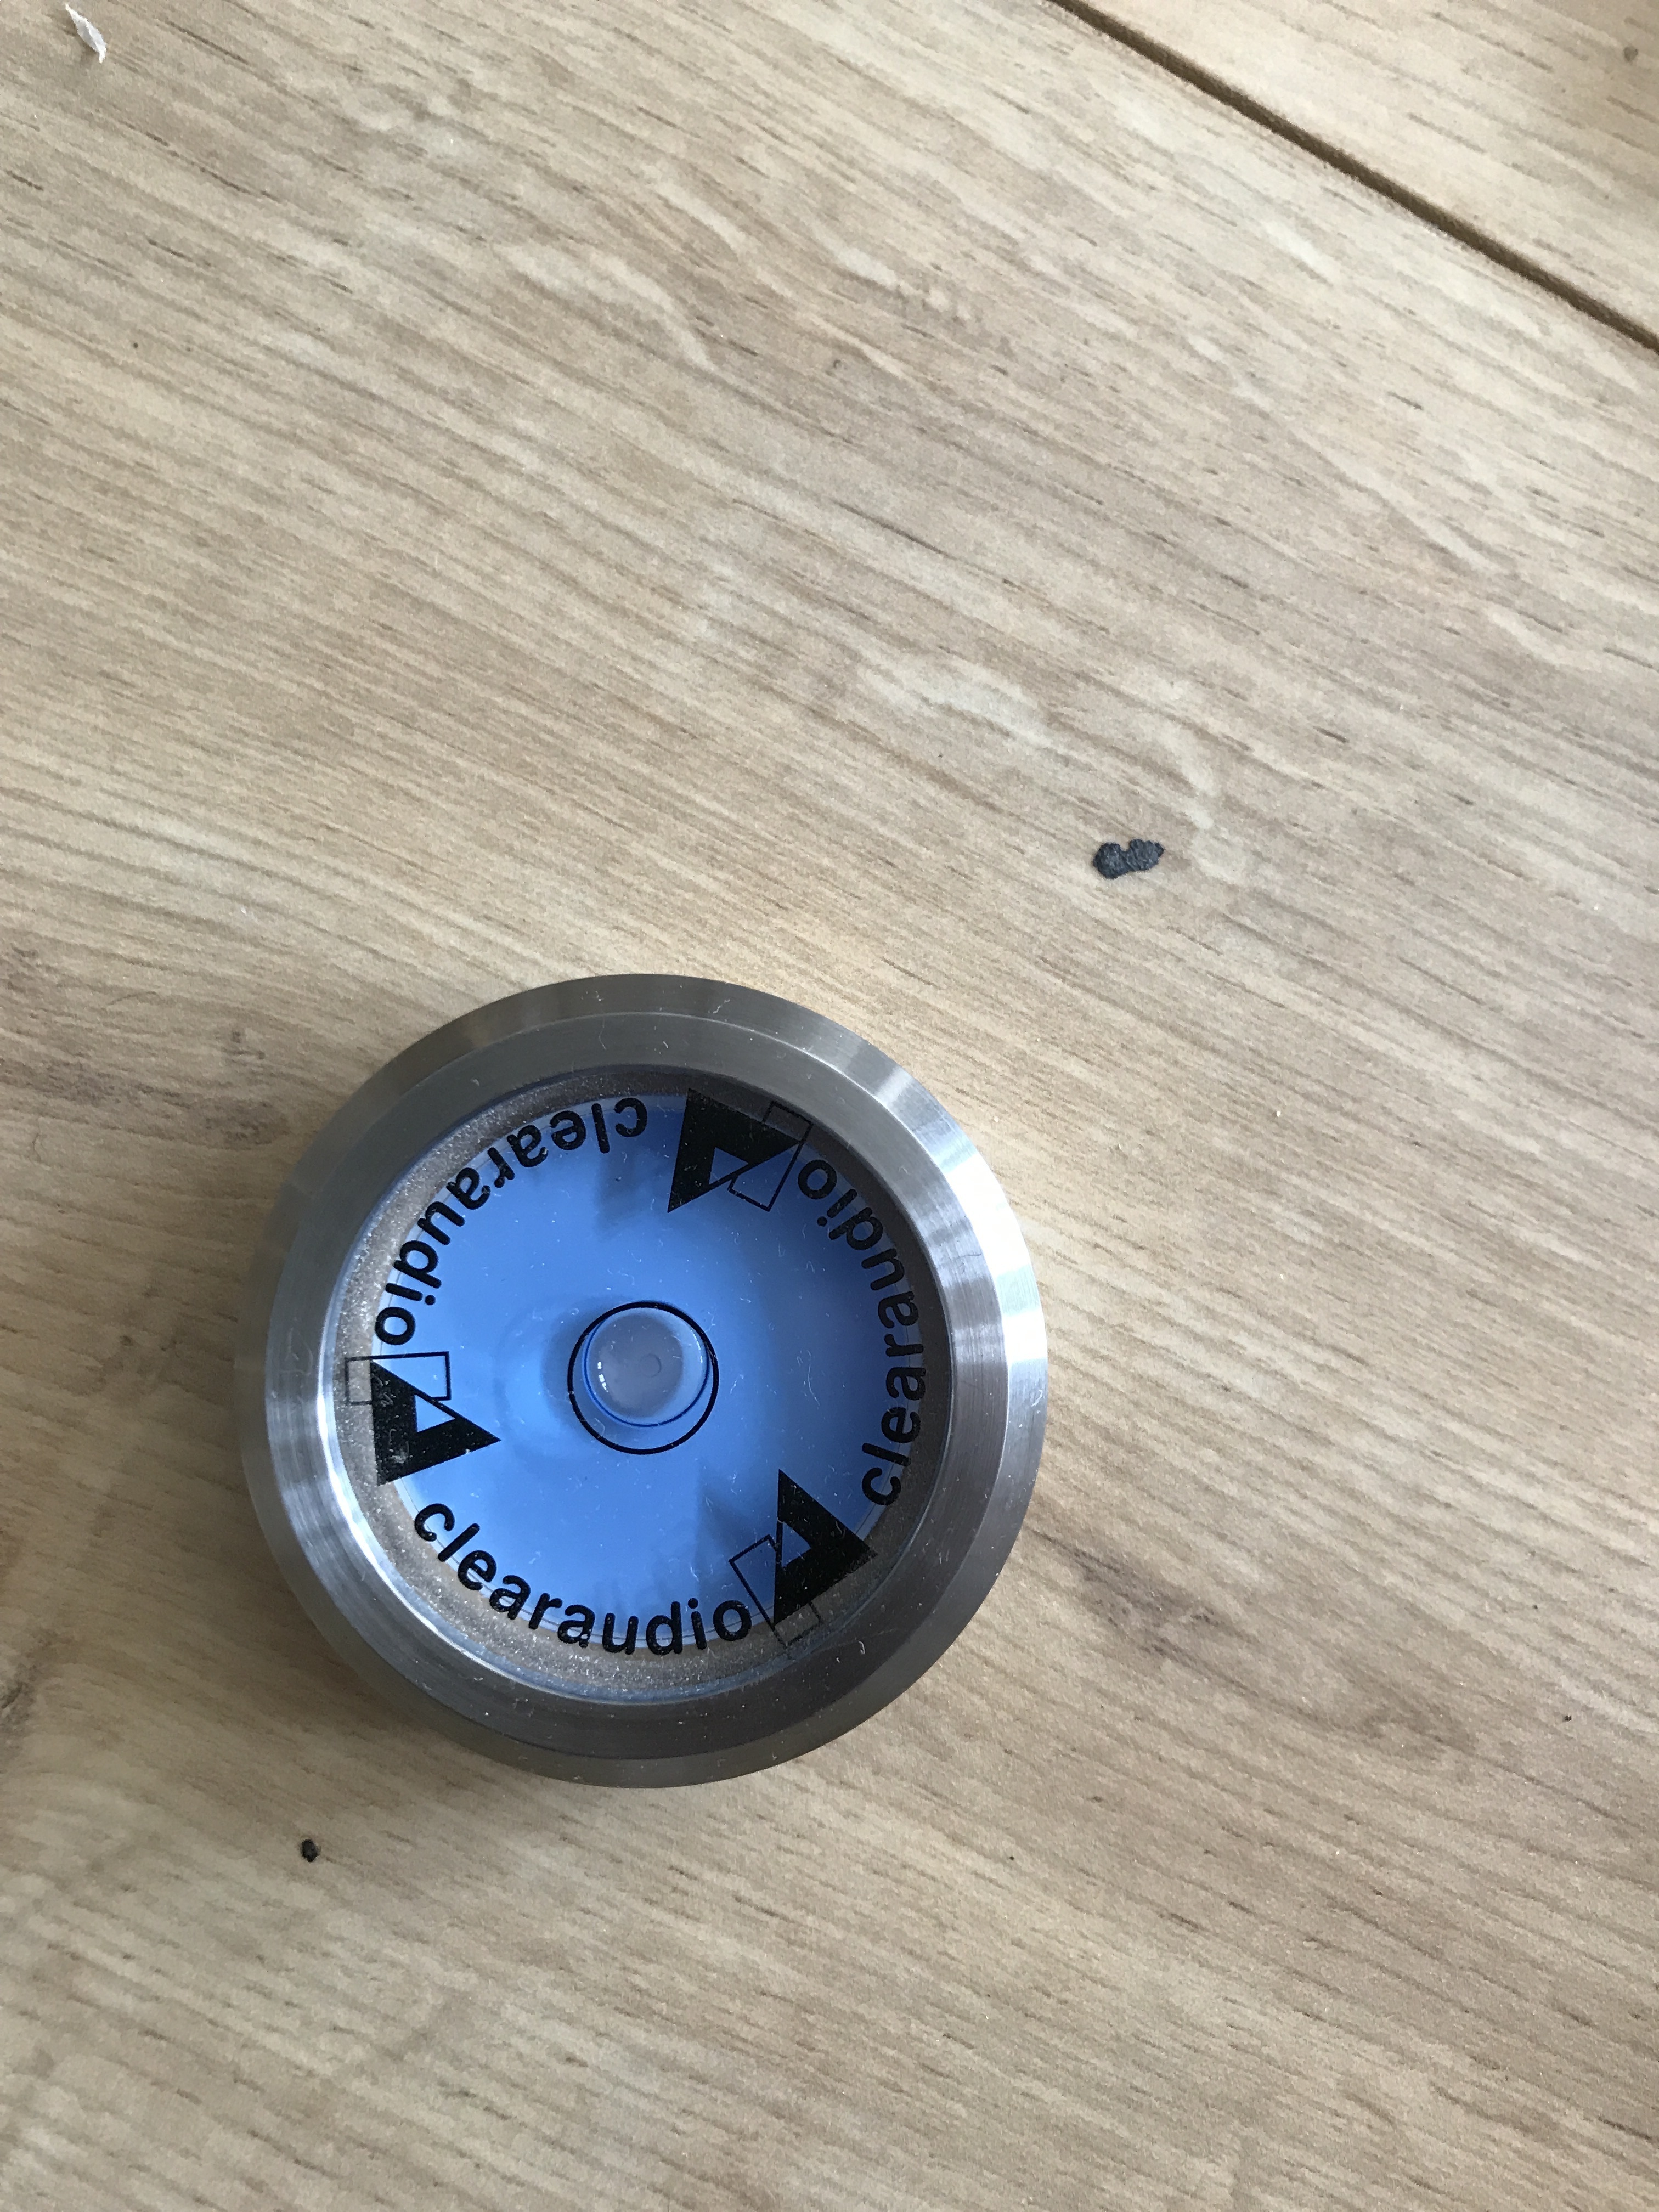
I have a clear audio spirit level, which isn’t completely level!
And an original one from Naim which came with the aro, which is also not completely level… that’s the biggest hassel; getting a spirit level which is level!
That starret level seems okay
You illustrate how it’s almost impossible for a tiny spirit level to be perfectly accurate - even seemingly tiny errors can actually be huge. It’s why a long level - the longer the better, although usually best to choose the length that best fits the job at hand - is much the best way to get the most accurate levelling.
True point, also an accurate level, made specifically for such processes.
Hi Pieper,
Yes, from my experience your certainly in the right area.
Regards,
Mark Dunn
I have something like that. Used it before for my SME turntable.

@ Richard Dane: Are you replying to my post or 334578?
Or both
@ 334578: I’ve looked up the spirit level you use. Very mixed reviews… I guess it’s with all kinds of levels. If they’re accurate, they’re accurate… If not, then not.
I’ve decided to buy a new stabila (after I detected the flaw in mine, I took it apart…)… will check how level it is before I put it on the Linn… I ordered a 20 cm level, that should do the trick…
I’m listening to Gilmour live in Pompeii now… sounds great to me… don’t think my neighbors are too chuffed though😉
Good call, there are mixed reviews on all products, I do have a true precision level that I use, and validated the other level. There is a site online that has “LP12 bits“ which I thought had an extra anti skate weight for sale at one point not too long ago, should you need one.
That audio technica bobble level isn’t also very accurate. It’s worth getting at some point to use after you level the plinth in the stand and get the bounce right.
Scott
If you ordered recently from Tiger Paw, you may be waiting a long time. Roger has not been well and the business has closed down. The website however is still taking orders (and money!). Hope you paid via PayPal, I would start a claim through the resolution centre ASAP.
All,
Below are my previous posts regarding bias adjustment for the Naim ARO.
In addition, I’d like to add the following:
-
Cartridge/arm bias adjustment is not an exact science. There are too many variables to be able to get it right for every record, or even over the playing surface of a given record:
a. The compound of vinyl used
b. How ‘hot’ the tracks are cut
c. The thickness of the record. This changes the stylus rake angle, the vertical tracking force (when using a statically balance arm like the ARO) and the stylus azimuth in the groove
d. Stylus profile
e. Horizontal and vertical compliance of the stylus/cartridge suspension system varies non-linearly and non-coincidentally across the frequency spectrum. -
Assuming an LP12, the horizontal plane of the platter and the horizontal plane of the armboard MUST be parallel. Leveling the plinth is the first step, but overall this isn’t as easy as it sounds to get right even with a level plinth. The standard Linn top plate is bowed, which makes it difficult to have a reference. With a flat top plate (I have a Tiger Paw Kahn) you can slip a small stack of business cards under the platter’s edge at the points close to where the suspension springs hang, and adjust the suspension so at the three points the bottom edge of the platter just touches the top of the stack.
-
Remembering that the centre of gravity of the platter/armboard/subchassis/suspension system is not coincident with the record spindle, when you’re leveling the platter/armboard the platter needs to be loaded with a mass equivalent to a typical record. If you have a spare heavy ARO counterweight, you’ll find that it weighs 139g and works perfectly if placed centrally over the spindle. The bubble level that came with the ARO can them be centered on top of the heavy counterweight as a double-check. You’ll likely never get everything absolutely perfect, but when the platter is rotating you can get it so that the bubble only moves very slightly, and certainly stays within the black scribed circle on the Naim bubble level.
-
The lead-out wires that go from the ARO bearing cup to the socket on the armboard should be teased into a position where they do not touch the bearing cup or the armboard mounting collet over the arc the arm describes over the playing surface. The positioning of these wires will also affect the cartridge azimuth as the arm moves over the record and it’s quite a chore to get those wires into a position where they make the minimum change in azimuth from the outer to inner grooves. This will take patience and several iterations. Then you put on a record of a different thickness and find that everything has changed. As I inferred at the start of this post, you’ll have to aim for the best compromise.
-
Changing the mass of the bias weight may change the azimuth of the cartridge. This is because the bias force applied to the bearing is not on the same horizontal plane as the stylus, and so there will a be a slight tendency to rotate the arm with the stylus as the pivot point. This is a small effect but can be clearly seen and heard if the mass of the bias weight is changed by a large enough amount.
Originally posted 3-4-07
Below is a diagram to help you see what I’ve done with the bias hanger, and why I tried this route. But first some background:
a. The ARO bias weight weighs in at 1.65g
b. There should be 40% - 50% greater bias force at the end of the record as at the beginning. Interestingly, this is NOT due to the reaction force from the centripetal acceleration trying to throw the stylus outwards, as that force is an order of magnitude lower than the force pulling inwards due to headshell offset and friction. It is, I believe, primarily due to the amount of information (undulations) per unit length of groove being higher at the inner grooves than at the outer.
c. The standard ARO (and most other hanging weight bias systems) have the exact opposite of what is required in (b) above due to the angle of the line attaching the gradated bias arm to the bias weight (see diagram below)
d. The simplest way to get things at least approximately correct is to set the bias hanger as in the diagram, use the first groove of the gradated bias arm, and add mass to the bias weight (I use Blu-Tak) to make up for the lost leverage.
e. Knowing that mass of the bias weight it is straightforward to calculate the right amount of mass to add using force = mass x distance.
I have empirically tested this method both with the HFN test record (I knew I’d use it someday) and a PC software oscilloscope and obviously by listening too. The main benefits are that the music is more ‘centered’ in both musical and hi-fi senses across much more of the playing area. It is now very difficult to tell which part of a record is being played. There is also considerably more detail at the start and end of a side, as one might expect.
Obviously, this experiment involves maligning the bias hanger, so be careful. I take no responsibility … yada yada yada.
Added Information (9-24-12):
The bias hanger needs to be bent so that the bottom of the ‘U’ shape where the bias cord crosses it causes the cord to be level with the main axis of the gradated bias arm. This adjustment should always be done as a matter of course anyway.
Too get the best angles, the ‘U’ shape of the bias hanger should be only 1 to 2mm away from the gradated bias arm when the arm is at rest with the arm tube parallel to the side of the armboard.

Regards,
Mark Dunn
3 Likes