10 quid, it’s called Hutten
2 Likes
May get one or two of those to store my nait 50 and it’s non naim, buys hotbox sized streamer.
1 Like
USM Haller? Made of steel.
Tylko? Plywood.
Custom from a furniture maker?
That looks about right thx
1 Like
It is not a simple solution, and it will not be as low cost as the IKEA suggestion which I think excellent, but have you considered making your own rack? It really depends on what you are trying to achieve. I am assuming that you do not have lots of space, want something that is functional, not an aesthetic eye-sore, and keeps things neat and tidy. Those are a lot of parameters to consider, which is why building your own rack is quite an undertaking. If it is not for you, then you can happily ignore the rest of this.
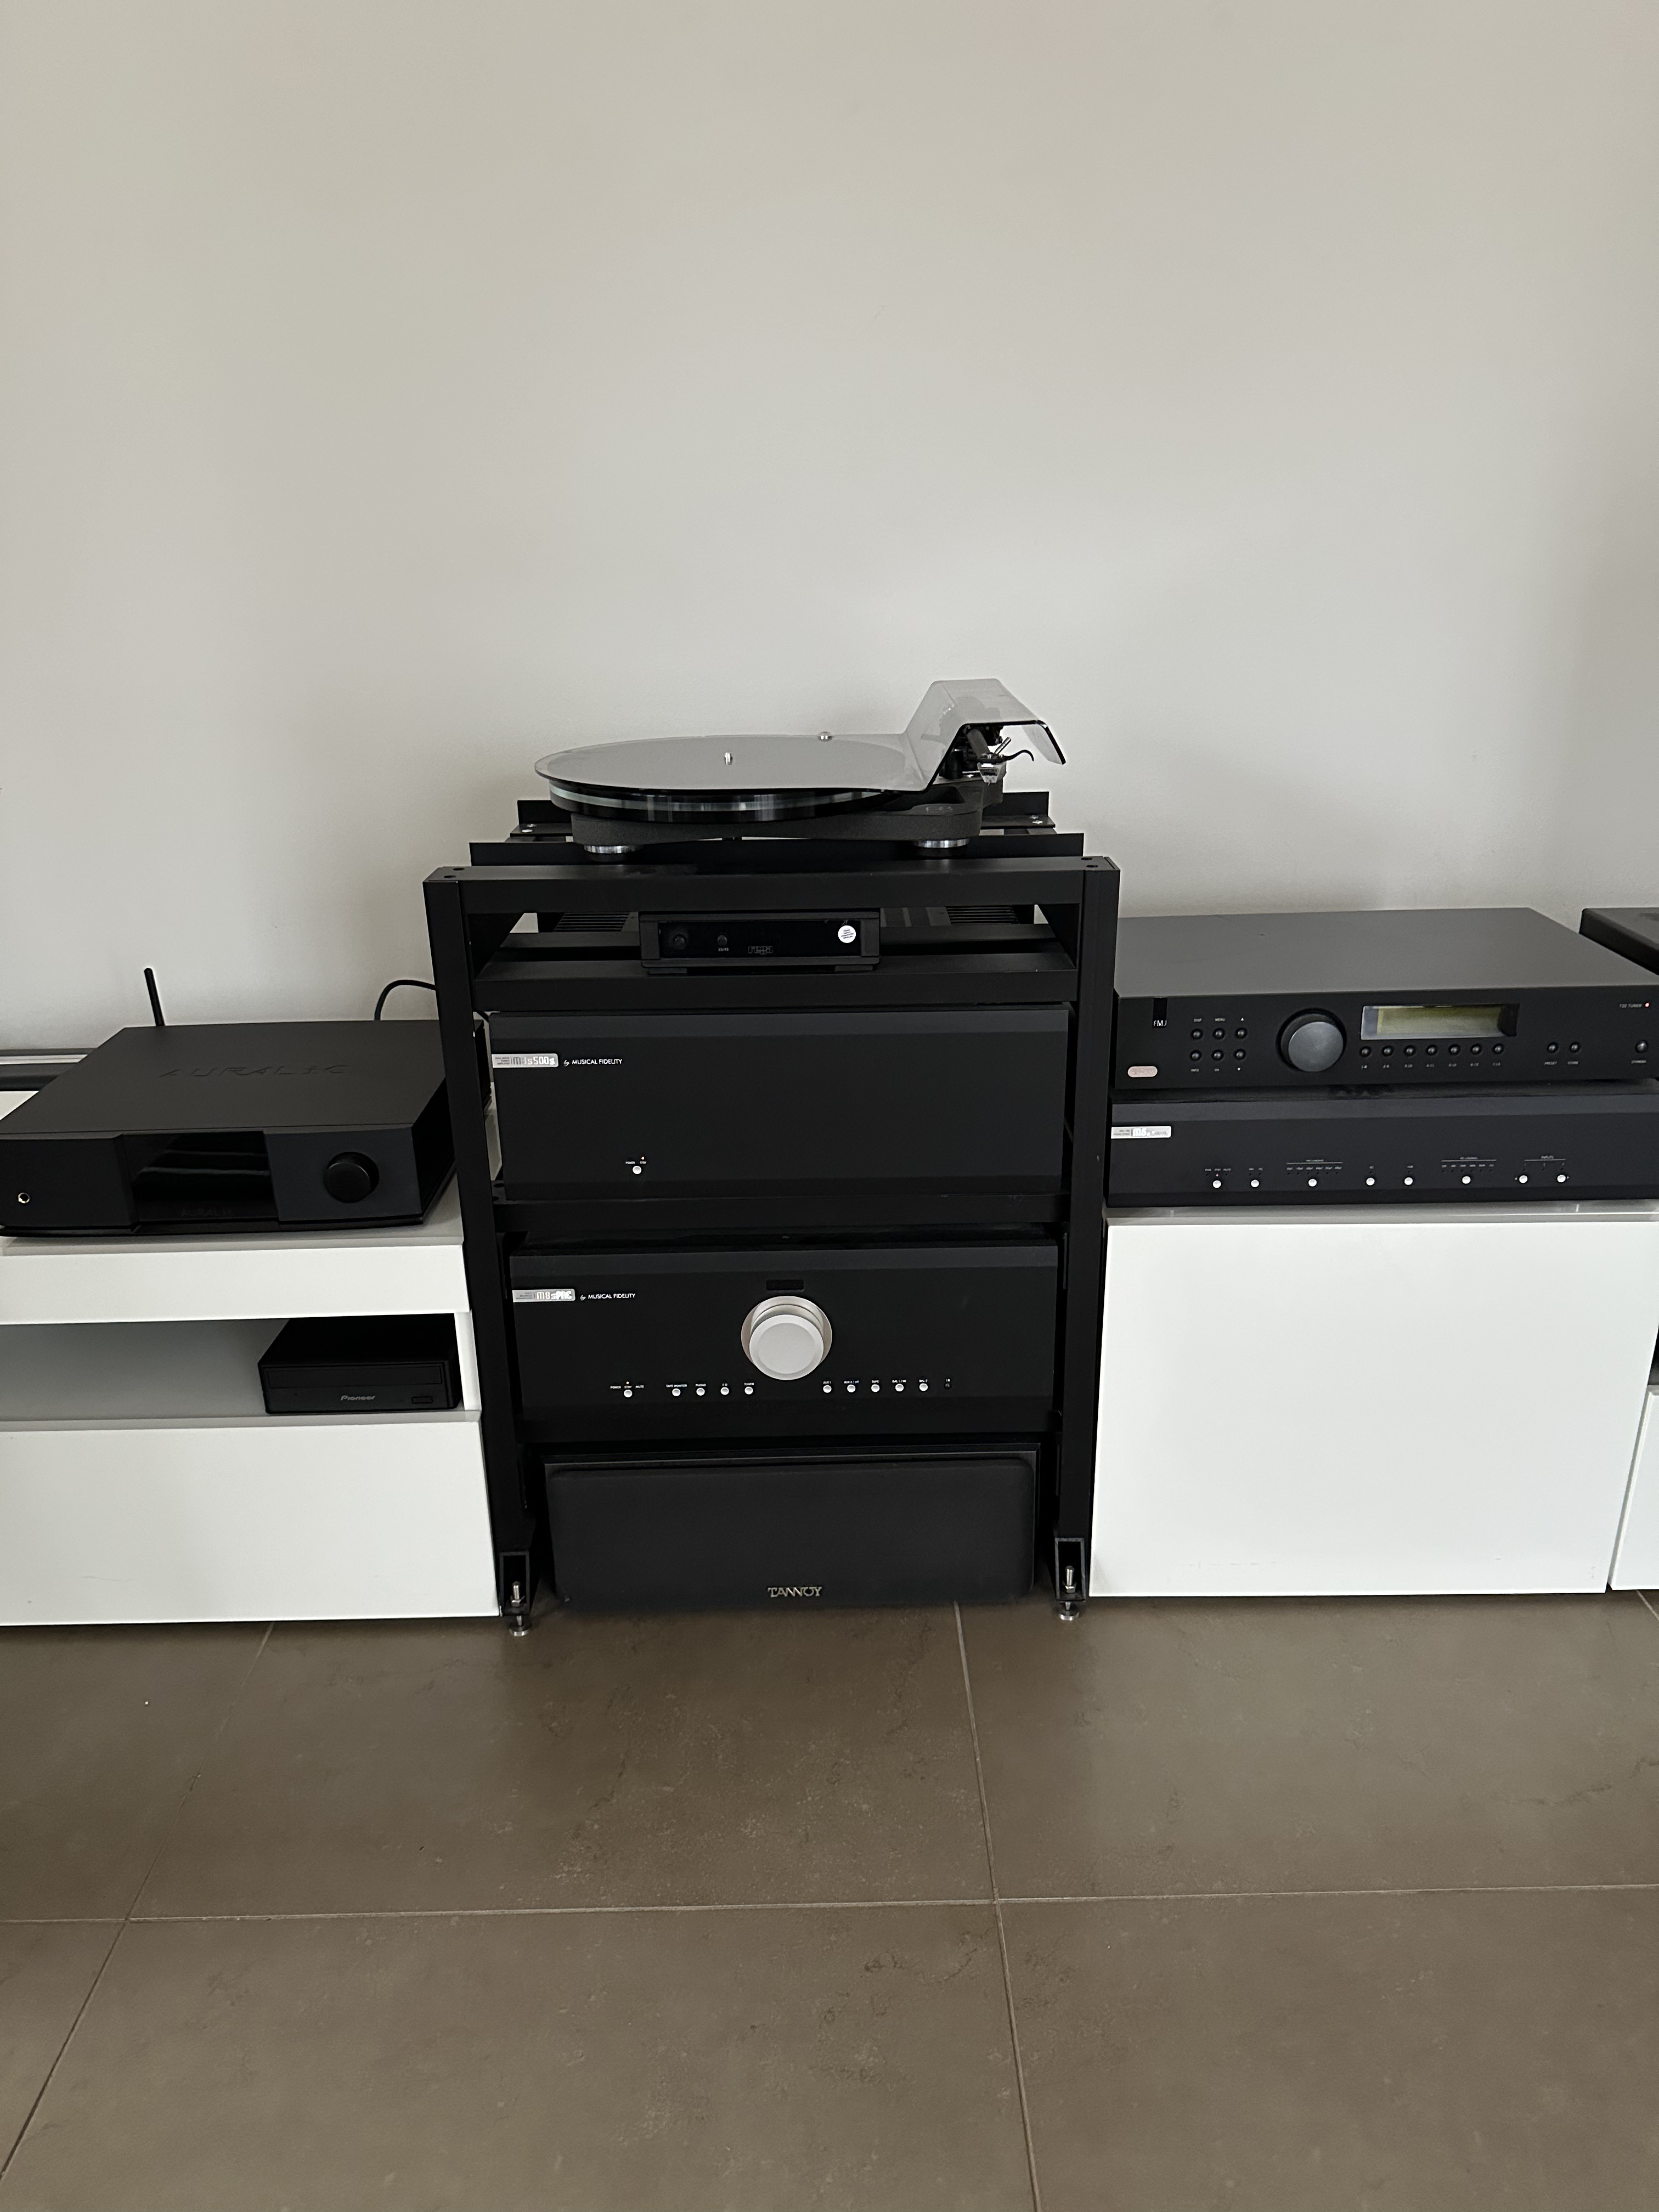
This was my experience.
Starting position.
No dedicated listening room.
Existing furniture permitted 515mm of space for the equipment.
Widest piece of equipment was 440mm.
Two pieces of equipment at that width: Musical Fidelity M8 Pre and Power Ampliers.
Combined weight of the above: 46 Kg., about 101 Lbs.
Power amp heatsinks get warm/hot-ish and are on both sides.
Height restricted too.
Initial considerations.
I needed to accommodate the above, plus:
Musical Fidelity M6x Vinyl stage.
Rega RP8 and PSU.
Arcam FM/DAB tuner.
Auralic Altair streamer/music storage.
Centre speaker for little used home cinema.
The existing furniture was too flimsy to accommodate the mass of the amplifiers.
I couldn’t get all my equipment in the rack because of the height constraint.
I compromised by designing a rack with the following parameters.
The centre speaker simply rested in the floor.
That was a compromise that diminished the available height, but shifted everything upwards so that the heat sinks for the power amp would be in free space.
The next level going up from there was a level to accommodate the M8 Preamp.
Next level up to take the M8 power amp
Then up to space for the RP 8 PSU, which diminutive size gave more air circulation.
A place for the RP8 above that.
Wrinkles
The position of the support feet for the Pre and Power amps were dissimilar.
With that much mass, bracing the rack front to back, and side to side is essential.
The neat and tidy parameter meant that to avoid the phenomenon I call see-fret*, joints/construction should not be easily visible.
Construction
Sixty (odd) years ago, I obtained “O” levels in Metalwork and Engineering Drawing, so that came in handy.
I used an inexpensive CAD system to cheat on the drawing stuff. Even so, the design process is time-consuming.
Professionals attempting to accommodate such a mass would probably use Finite Element Analysis to achieve a satisfactory result. I was using TLAR**, so it is essential to recognize that the design one creates is likely to be over engineered, hopefully neat and tidy but probably not that elegant.
**TLAR = That Looks About Right. It worked for the Victorians.
I used aluminium extrusions, some right angle, some box section, all ordered through the Internet.
The above was jointed using either pop-riveting, or nylock nuts and bolts.
Careful measurement (measure twice, cut once), respectfully, excruciatingly careful measurement, cutting material at right angles, and being able to drill holes at right angles are absolutely vital considerations. If there is no means to do that, probably best not to start.
Finish consisted of spraying the finished rack with primer and (black) paint obtained in cans from a local store.
Conclusions
Getting a design is tricky and time consuming.
Without a design, there is no way of knowing if everything will fit.
Without a design, you don’t know how much material to obtain. The extrusions come in fixed lengths but a 2 meter length of extrusion will not yield four half meter lengths of the parts you design. It will yield three half meter lengths and maybe another length for another part of the design, so you will need to figure out a bill of material from your design, and then a cutting list, before you order the extrusions.
Getting a design really is tricky and time consuming.
Every cut you make is mildly anxiety-inducing. (Well, it was for me.)
The entire evolution took much longer than I imagined. Much, much longer.
I was content to spray paint, but if I did it again, I would consider anodizing. However, the result turned out to be more than satisfactory. The mass of the amplifiers does seem to make the platform for the RP8 very stable and the amplifier doesn’t overheat.

If you got this far, you may be wondering where the NAIM bits are. I previously had a NAIM CD player which after many happy years, started to be problematic, and, in spite of the best efforts of the engineers at NAIM, parts were simply not available. Its departure was lamented, but provoked an opportunity.
*See-fret. If you are a Douglas Adams afficionado you will know about The Book of Liff, in which place names are used to define common experiences. See-fret defines the attitude/look one might get from a significant partner every time a change of anything associated with the hifi occurs. Once observed, (the seeing part) the fretting starts. They wonder how much you spent, and you wonder how much more you will have to spend to achieve appeasement. Many of you will know what I mean.
2 Likes
FiiO teased this rack on IG…
This metal stand, specially designed for FIIO desktop HiFi equipment, has completed its design and prototype manufacturing

Image attribution FiiO
Unfortunately, it’s too small for Naim shoebox components (even if rotated 90°) *
OTOH, it would be lovely for suitably sized desktop gear.
* They didn’t include the specs, but I believe that the FiiO boxes shown in the rack are ~223.5mm x 213mm x 66.8mm (incl feet) each.
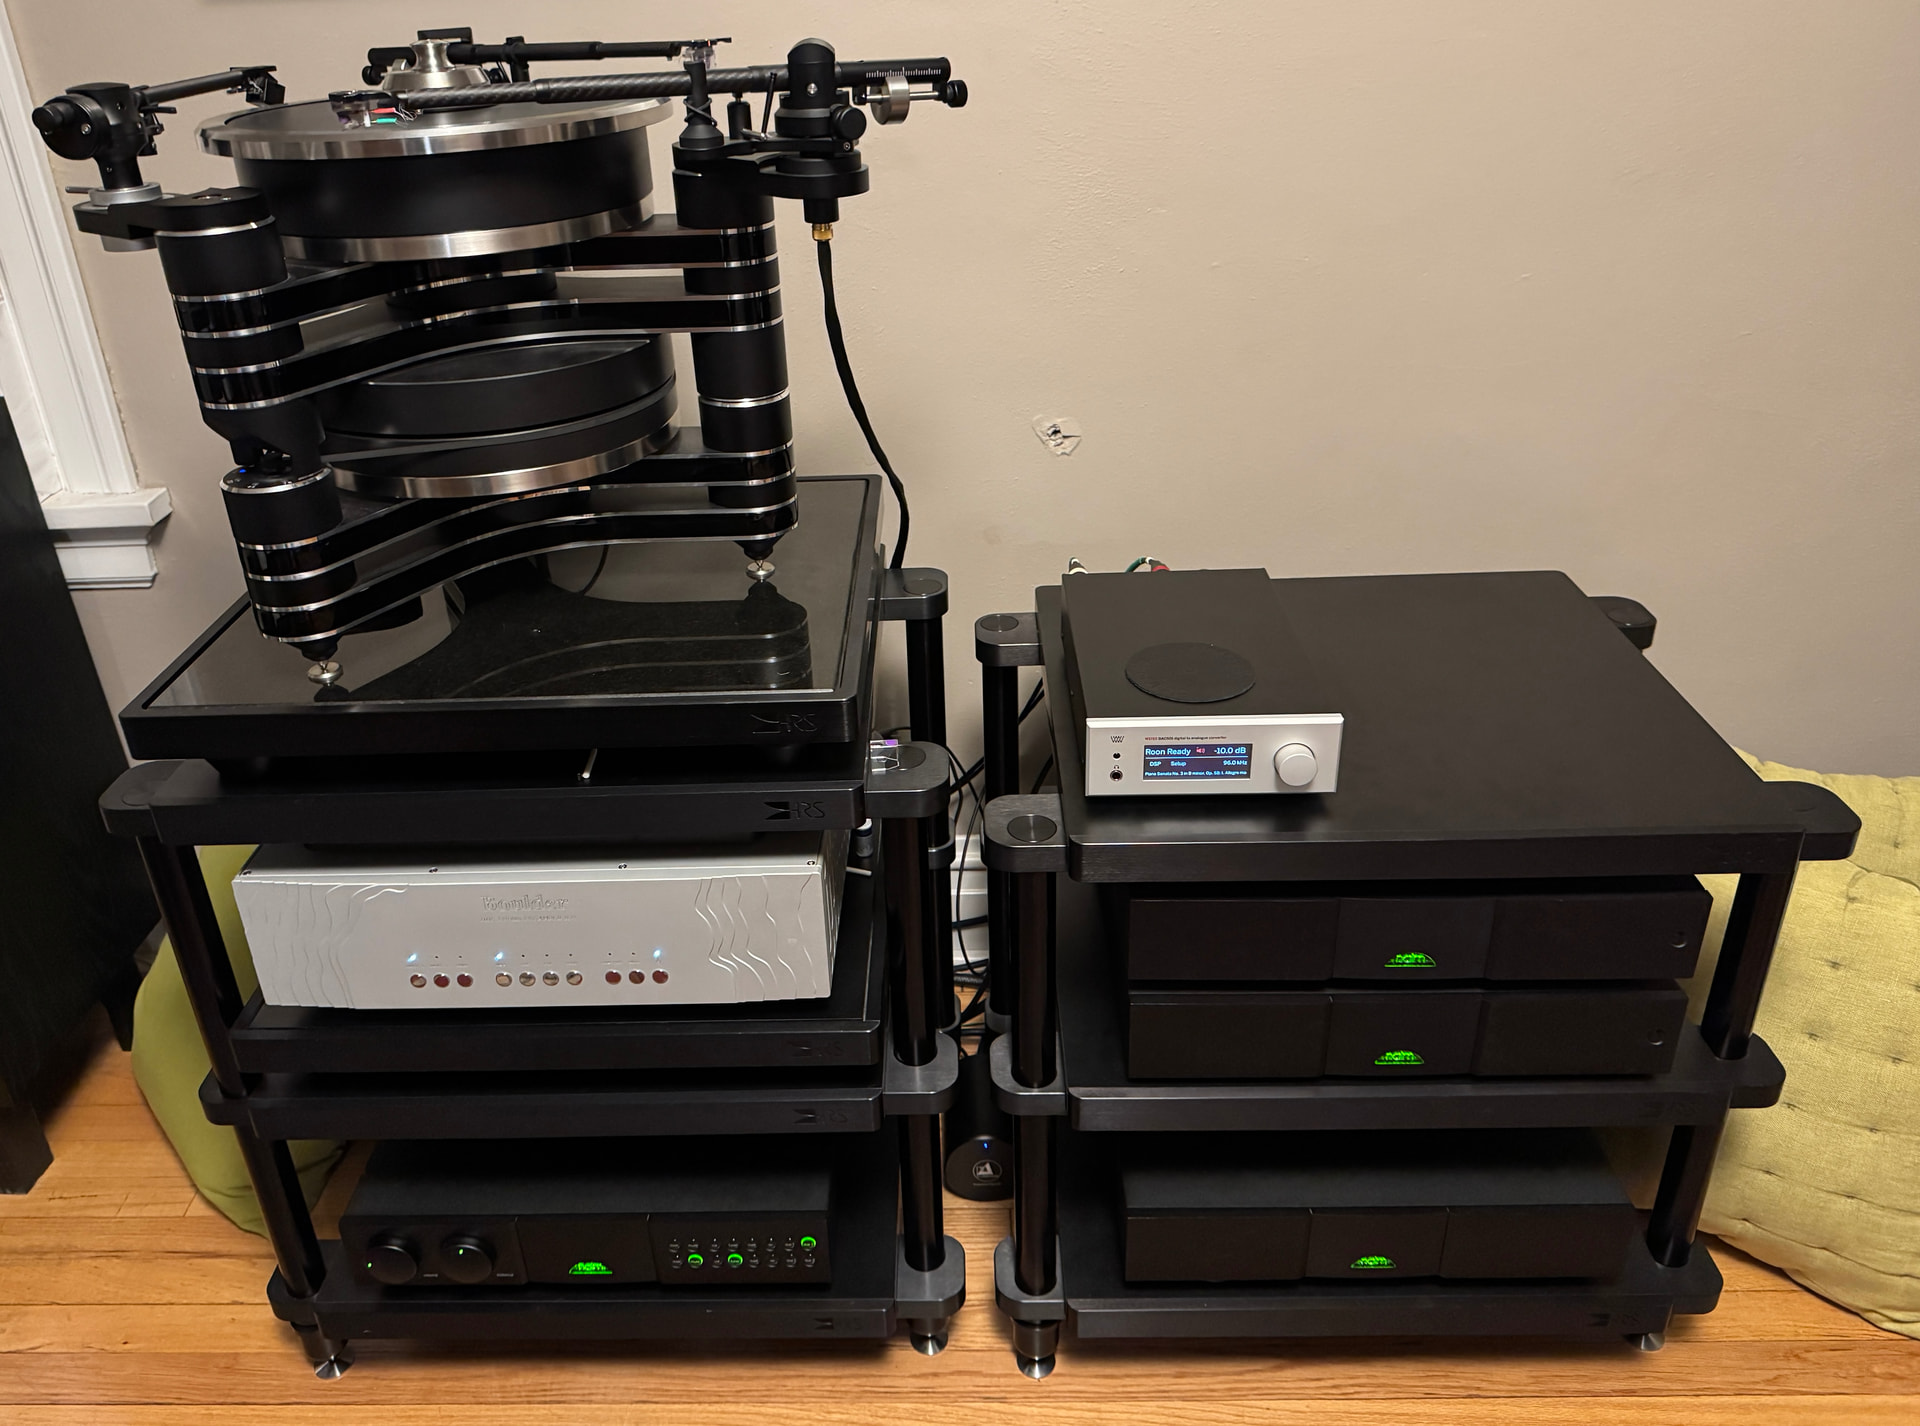
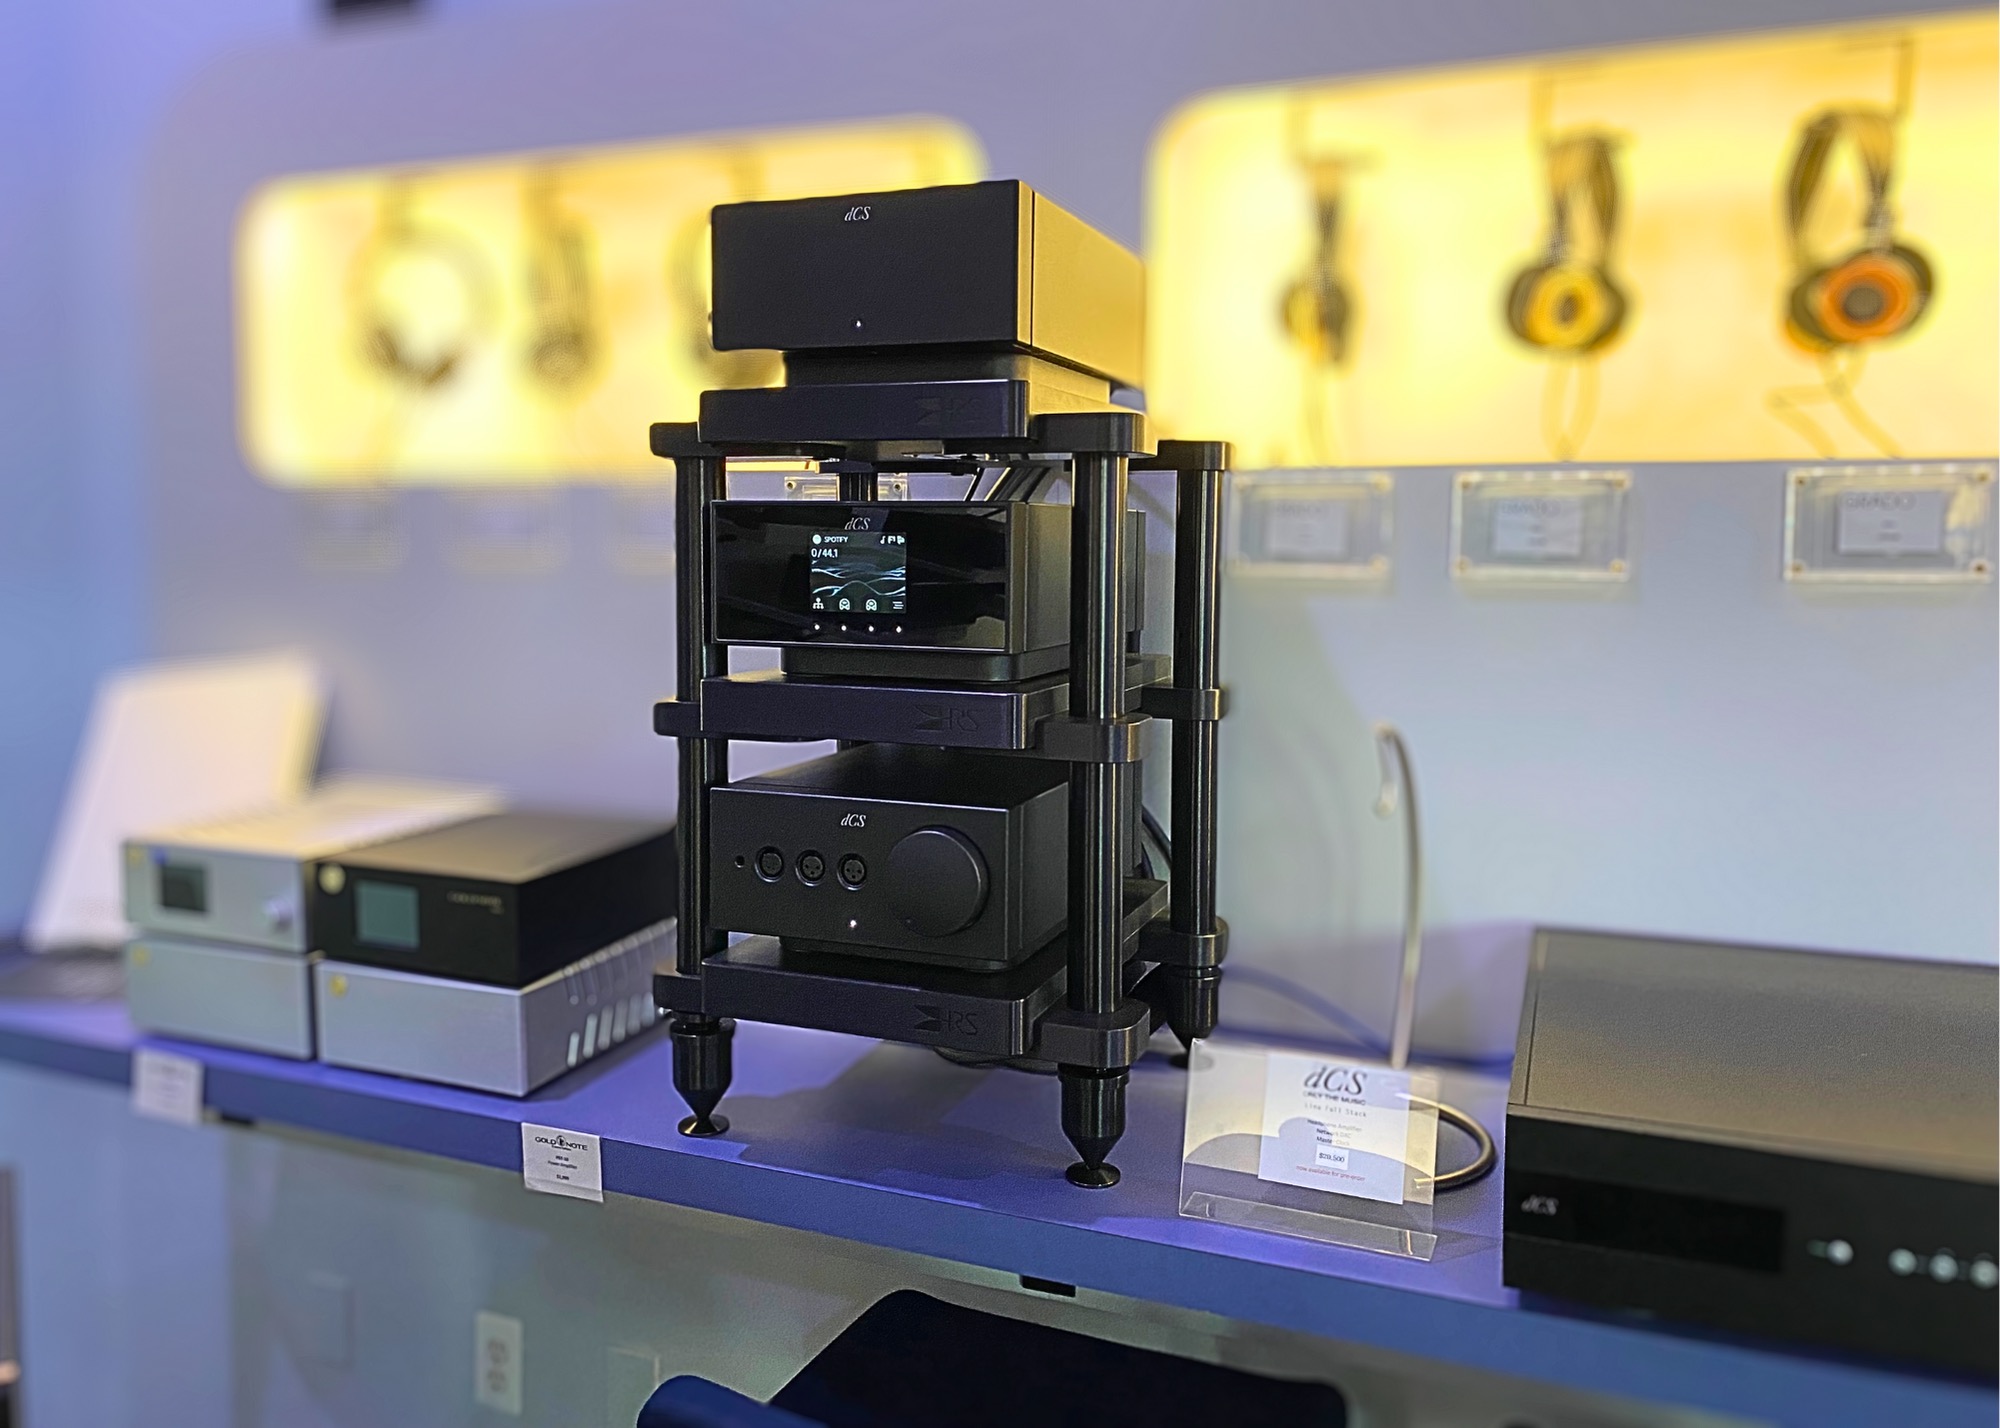
If you don’t mind spending the money, HRS makes a smaller (14.5” x 15”) version of their EXR rack. I use two of the full size EXR (19” x 21”) version for my system.
1 Like
This is why I think Quadraspire’s midi rack is the only one that will fit the very broad definition of shoebox (less than 30cm on a side) for any type of brand of showbox you might have.
@JosquinDesPrez The rack in your pic looks much narrower than 14.5”.
1 Like
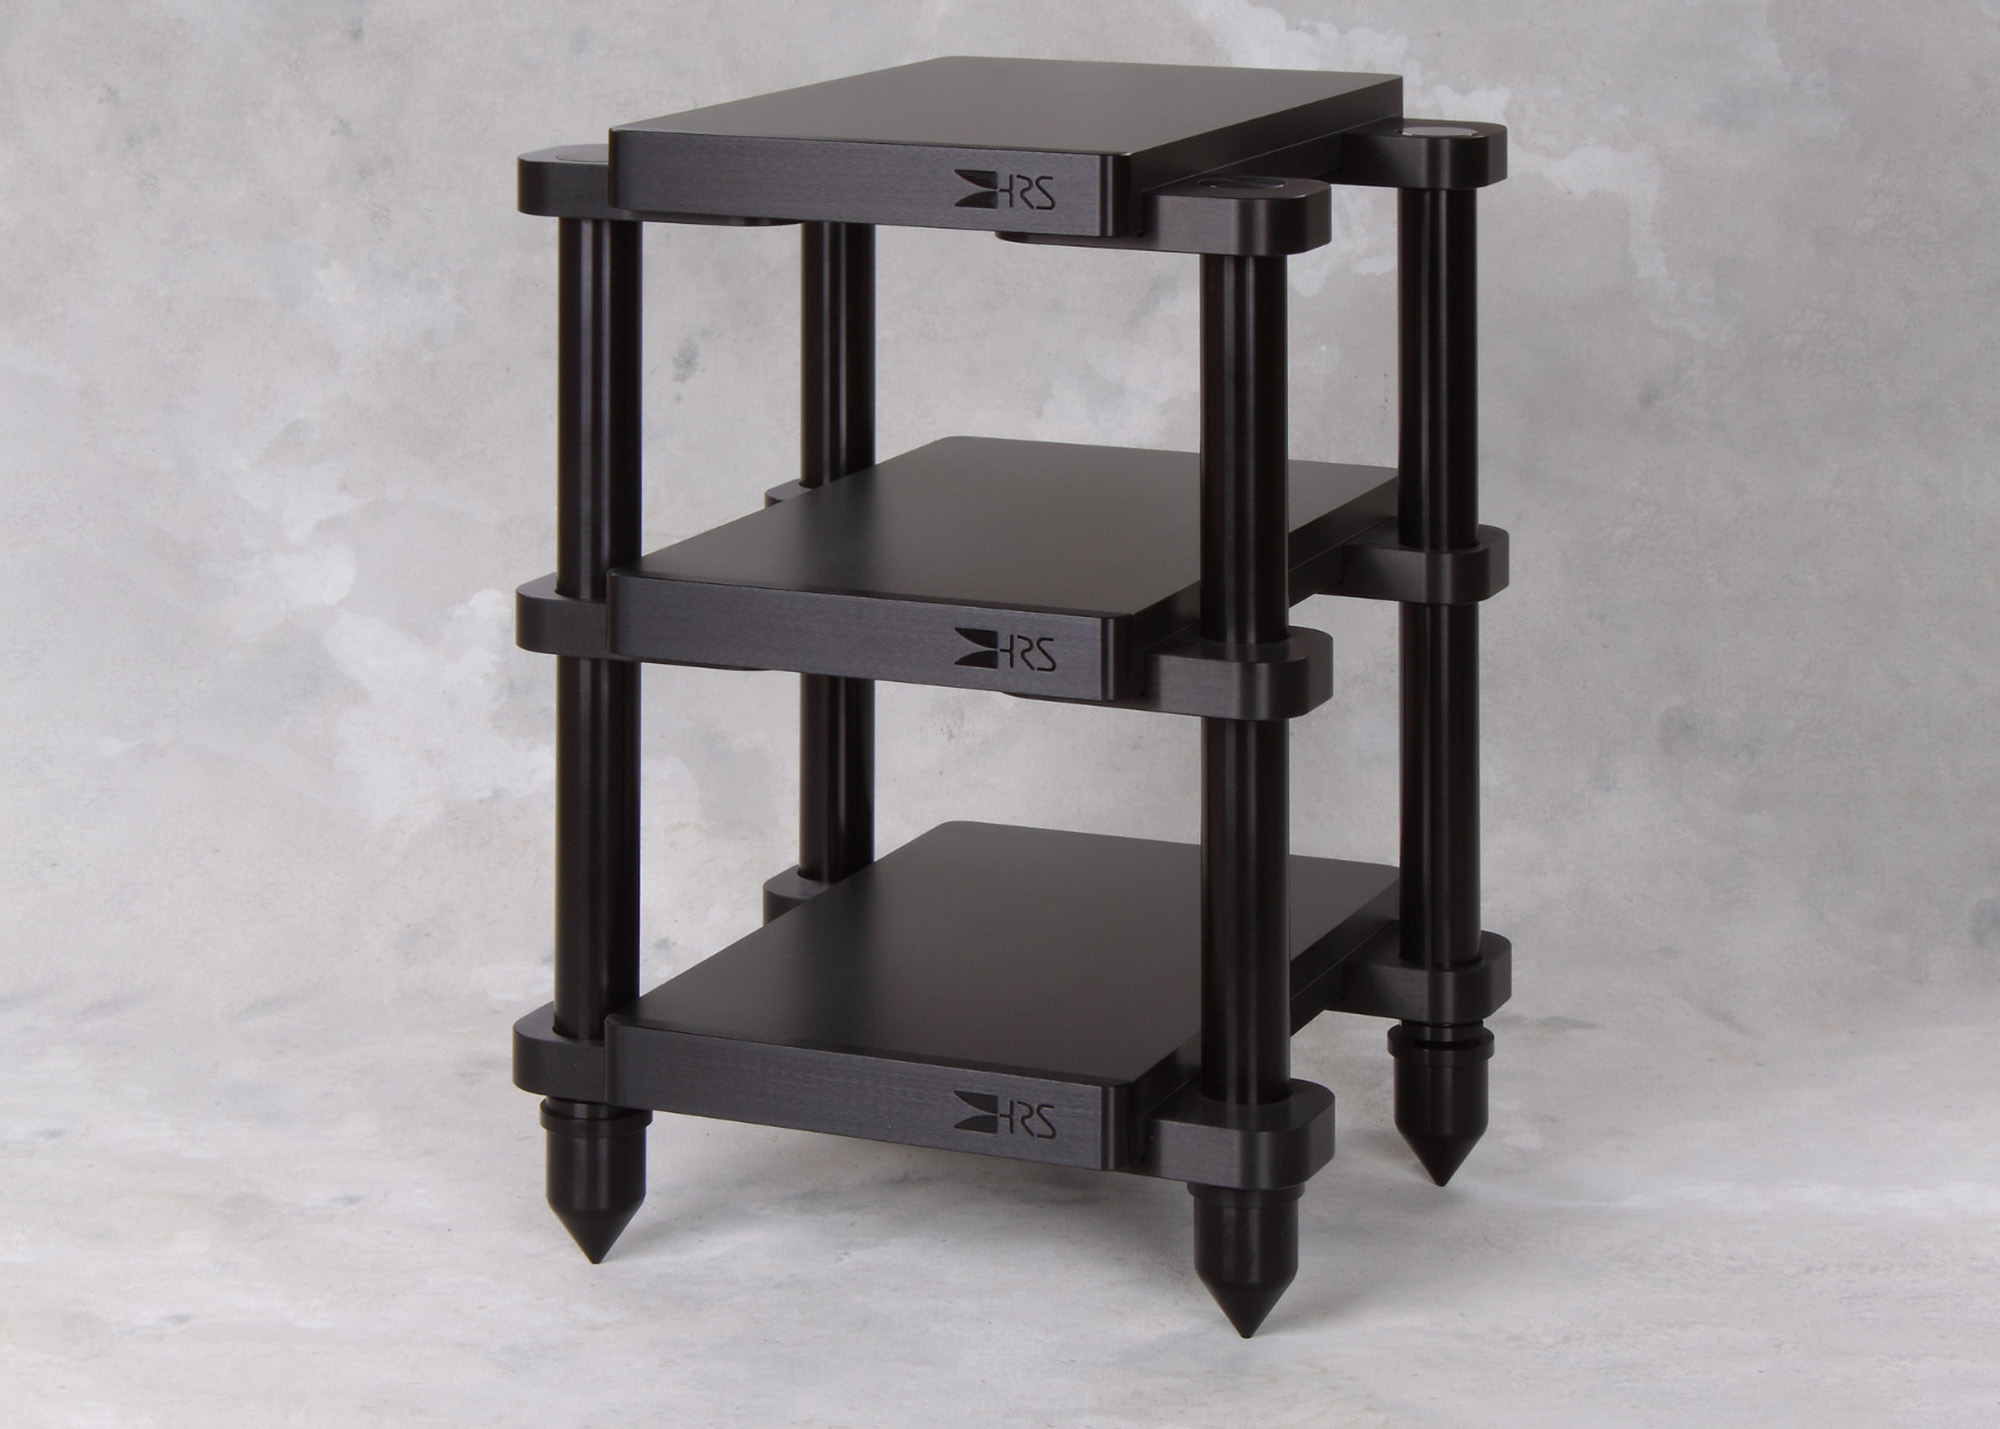
That’s the complate rack size. The default shelf size is 9.5” W x 15” D. By default the shelf heights are 6”. Visit the Harmonic Resolutions Systems (HRS) website for the EXRH Headphone Stand System. For this rack, they additionally state,
Standard component spacing can be specified at 4″, 6″, 8″, 10″, and 12″ with custom component spacing at 14″, 16″, and 18″ at an additional cost.
The EXRH Headphone Stand System can be customized (depth) for any component and can be built for 6, 7, or more components.
Here’s a picture of the bare rack….
1 Like