Speaker Build-Cheeky Monkey

I have considered building speakers a couple of time before this one. Previously I’d looked at Troels Gravesen designs, that I know are popular on here, as well as Falcon LS3/5a and CSS kits but each time hadn’t started for one reason or another

I recently read a few reviews for Devore o’Baby and Orangutang speakers which really got my interest and I’d like to hear them but they’re quite pricey and there aren’t any dealers nearby. A few weeks on and the itch won’t go away so I started to think about building something similar instead

I’ve spent a month or two studying the design, as well as the basics of speaker builds and have now taken the plunge, starting the build a week or two ago. I’m hoping to make something that looks good, sounds good and costs around 10% of the original design. I’m under no illusion that what I manage to construct will be as good as the original but if I can achieve these goals I’ll be more than happy

Excuses first, this Is my first build and I have no previous experience of woodwork or electronics so I’m finding this a very enjoyable and rewarding project however there may be breaks in the build at stages of the project whilst I swot up some more on various aspects

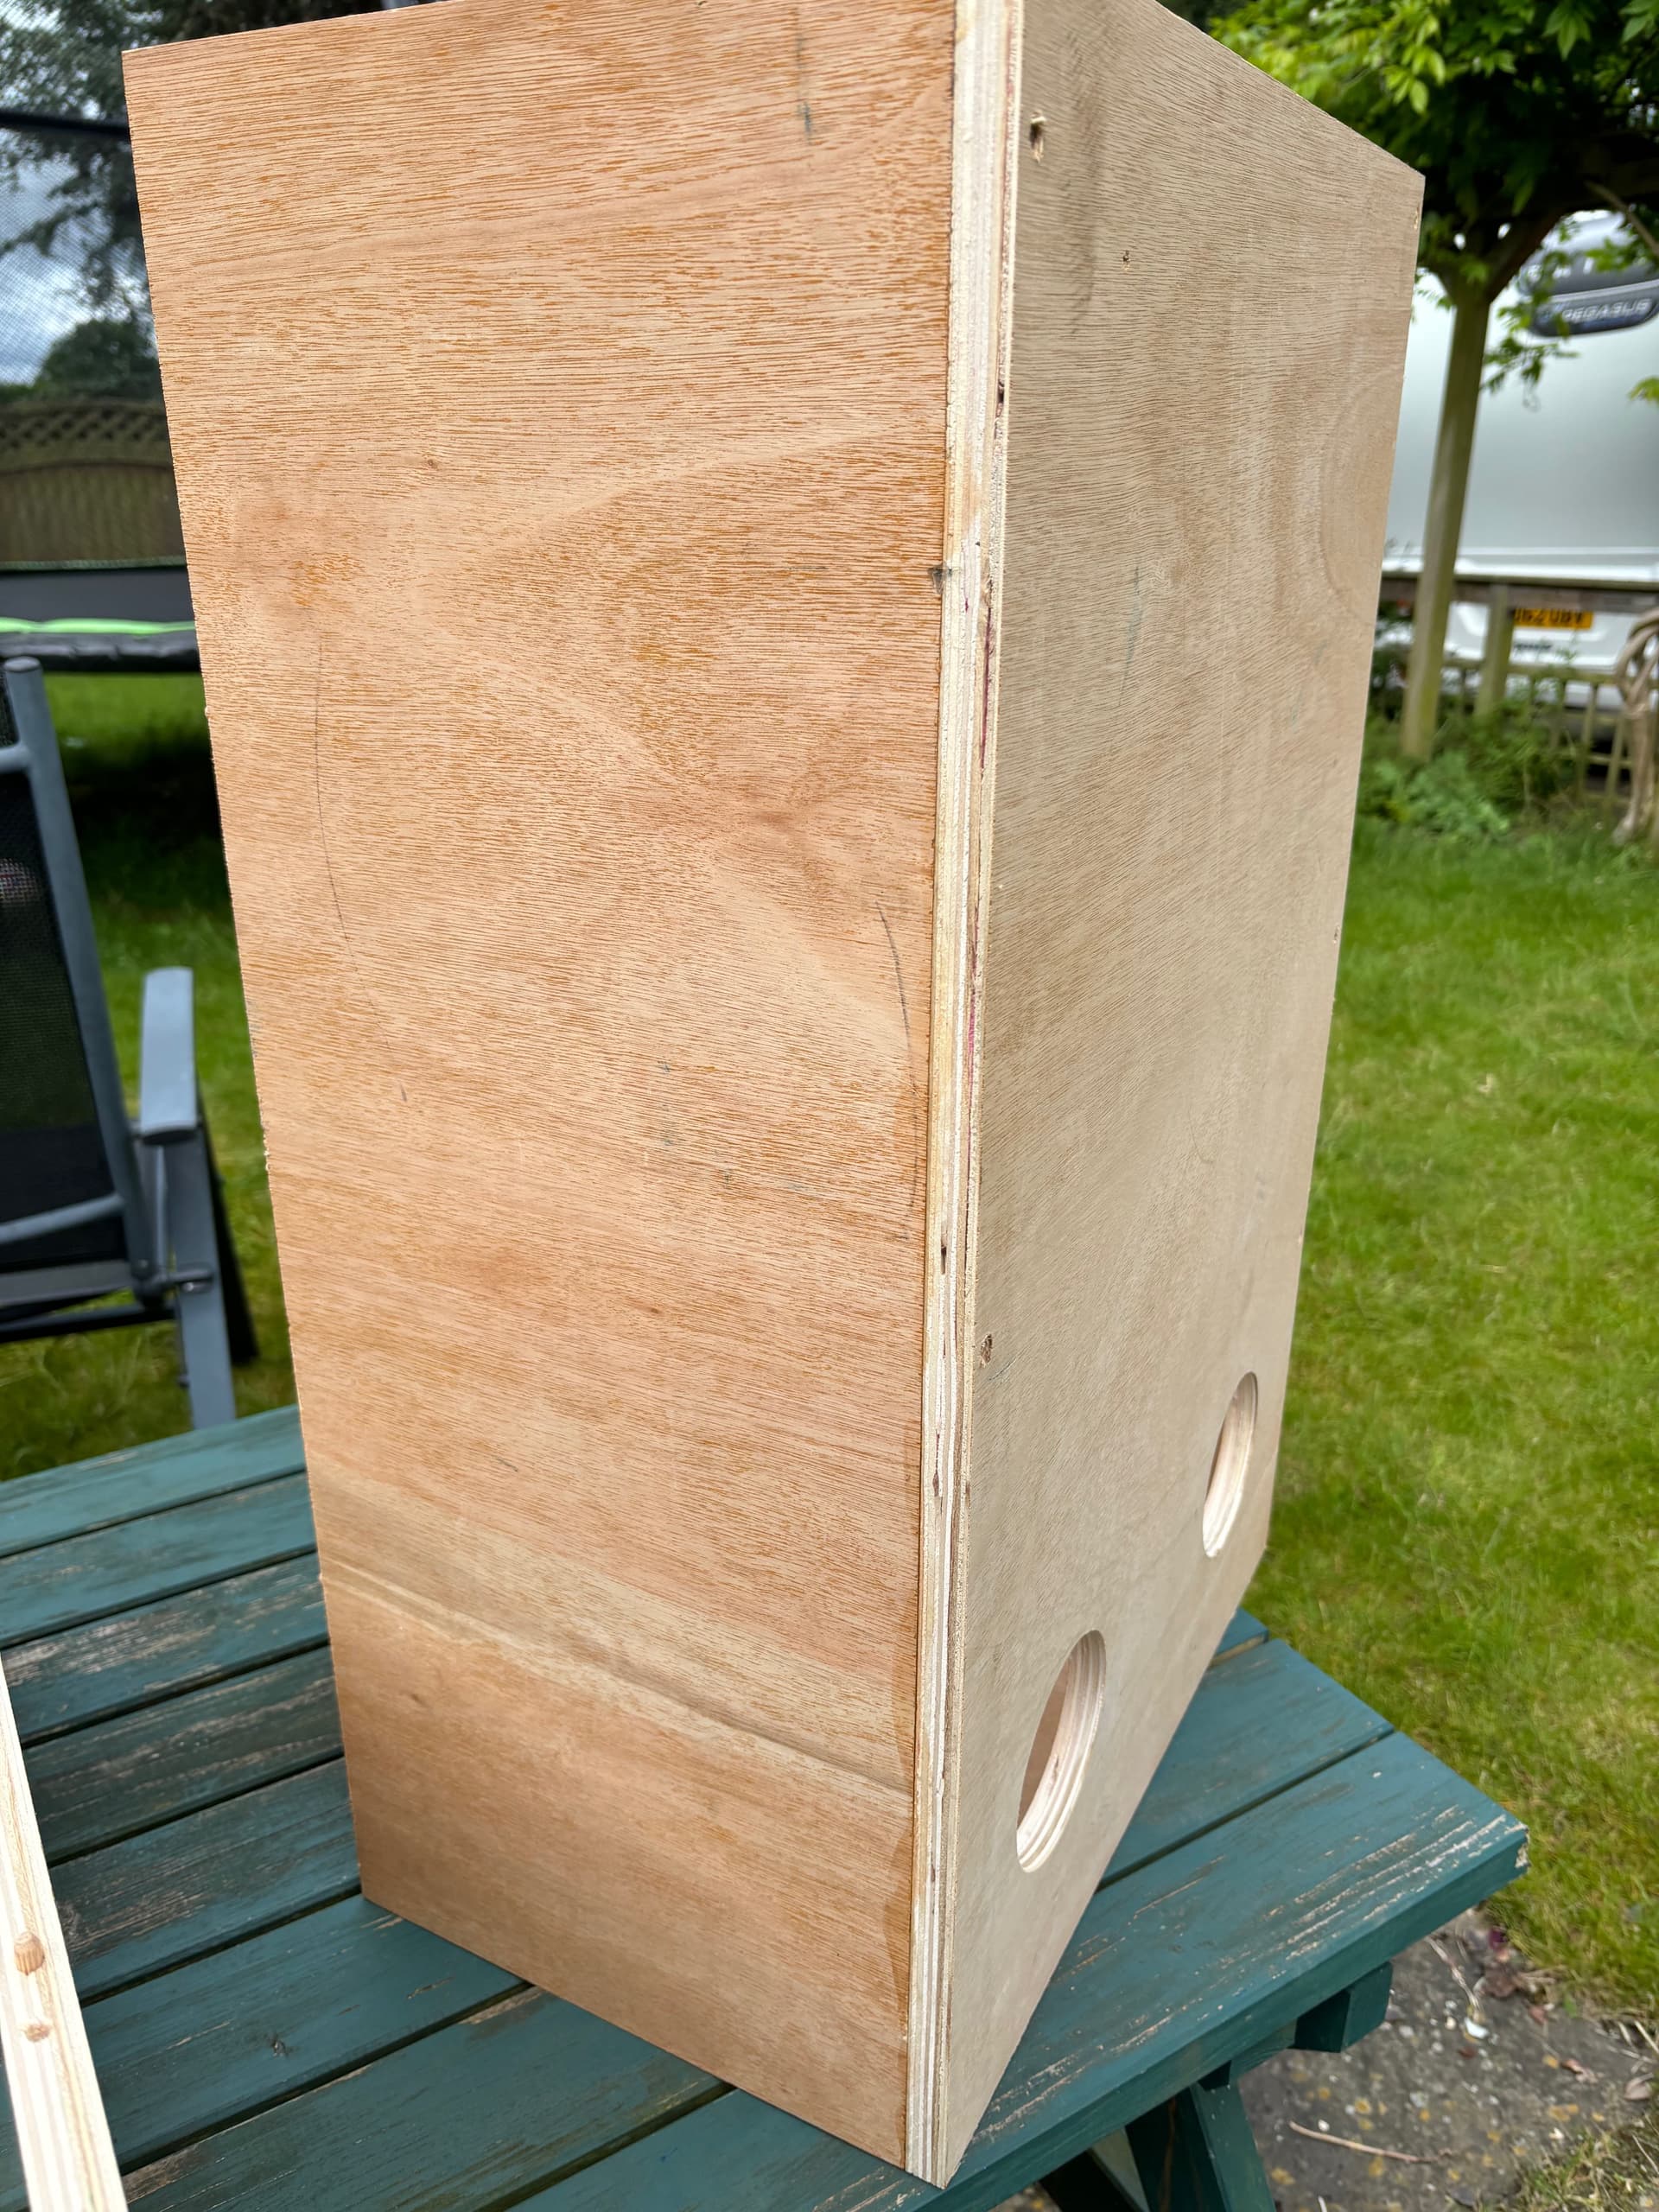
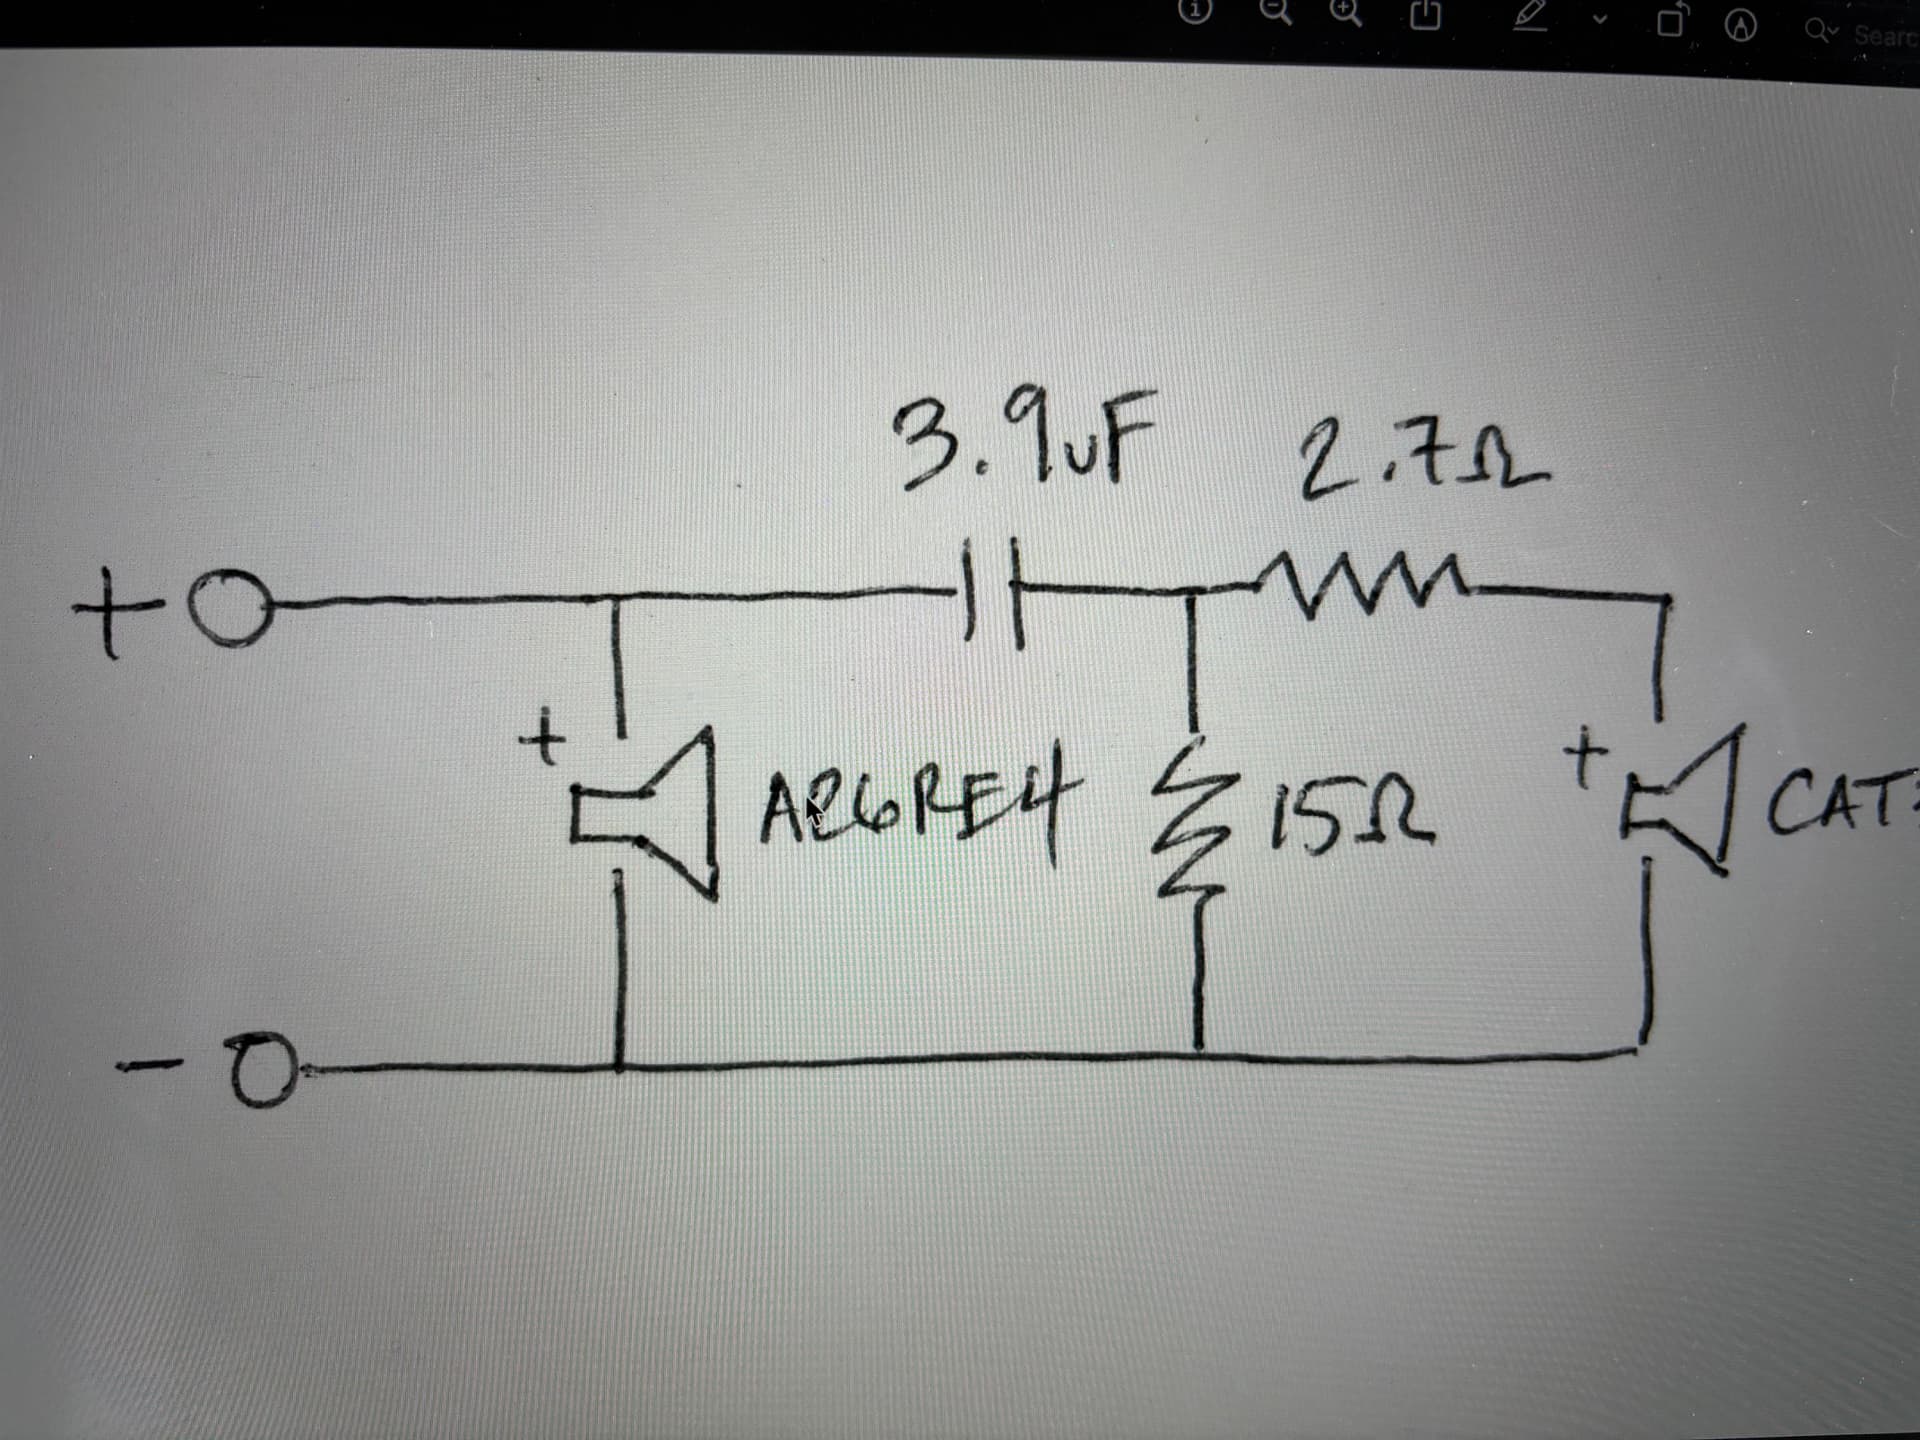
The design I came up with is 725mm tall, 430mm wide and 310mm deep, its a ported design with Morel CAT378 tweeters and SEAS A26 10" woofers, the woofer is particularly good for me because the characteristics lend it to being fed the full signal form my amplifier meaning a crossover is only required for the tweeter. The seems to be a relatively simple design and because of the small number of components required the budget for the build stretches to high quality items which will hopefully improve performance

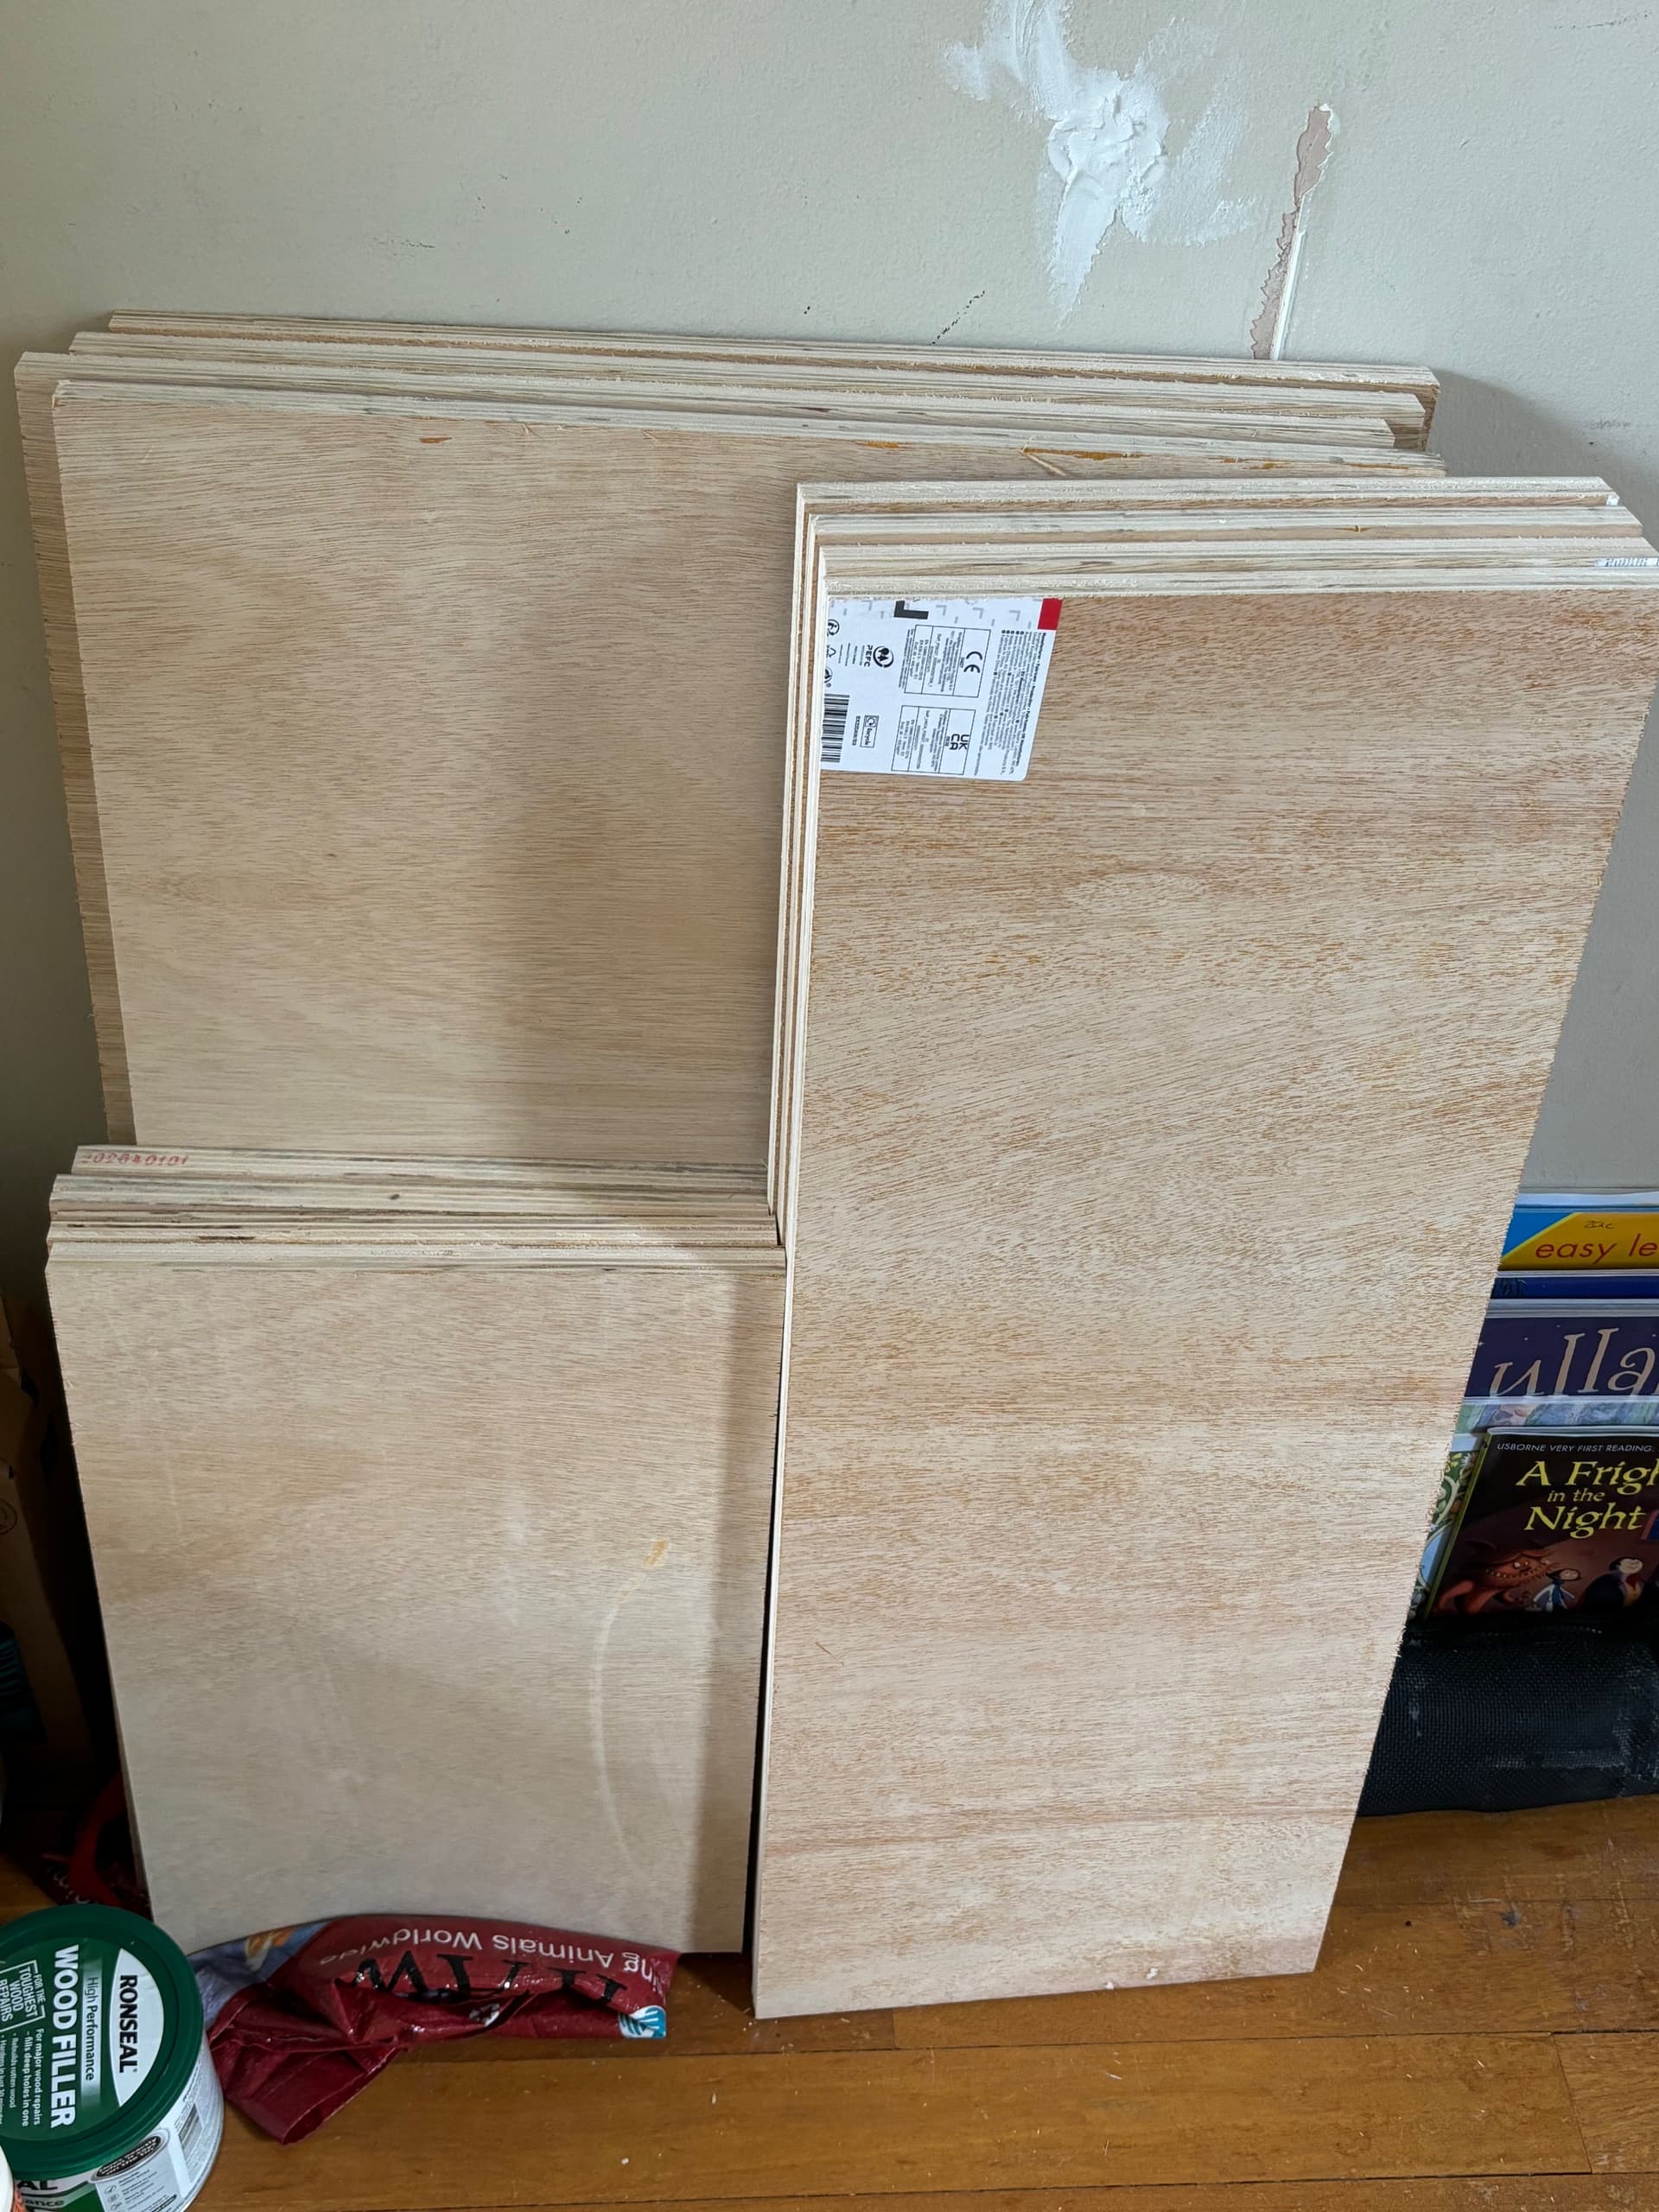
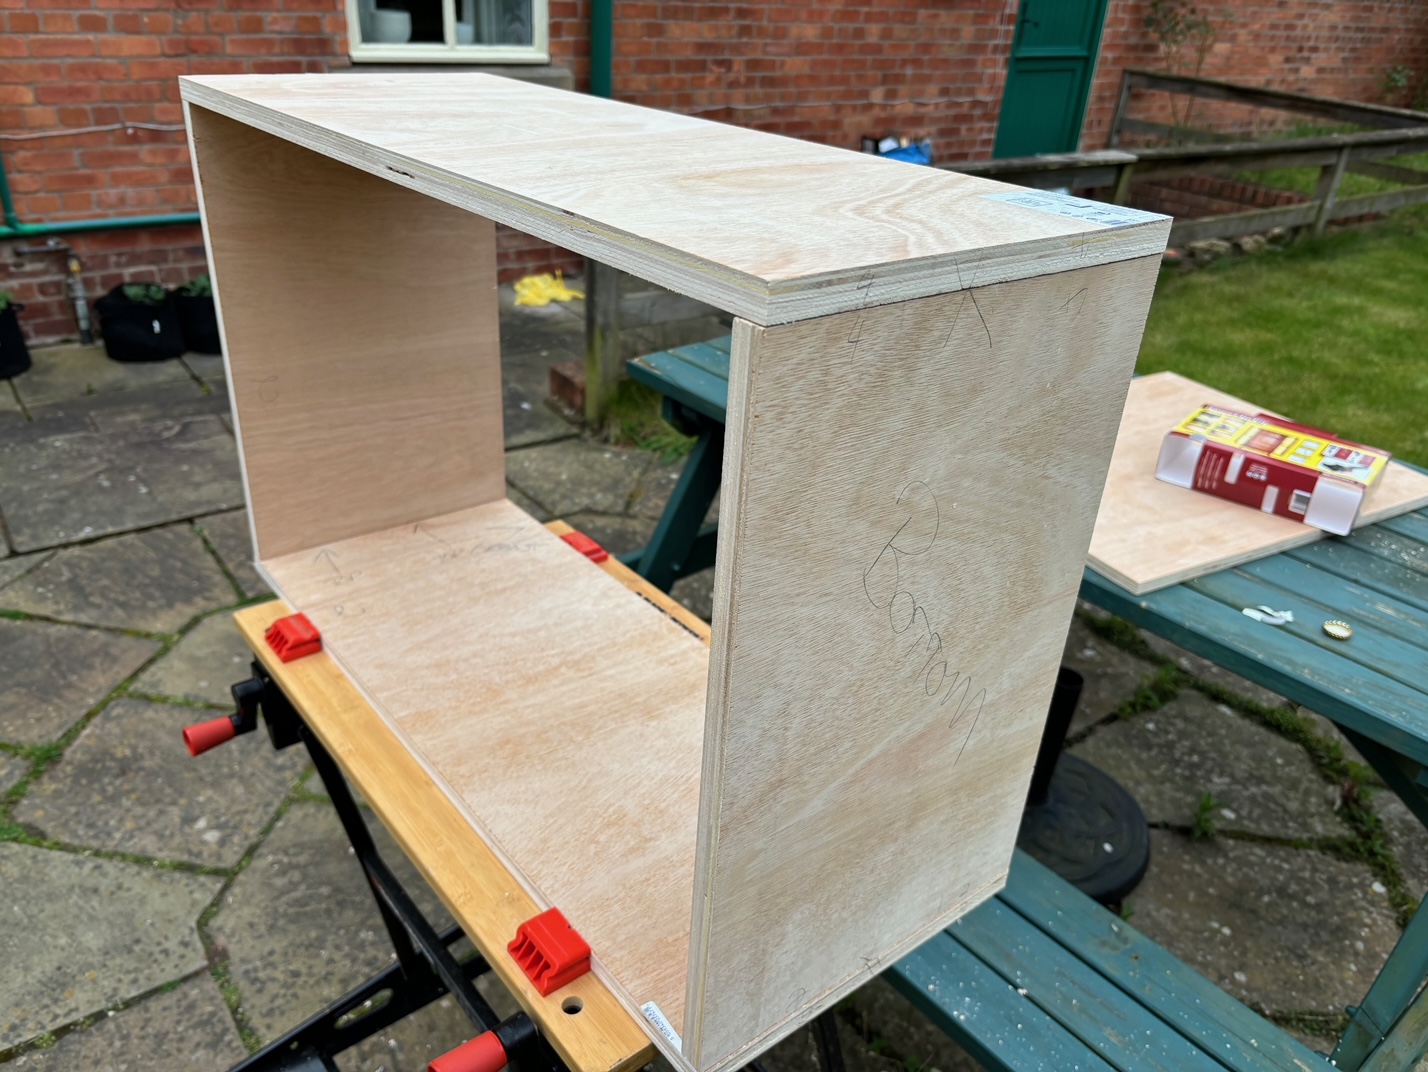
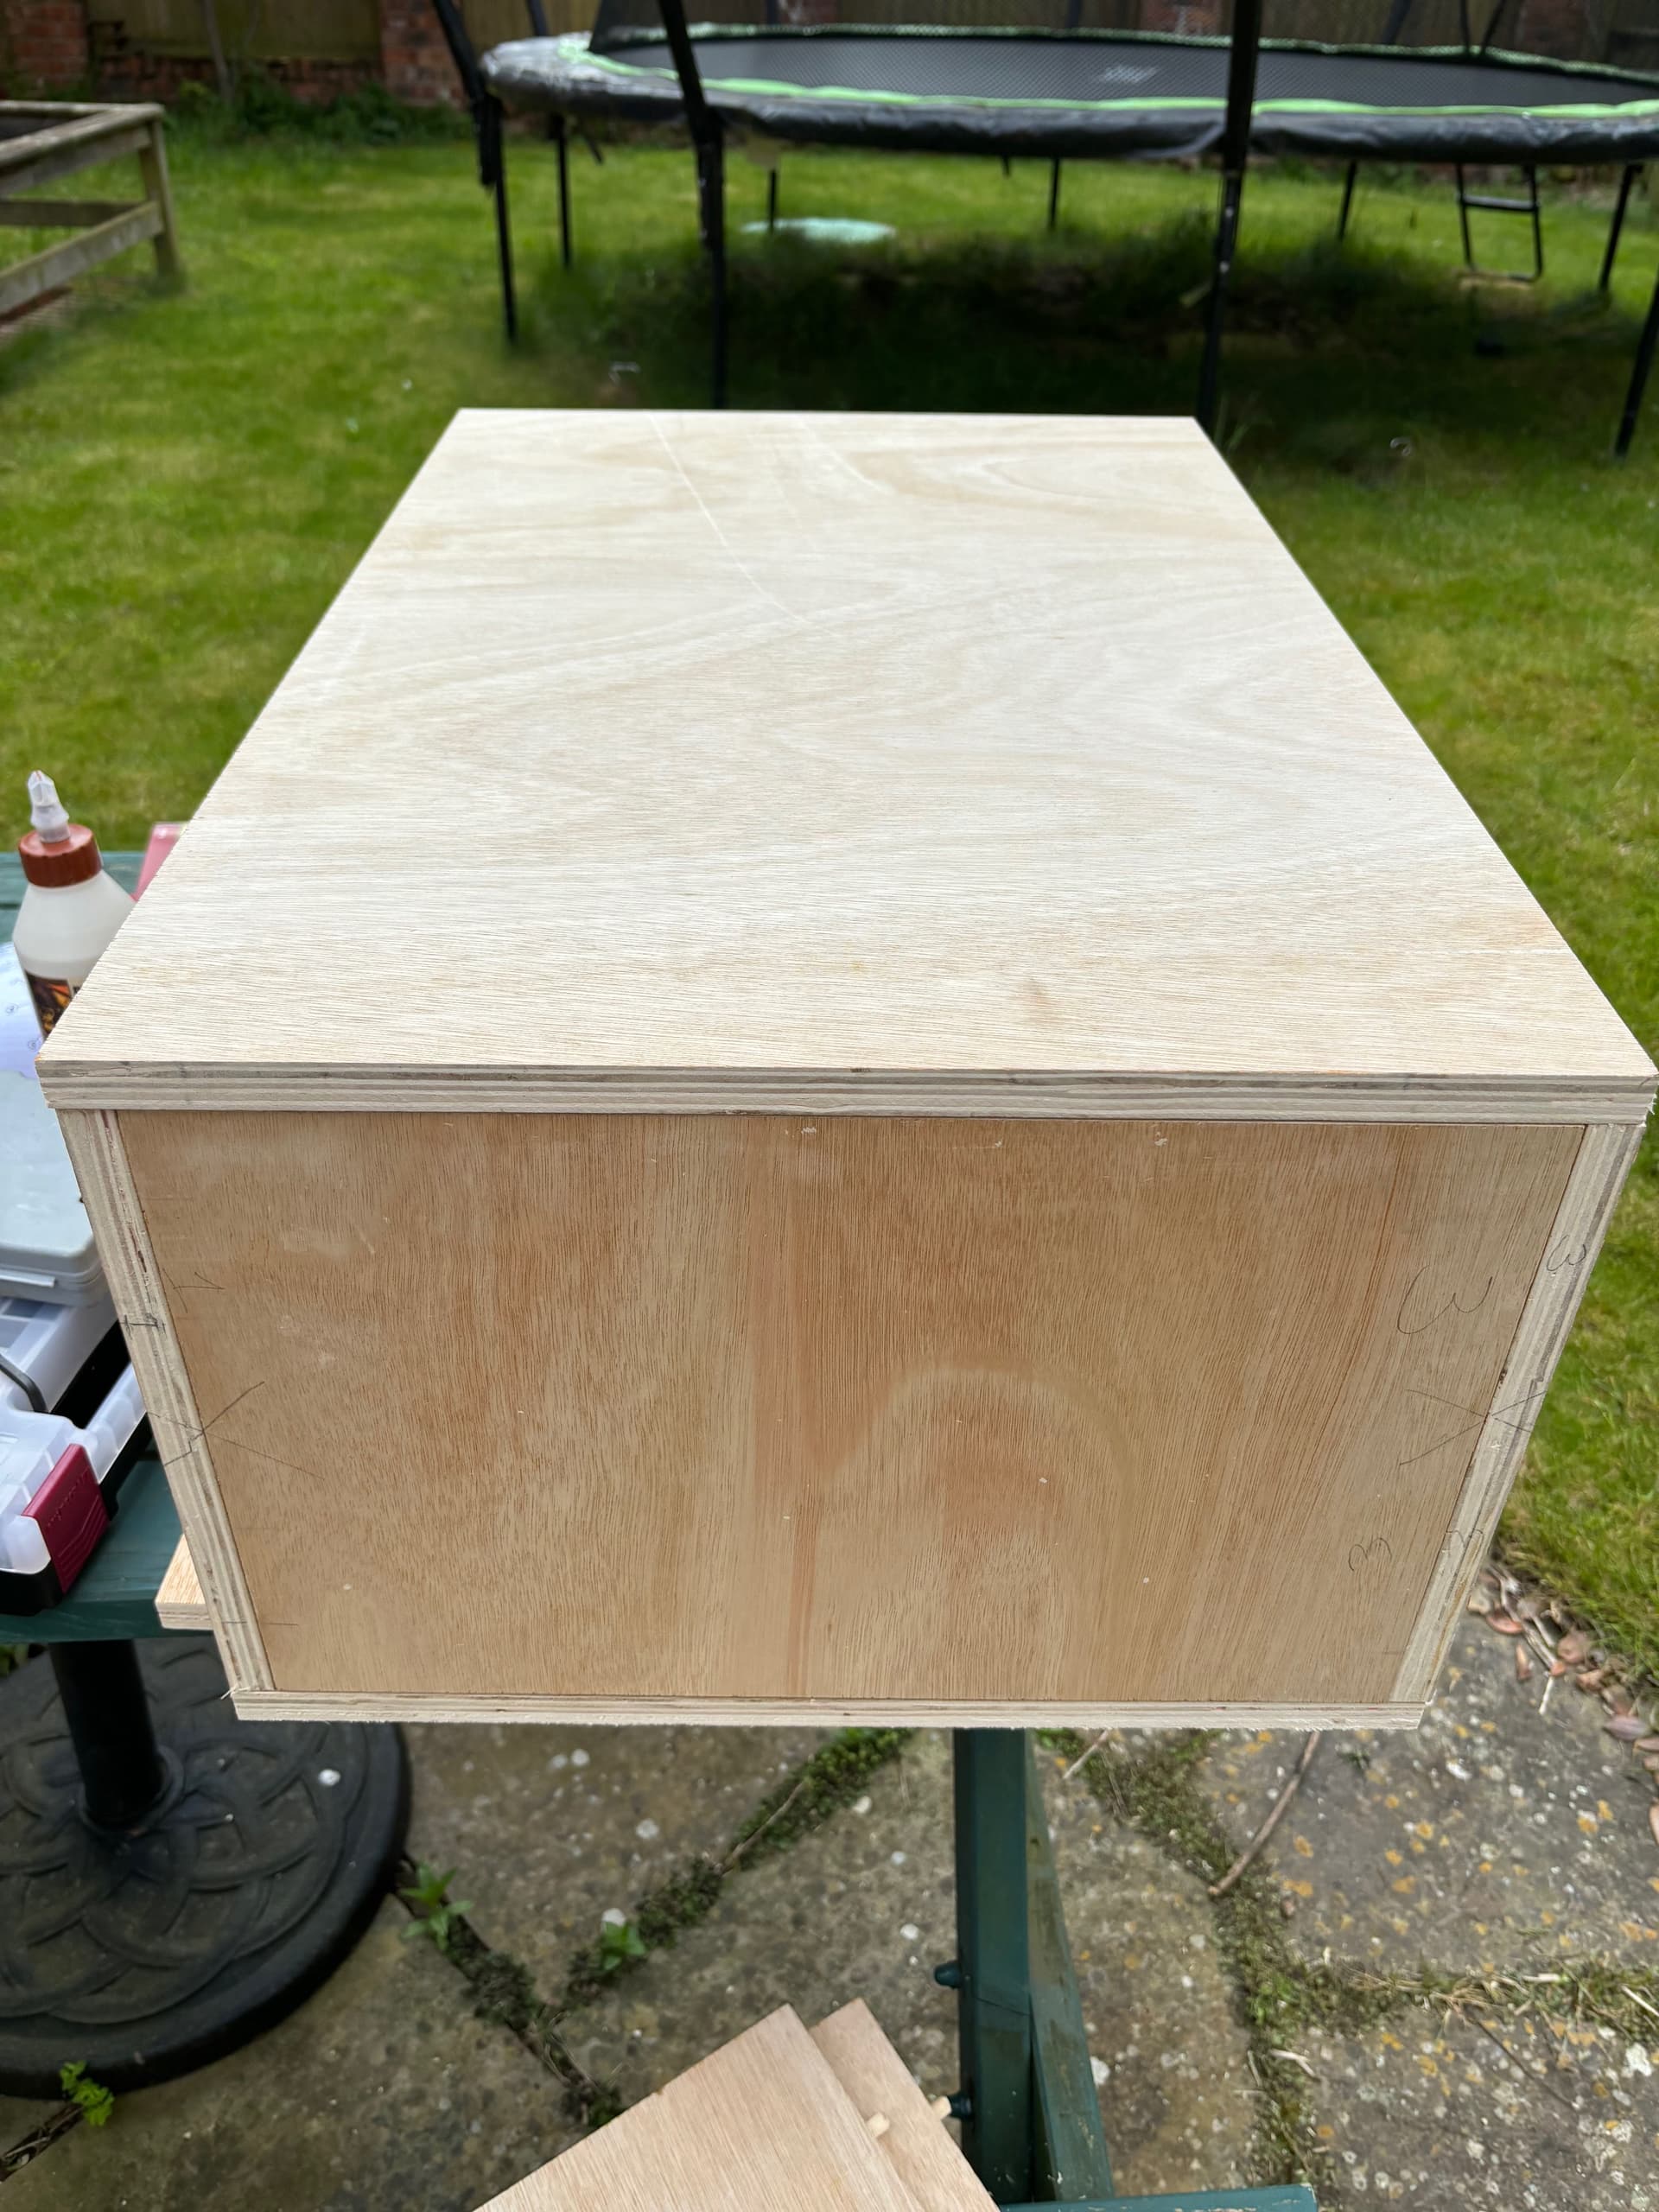
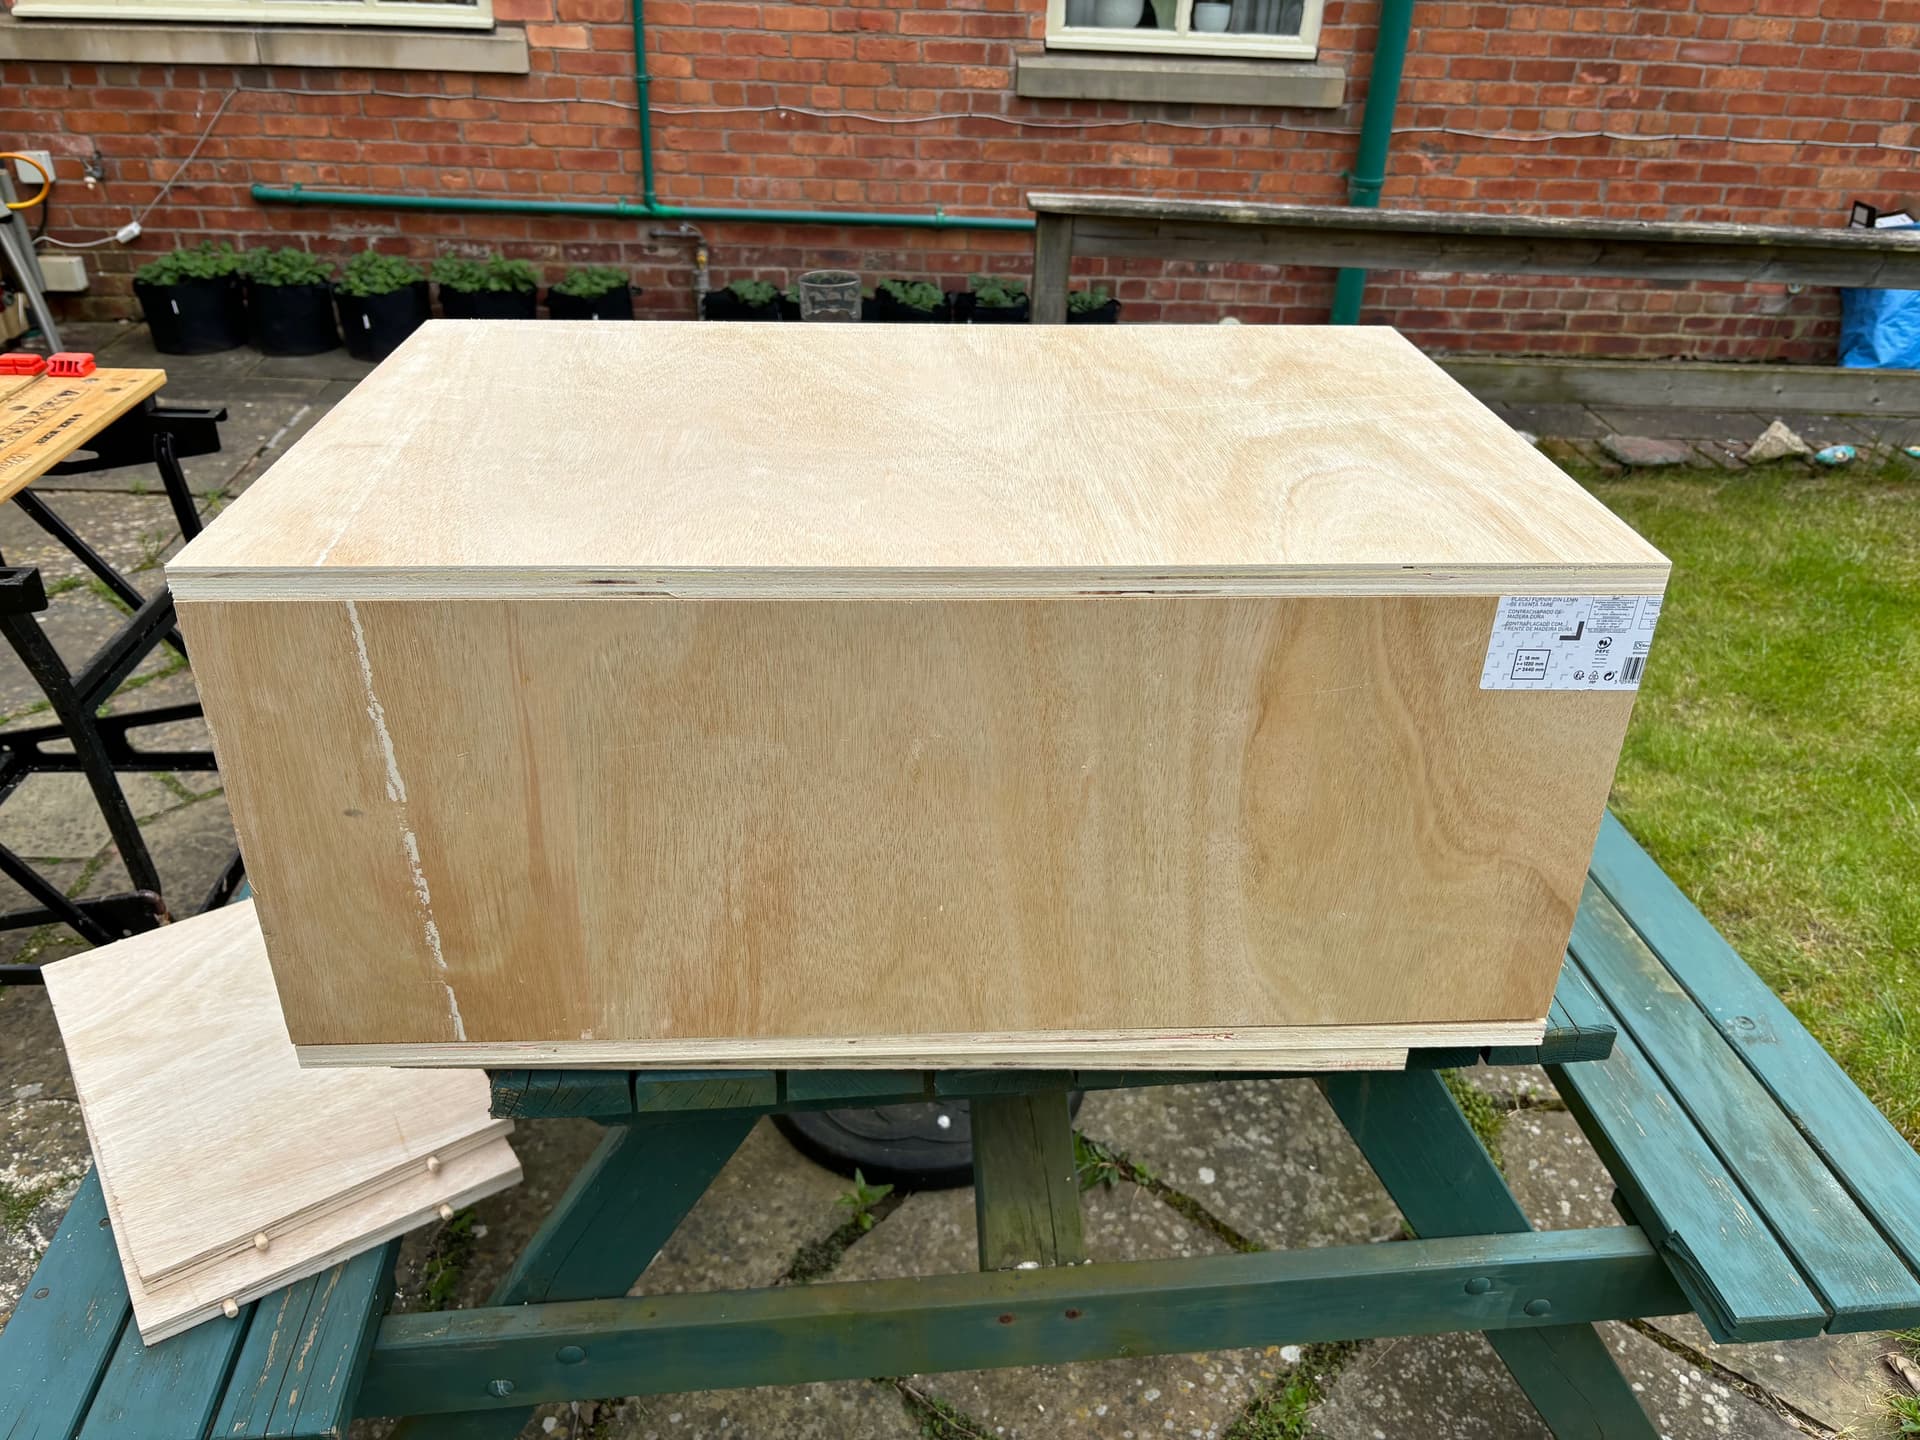
I’ve gone for 18mm baltic birch, cut by my local diy store as I don’t have a table saw. They’re pretty spot on with the measurements I gave them on a cutting plan but the face they pulled when I gave it to them was priceless

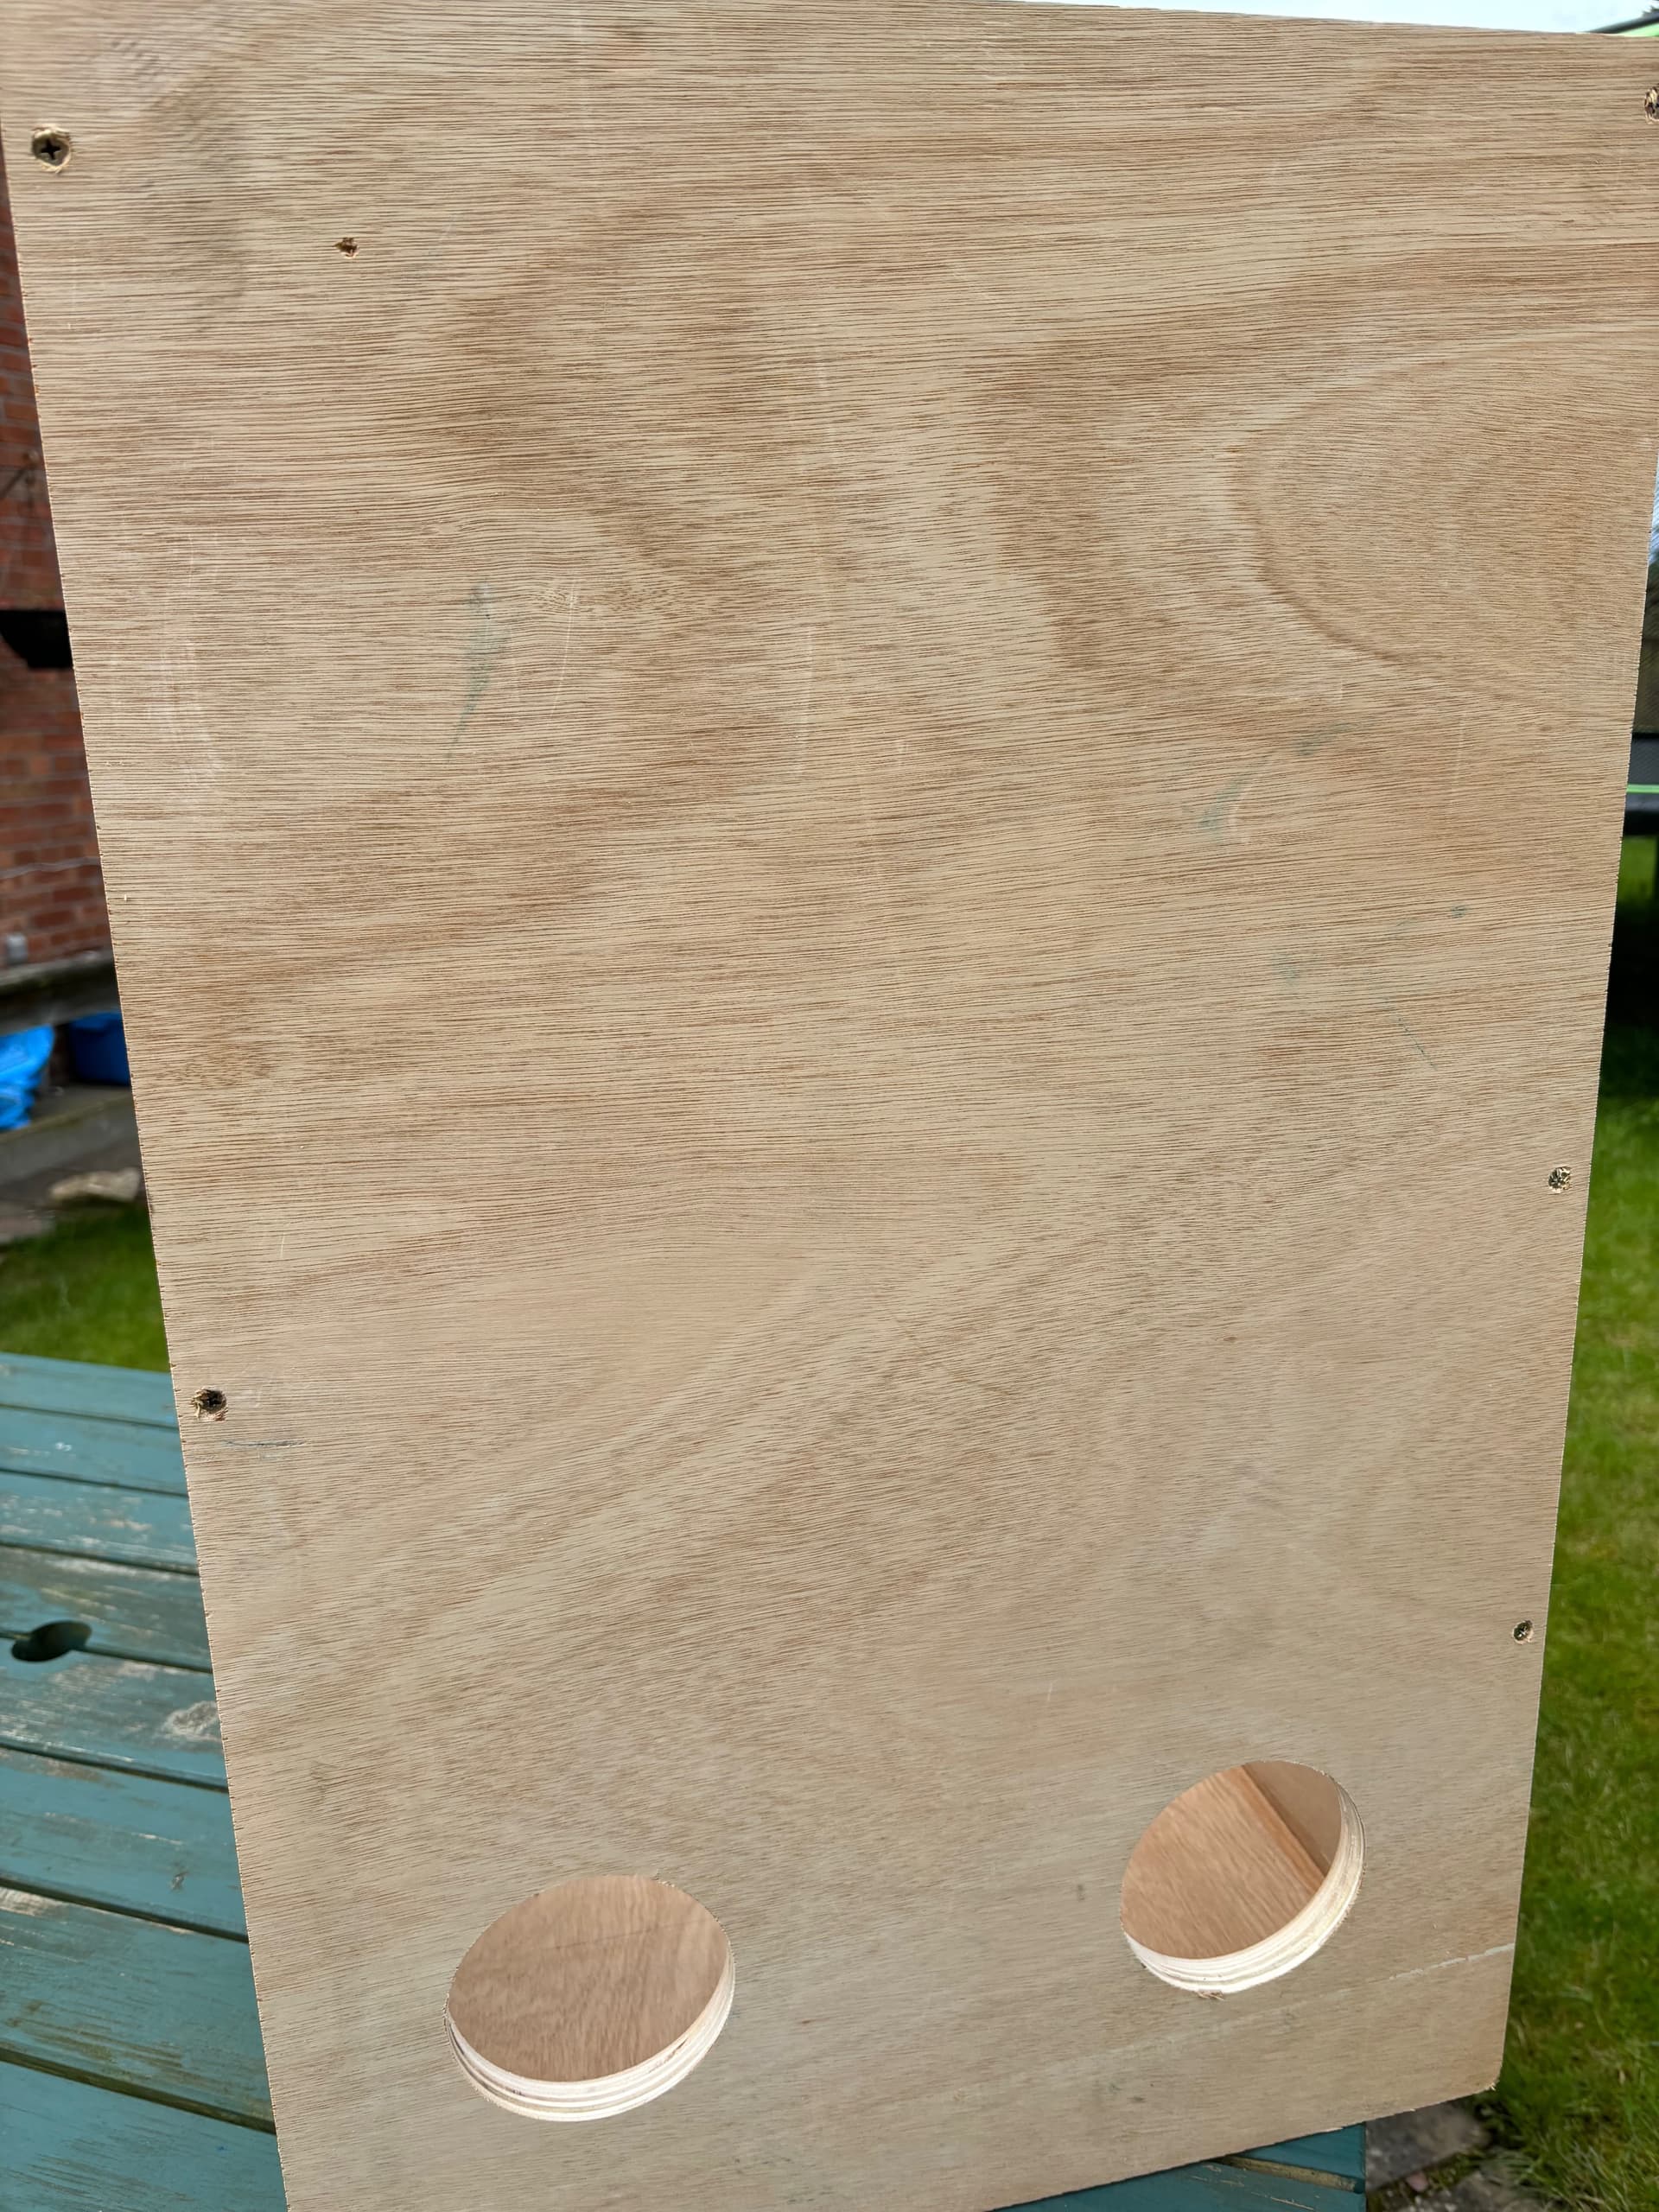
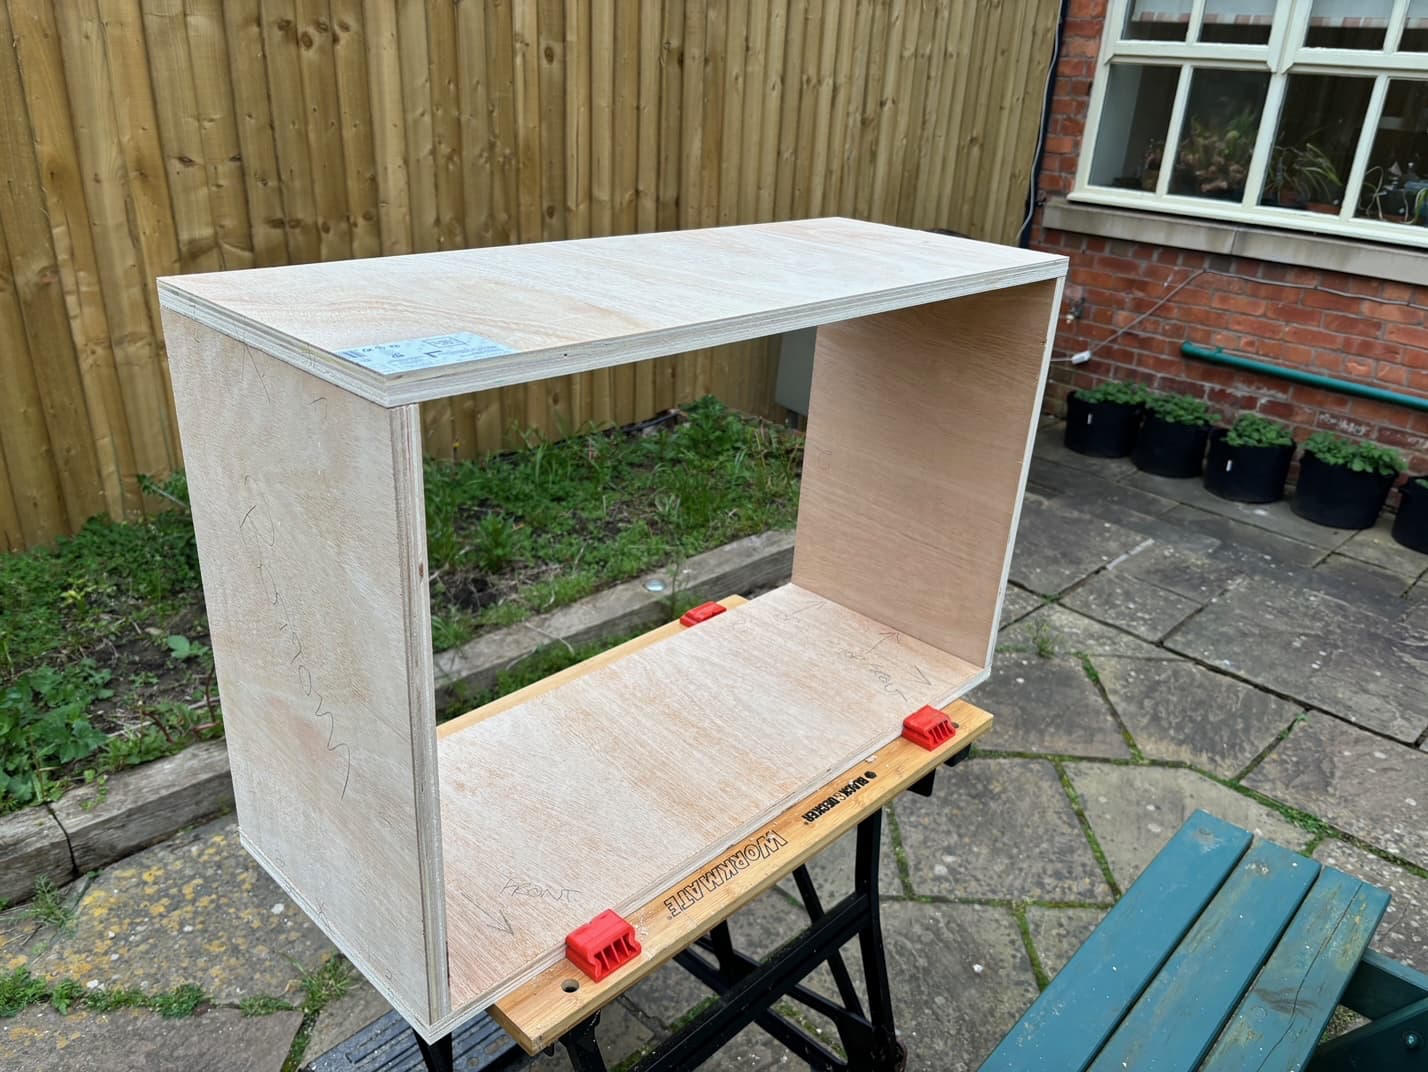
I’m constructing the enclosures using glue and dowelling all sides then the front and back baffles to give additional strength and integrity, depending on the results I may also add wood screws to further improve this

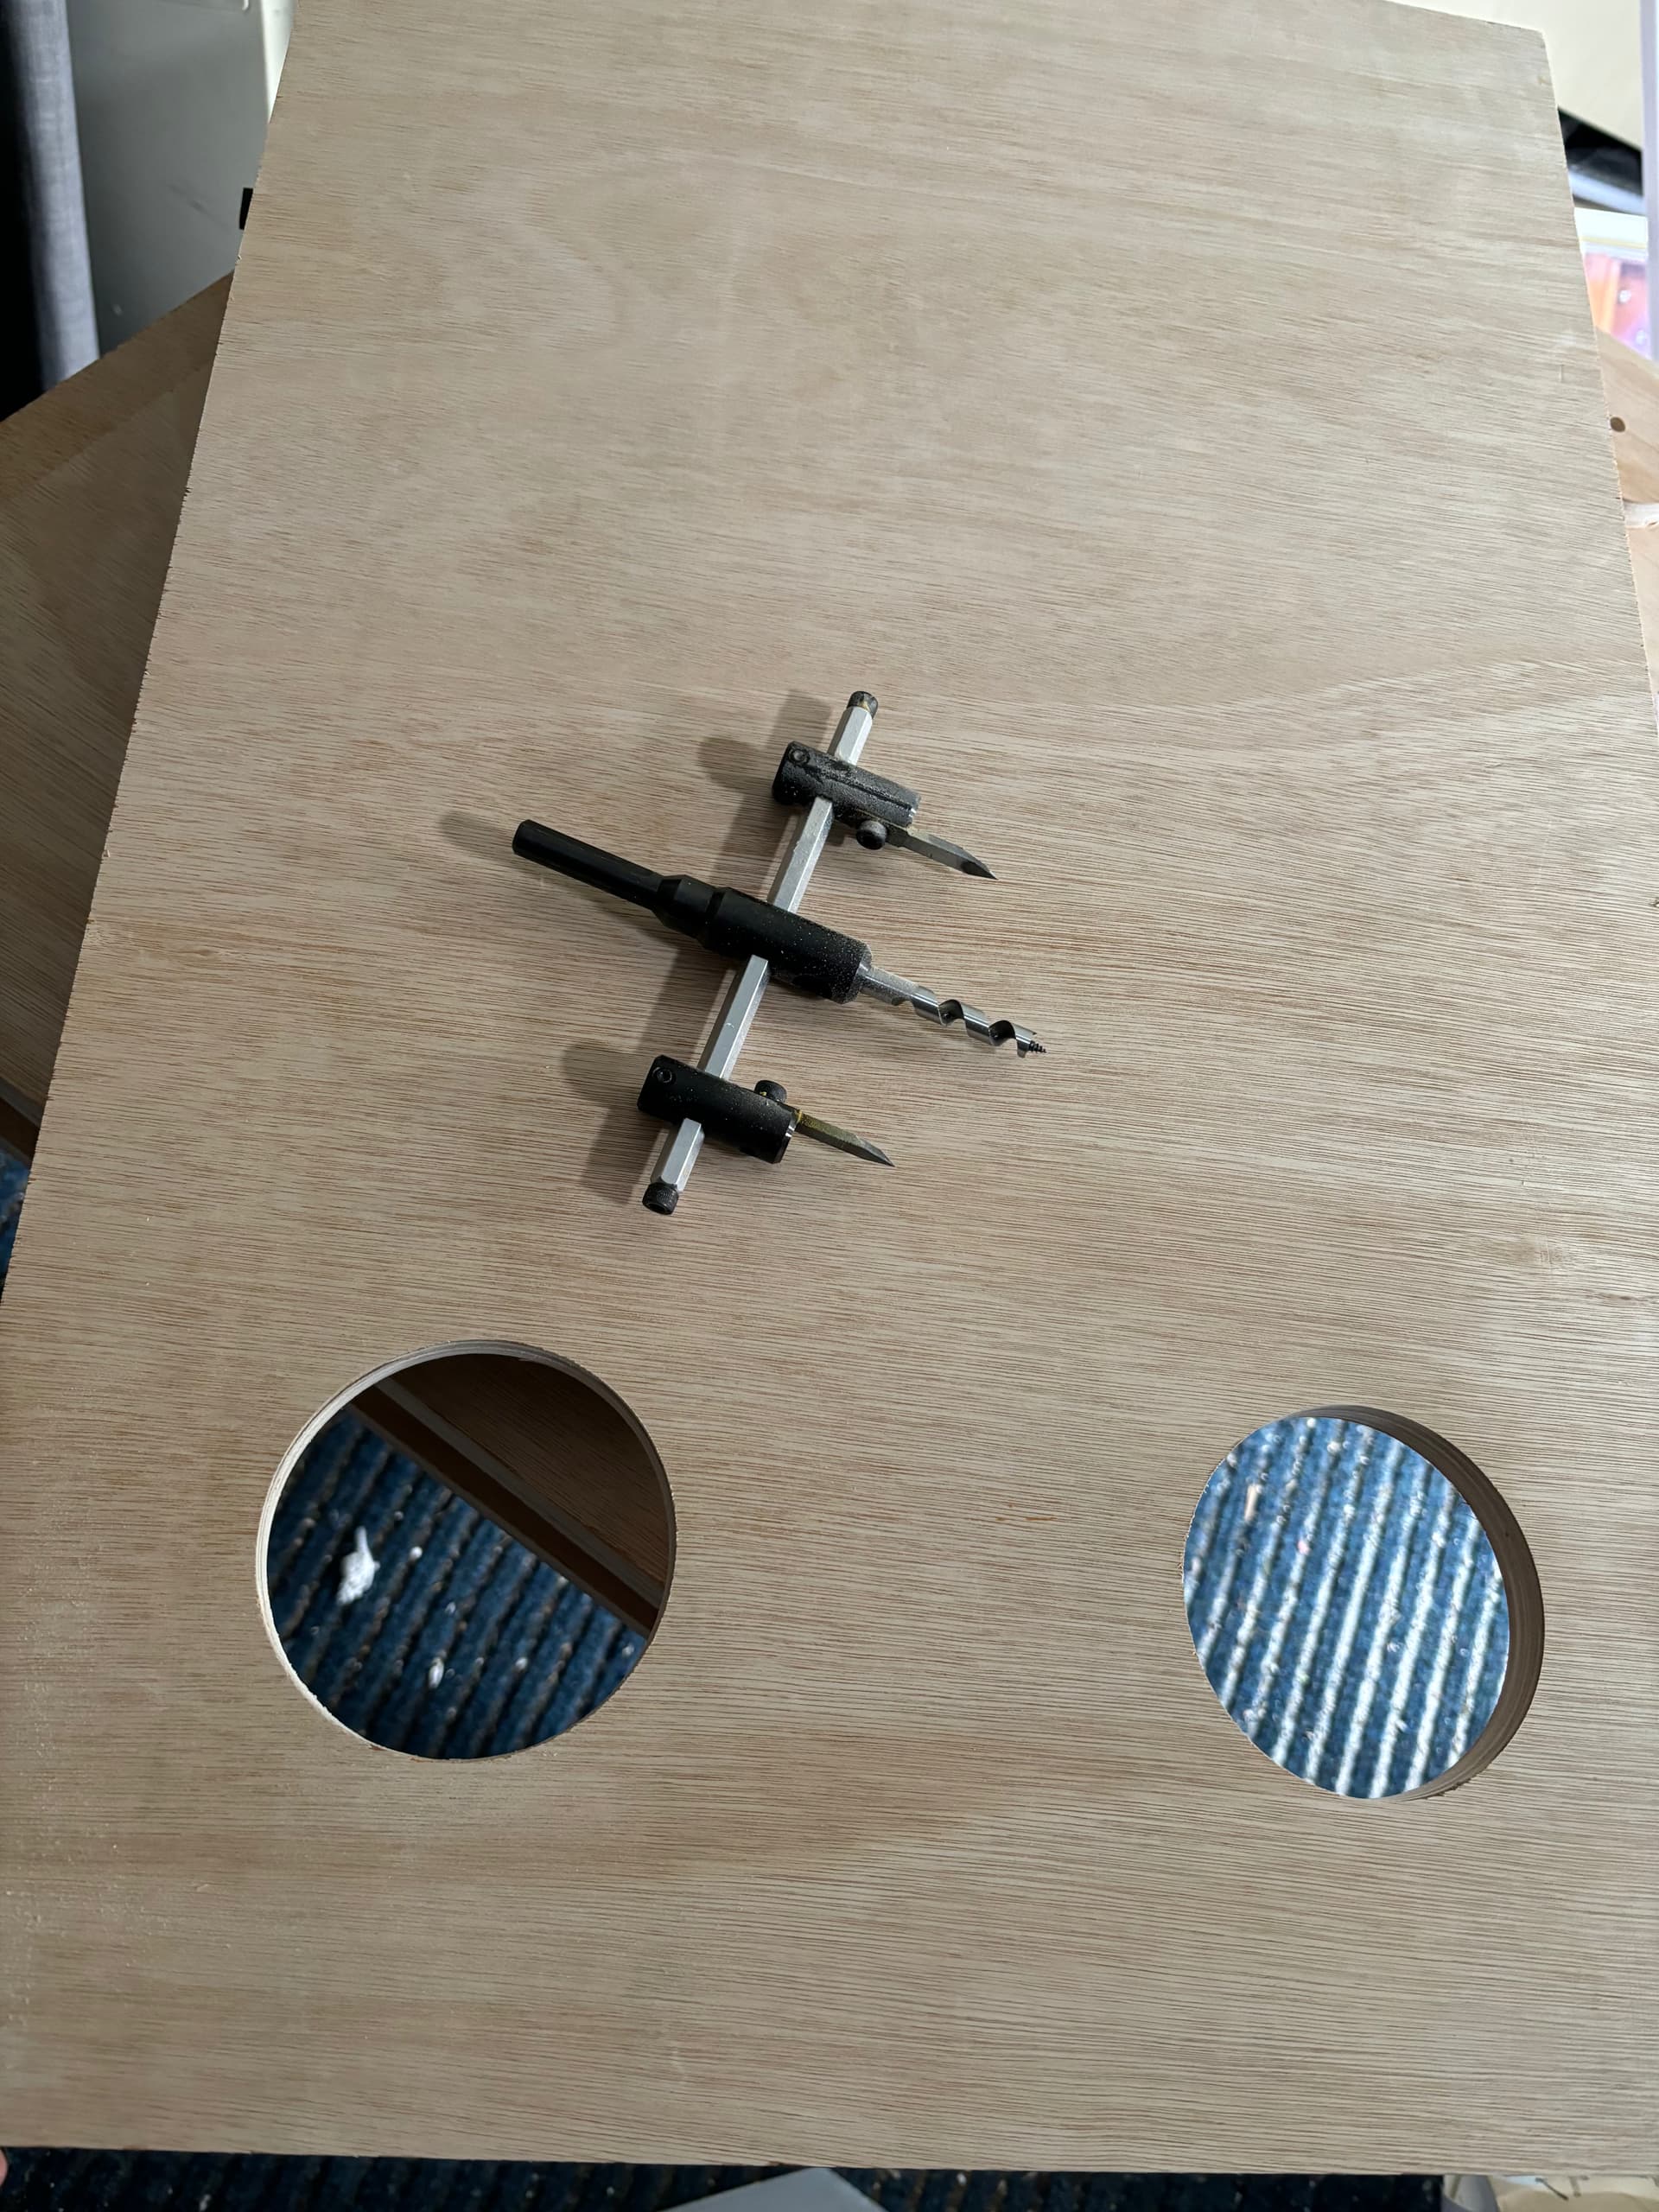
So far I’ve got the hang of the doweling using a jig I purchased (along wit ha few other tools for this project) and am pretty happy with the accuracy so far

I’ve bought the ports and speaker terminal plates in order to cut the holes for these before final construction of the cabinets

Hopefully the drivers will arrive next week, that will allow me to cut the front baffle for these and get on wit the final bits of construction before turning to the crossovers

The cabinets will be braced with some 2x1 but not with a cross cabinet brace, in order to have something similar to the original inspiration and then a small amount of acoustic damping will be added to the back baffle only

The crossover design I have seems relatively straight forwards though I haven’t done anything like this before I think it should be straightforwards enough however I’m using 4 binding posts and will go straight t the woofer then have the crossover feeding the tweeter as more of a filter. I think this is the right way to do this but am open to further suggestions here, as well as the intricacies of making the connections from binding post>crossover>driver

After that, and once I’ve tested the speakers I’d like to veneer the cabinets, at the moment I’m thinking black ash for the sides and rear but with something more interesting on the front baffle

Any thoughts, ideas or suggestions for the build are welcome and if anyone else was thinking of having a go but putting it off from lack or experience I highly recommend giving it a go as its a most enjoyable project, so far…

12 Likes

No thoughts, ideas or suggestions I’m afraid! But agree it’s fun to build your own! I’ve just built a bench to help put my own together and even that was good fun! Looking forward to seeing your build evolves. Really fascinated to see how they turn out, and sound too! Is it basically your design based on your own research?

You have skills,
There is nice patterns in the ply,
I would stain the wood,
Then us a polyurethane spray to get the shine/depth

Thanks, have just been completing the dowels for the front baffle and have started to assemble the carcass

I did wonder about the idea of stain and a selling/finish treatment, once its all finished I think I’ll take a look at the options once I know how good the job looks

Shopping list for the crossover components, internal wiring and finishing items is the next job for later this evening

Great job! I, too, look forward to seeing your progress!
DIY audio doesn’t seem to be very common nowadays, which is a shame.

Have you researched choices of capacitors yet?
Also, what will be your approach to the soldering? Are you planning on implementing the “dead bug” style, or will you etch your own circuit board, or even design and order a few from the likes of PCBway, etc? Many people dismiss using audio grade silver solder because of the expense, but small lengths are available very cheaply from the auction site.

Good luck!

I’ve spent a lot of time looking over the options for capacitors and resistors, if you have any suggestions I’m completely open to advice

I wish I could answer your question about soldering with a bit more knowledge but I’m afraid I am really at the beginning of that journey and, at the moment, my intention was to have a first attempt at a crossover that would do justice to the rest of the build, hopefully the simplicity of what is needed helps?

Am currently thinking Jantzen Amber Z caps and Pathaudio resistors though had also been looking at the Audyn true copper caps

Hi chris5 are these speakers your own design ?

Hi

I don’t think I can claim the design, as my inspiration is an already available speaker, however the research I’ve done to gather the info I need to make the speakers will mean that they will inevitably be quite different to the original version

If that makes the design mine then I suppose I could happily say yes, but its certainly not a clean sheet of paper design that’ve come up with

What I can be happy about is saying that they will be unique to me and my work on the build, just hope they sound good too ;o)

1 Like

All the best for your build hope it turns out well for you, will be keeping an eye on your thread to see how things are progressing.

Thank you, this afternoon was spent gluing and screwing the rear baffle to the speaker carcass so hopefully when the driver arrive this week I will be pretty close to getting things ready to test before finishing…

More pics please,

@Mark63 should be interested here. :grin::raised_hand_with_fingers_splayed:

This is the doweling I’m using to locate the panels and align them accurately (as far as my woodworking skills allow)

The sides and ends were fine and clamps brought them tightly butted together while the glue set but with the rear being a much larger panel wood screws were also used as I didn’t have enough clamps to rely on these alone

I think this is probably a good move and the extra rigidity as well as strength these provide will be a good thing, I’ll use this method to attach the front baffle later too as the panels do sit nice and tightly together

I really need the drivers to arrive this week in order to progress with the front baffle but in the meantime I’ll source the crossover components plus the damping material and binding posts in order to have everything to finish the build to the testing stage

3 Likes

Are you planning any internal bracing and/or panel damping for that box at all?
I’m not promoting GR research here, but you might be interested in his accelerometer plots from a DIY unbraced plywood cabinet…

yes, maybe a brace would be a good idea after all…

…at least that should keep me busy, and out of trouble, this afternoon

I commend the SEAS A26 RE4 driver. In 2009 Peter Comeau did a design for HiFi World which was based on the old Dynaco A25. It used aperiodic tuning rather than a reflex port. I happen to prefer not to have holes in my speakers, so when he offered a floor standing version venting into a lower chamber, I eventually built a pair. His final version used the SEAS Millennium tweeter, and he called it the WD25T-EX. As Peter himself said in one of the articles, the A26 sounds much better than the design actually should. They replaced my ageing Snell Type Ciis, which were quite hard to improve on. Peter’s kits were no longer available by the time I got to the project, so I ended up picking up the drive units and all the components on a trip to the US.

On cross bracing, I think it’s a matter of taste. There are some firms who think there’s no harm in speakers singing along with the music a bit, and who build really nice products. I’m of the other school. I used 18mm birch ply, and beech battens for the cross bracing (borrowing from the BBC’s research). I then laminated the boxes with 6mm MDF. The key thing with cross bracing is not to do what many manufacturers do - i.e. make it nice and symmetrical. Make it asymmetric, with the proportions of the speaker panels resulting based on golden ratios, and no two panels the same size. Any resonances you get will then all be different, and cannot reinforce each other. The waterfall charts that came out were quite reassuring.

Good luck!

7 Likes

On resistors, I switched out the originals for Mundorf M-Resist Supremes, and thought they made a positive difference, but if I was doing it again I’d probably use Mills MRA-12s.

1 Like

It would be good if you could measure this speaker outside in open air with REW…it should be interesting to see the frequency response. I would think you will need the tweeter to go as low as possible…and give the 10 inch woofer an easy time. Thats a really big cabinet you have there … I would imagine the bass output could be quite prodigious… bracing looks good - I suggest approx 1/3rd vol of box is filled with BAF wadding…as there will be some standing waves. If the box was sealed I would have gone for 50% fiberglass… let us know how you get on … nice job!

1 Like

It’s great to hear people still giving home build speakers a go.
I did several over the years and one pair kind of “evolved” from floor standers, to mid size, when the design changed from ported with “x” driver, to sealed with a kef b200 bass / mid.

I would echo the comments on internal bracing, keep asymmetrical as lots of glue (nobody will see the runs!)

My “keeper” set are kind of pyramid shaped with the top cut off - removing any parallel panels - worked a treat
(Bottom has a false base, so it’s not parallel with the top)

Damping wise you can also consider panels of sticky / heavy rubber that car audio guys use to damp car door panels, they can be cut with scissors and also would recommend - and you don’t need to do all the panels, just a square in the middle of larger ones to damp any ringing.

Crossover wise, simple is good with less phase issues (like your 1st order), but be careful as the roll off will be shallow and the tweeter will see some lower frequencies.

Only other tips
1- if you are adding binding posts, check the material (makes a difference)
2- if you are using 4 posts per speaker, separate for bi amp/ bi wire, but I’m a little indifferent to that nowadays
3- consider a decoupled front baffle.
I built a second baffle which overlays the original (original baffle cut back / opened up to form an edge / place to bolt to)
Then final baffle of 1” HDF which had countersunk Allen bolts that clamp the two baffles together
To decouple, rubber pond liner, rubber window seal, there are a number of options, but this was kept as it sounded good, and 4 bolts release the entire front baffle for “playing”

There are going to be lots of suggestions, take them / try / test them or ignore them, but do have fun.

Ps my final set (the keepers) evolved over about 10 years!!!

4 Likes