Hi all, I thought that with so much interest in high end Ethernet streaming cables I’d show an alternative way to obtain these at a fraction of the cost.
Many manufacturers would have you believe there’s some secret voodoo with cable manufacture but in many cases its really quite simple and requires little specialist skill or tools, hopefully you will find this a useful and simple alternative.
I should say that I do this type of thing for a living but trust me the basics are quite simple. I’m undertaking a full house rewire and am adding a number of dedicated network cables for Naim equipment around the house, here’s how I do it. Making up a short patch cable would be no different.
Firstly I’m using Excel branded Cat6A cable and Telegartner plugs. The black Excel cable is external graded and the cyan the internal version. Internally you can use either but don’t use internal grade outside, it wont last long. There are many alternatives, I cant tell you if these are better or worse than others, just that they are extremely high quality items. I buy cable on 500m drums but you can get shorter lengths online.
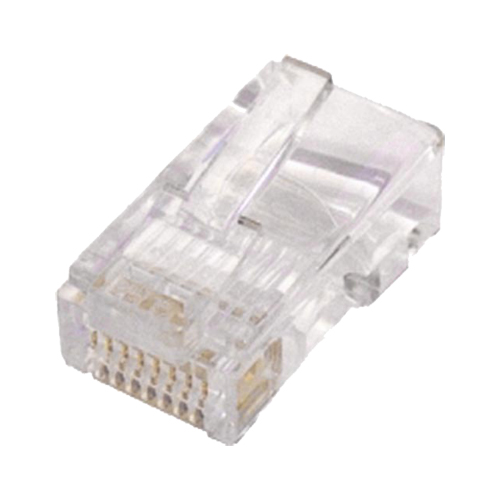
Telegartner 2-piece Plug

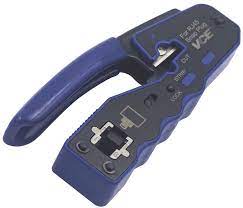
First, strip back the outer sheaf, I’ve used a Jokari stripper but a knife is fine. You don’t need to cut right through, just partial and it will split when bent. The second image shows the foil shield and the thin drain wire.
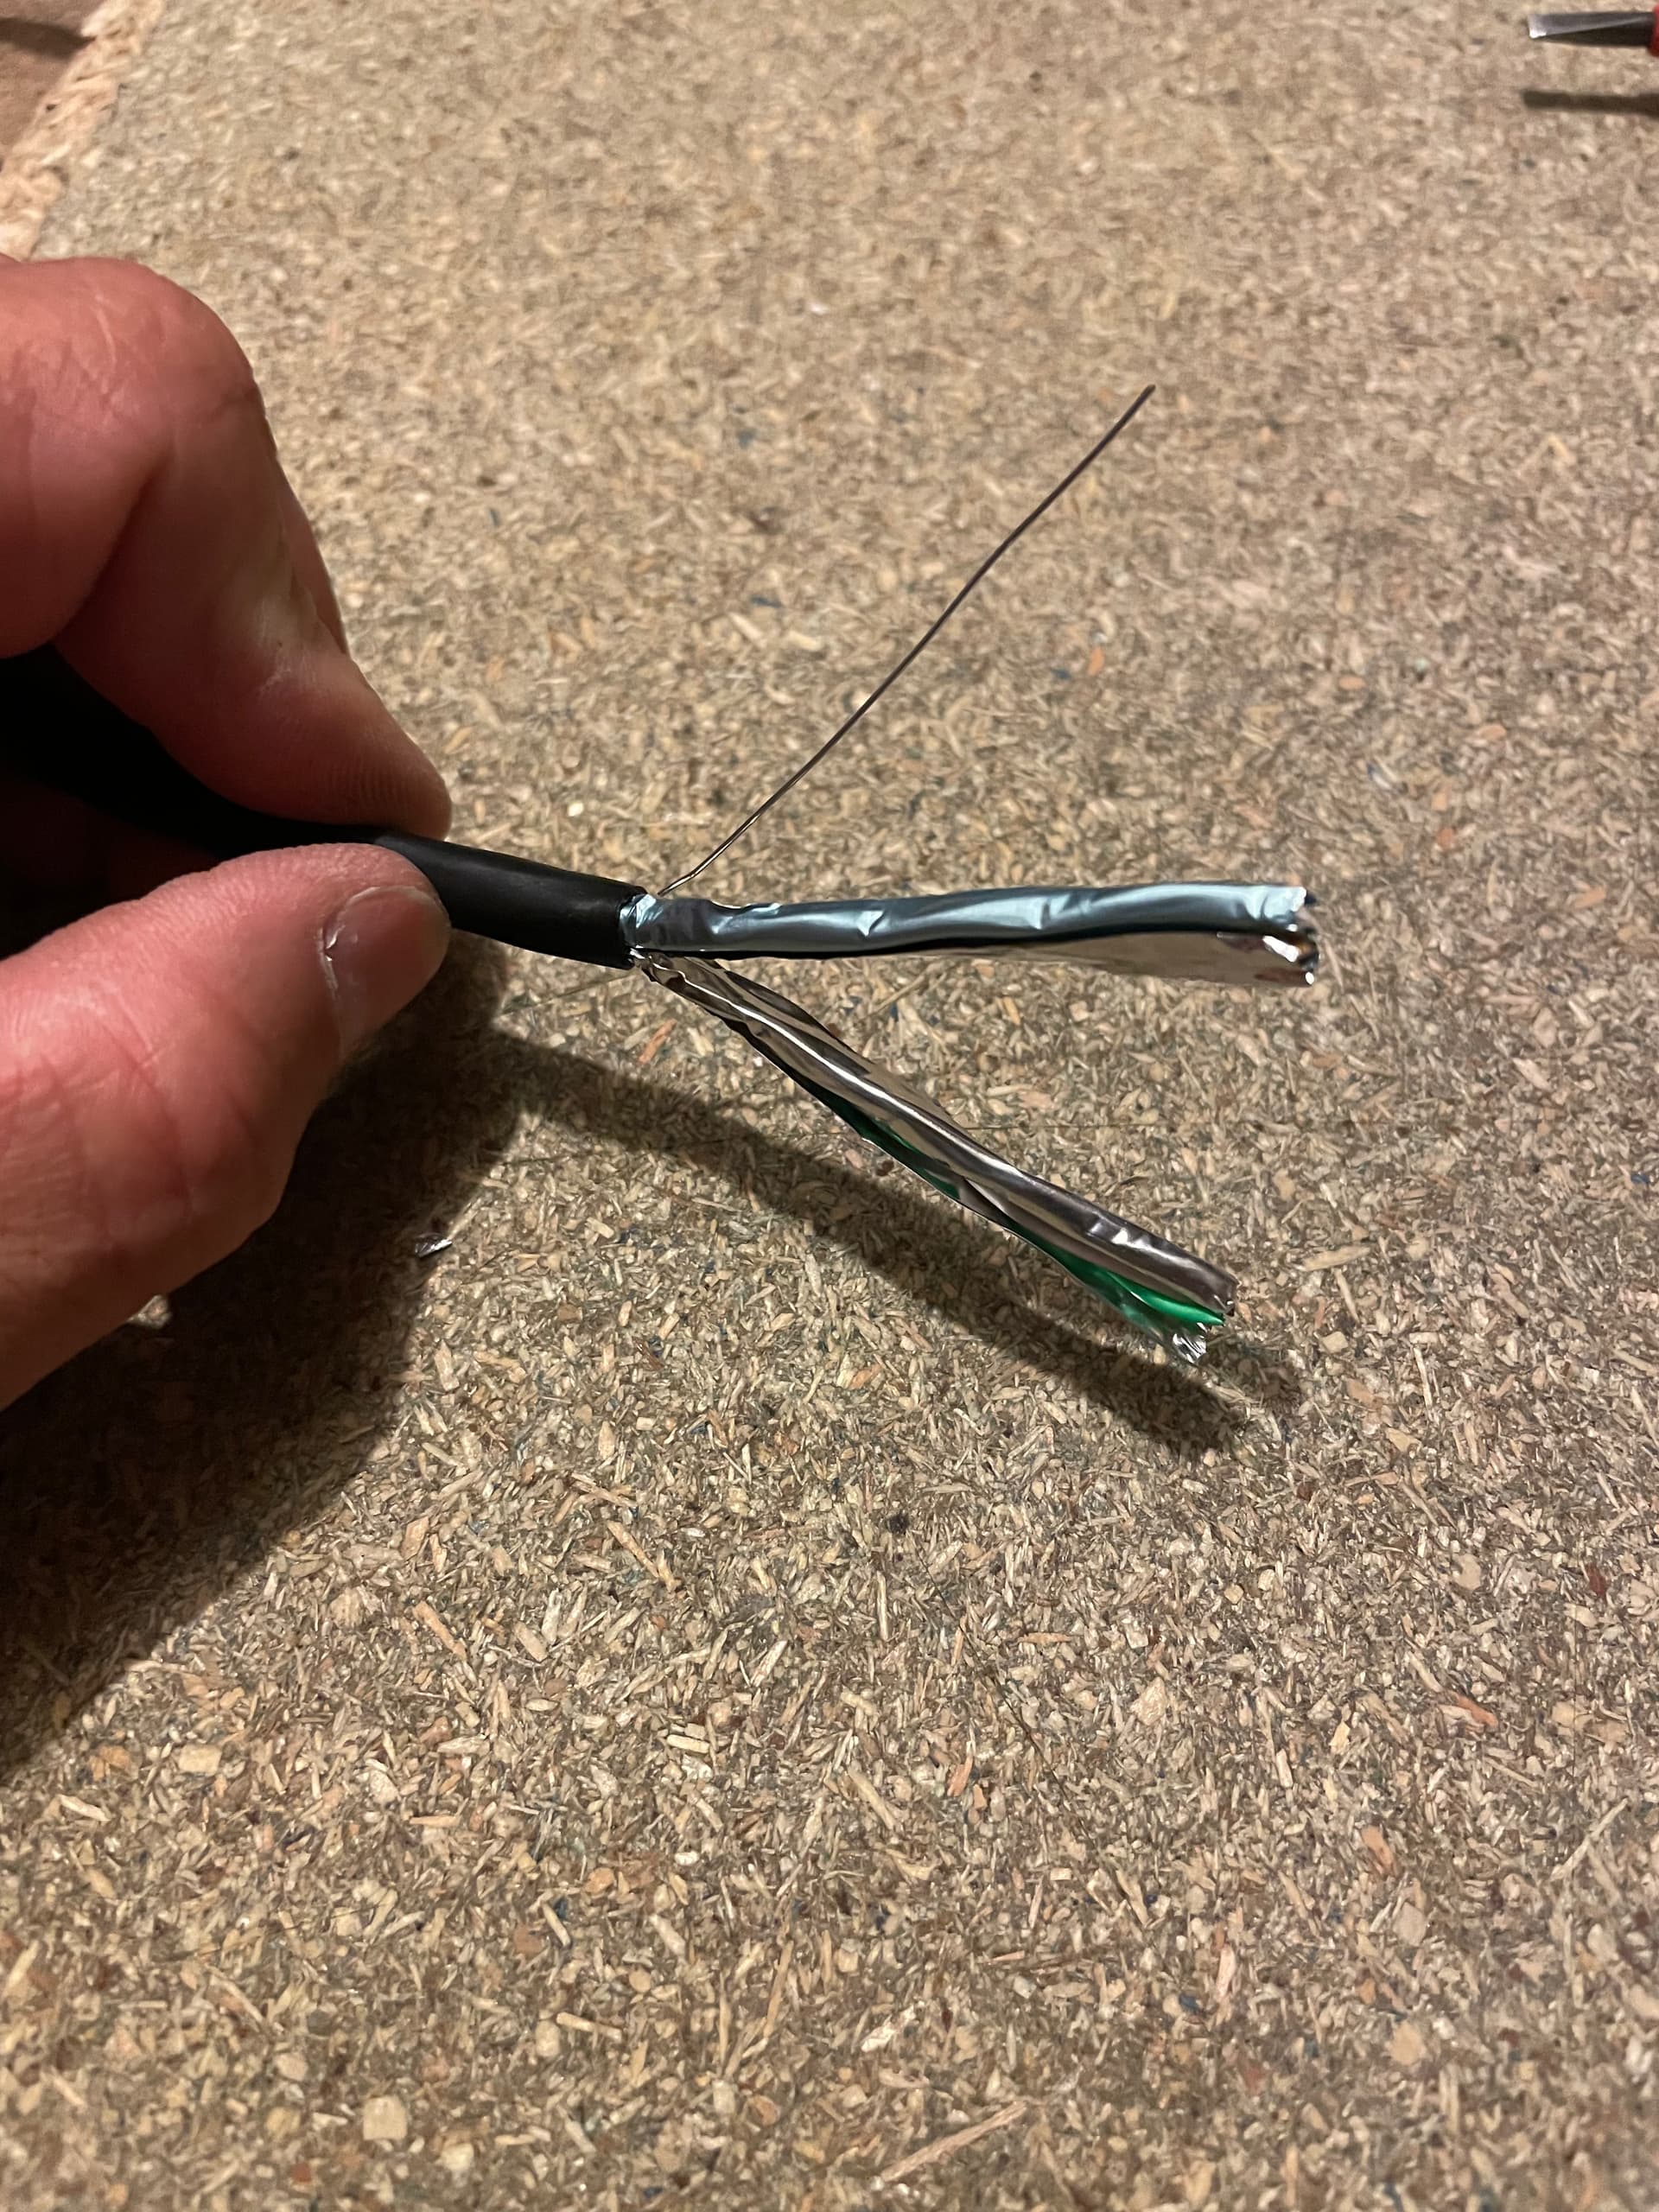
If you want to ground the plug, then the drain wire is wrapped around the cable end and will ultimately connect with the plug casing. Note you would want to strip back about 100mm of the outer sheaf when doing this but as I am intending only grounding the source end and not this one, then this drain wire is a bit short (50mm) and following images will show it cut off.
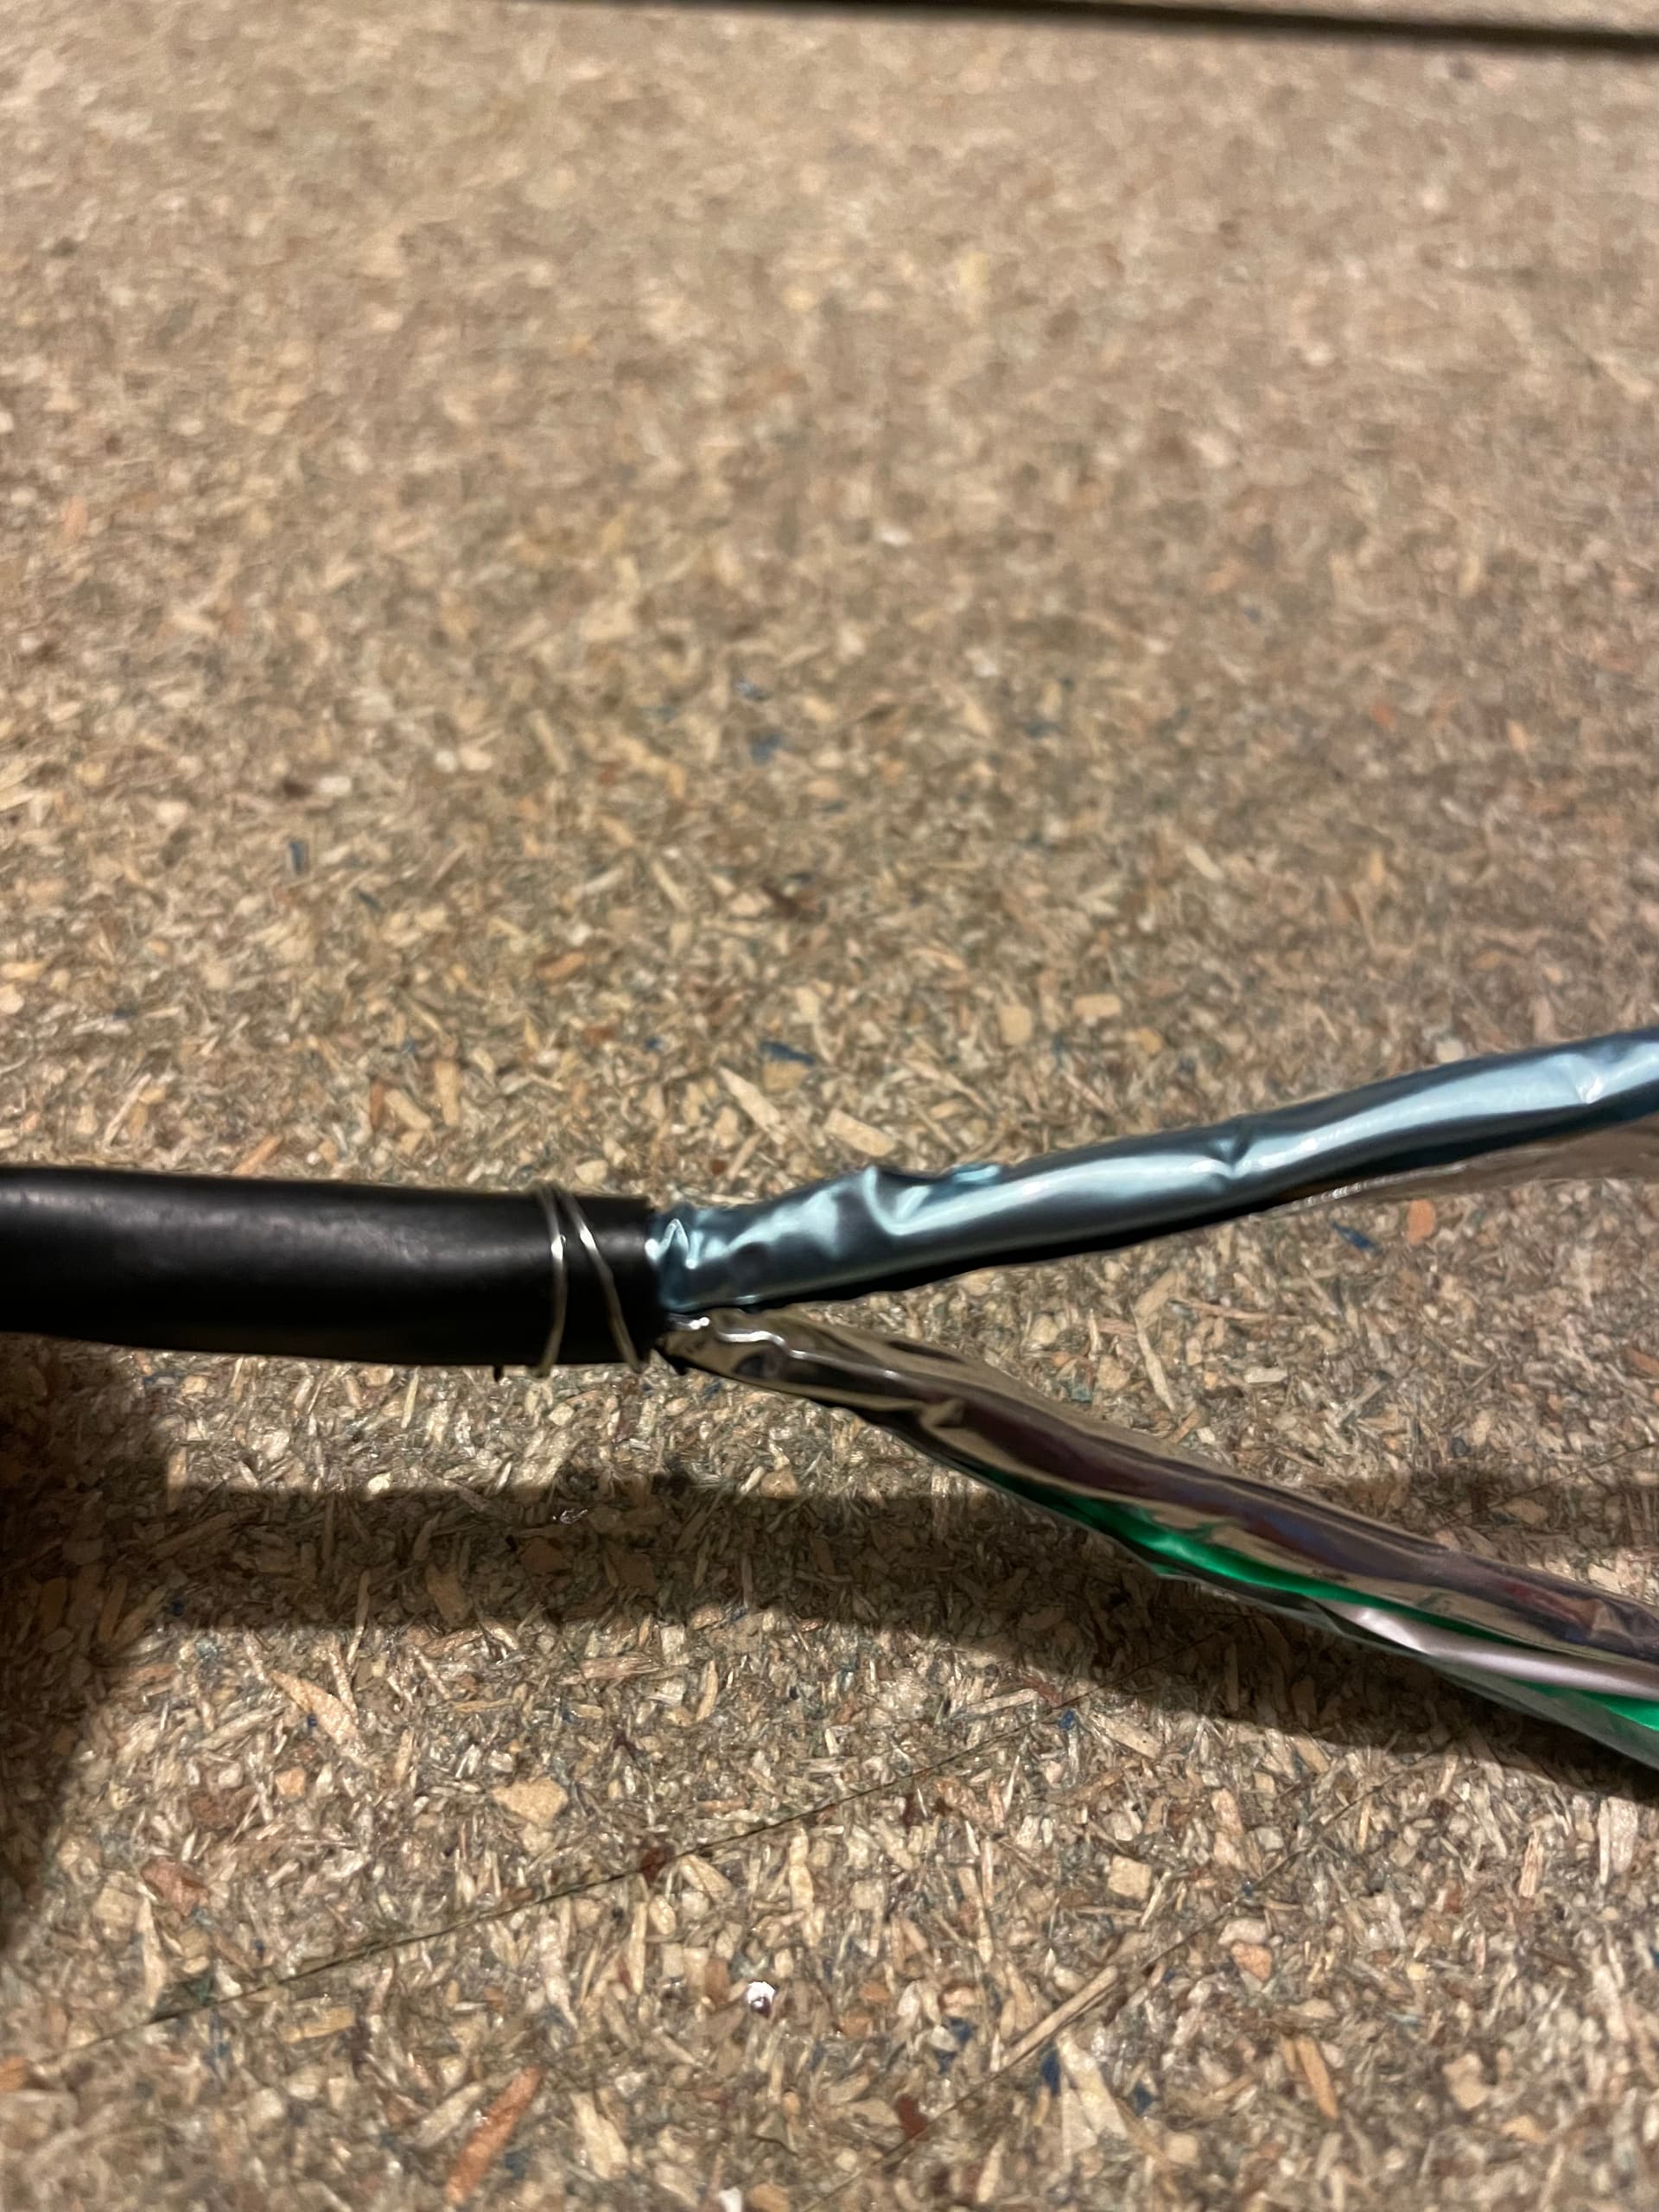
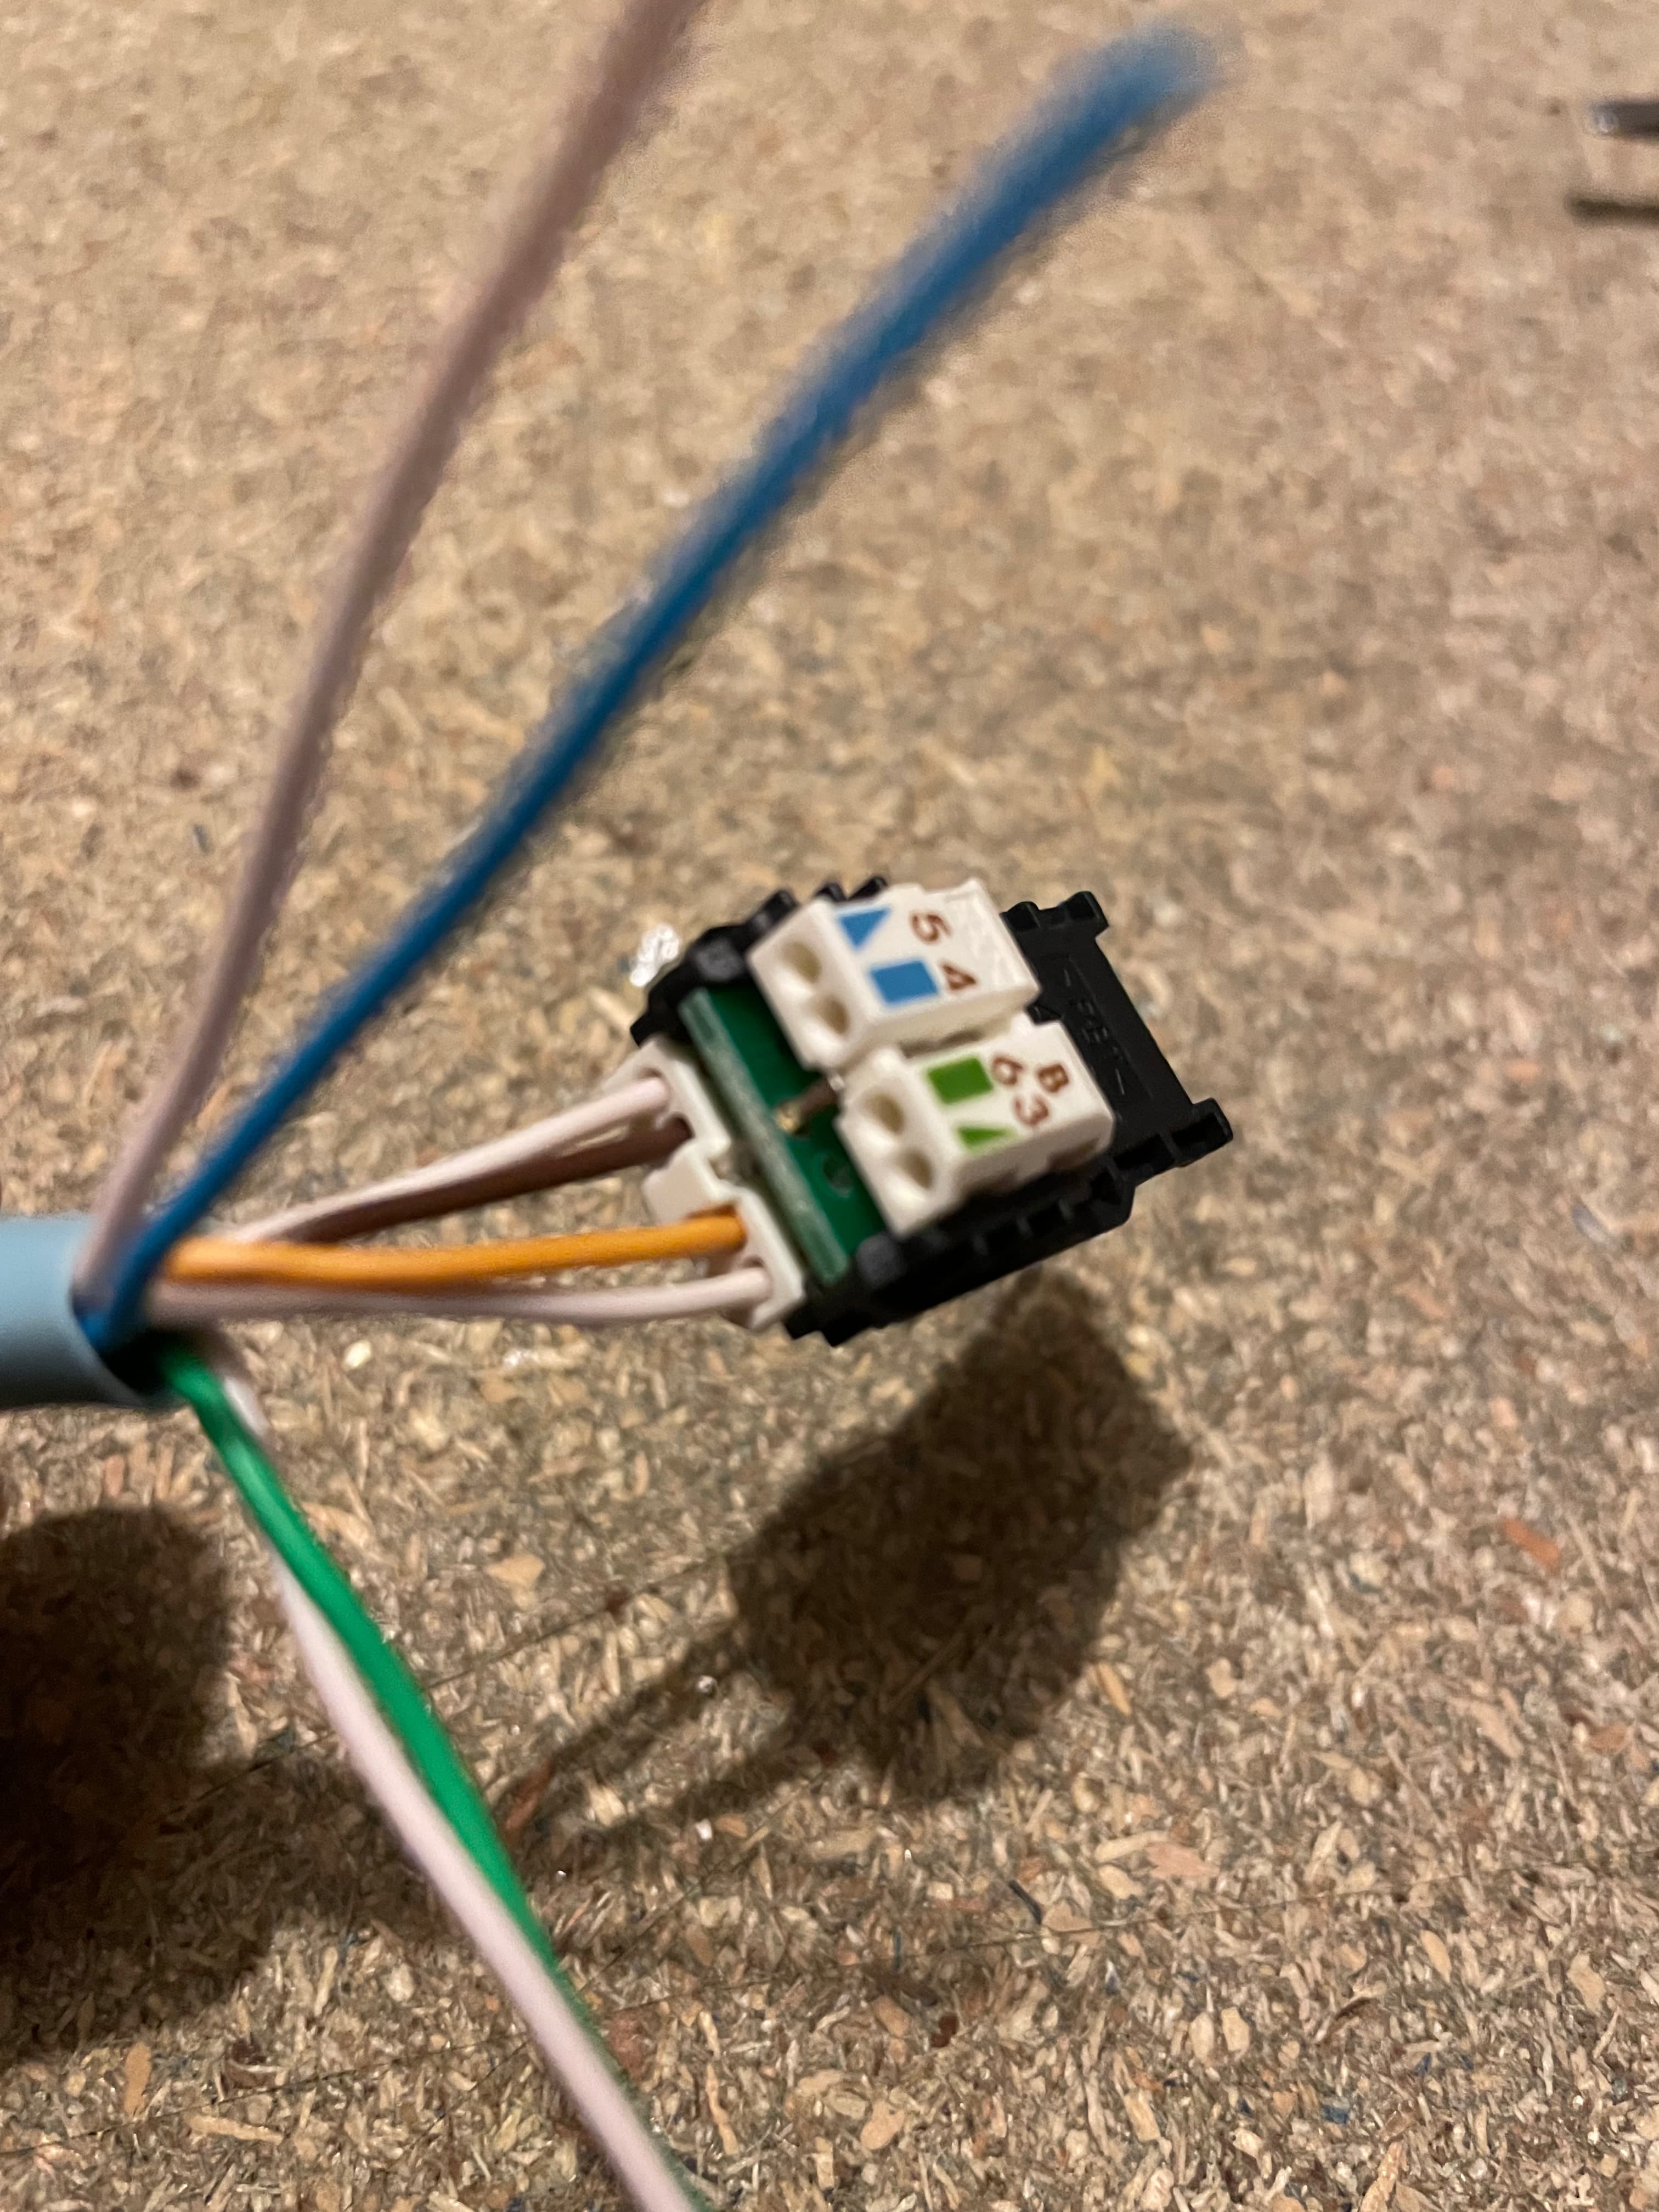
Drain wire cut off and foil shield removed. You always remove the foil, even if you keep the drain wire and earth the plug. I used some precision cutters to tidy as best as possible. There are 4 wire pairs, orange, green, blue and brown each with their corresponding white pair.
Next I’ve added an insulation shield heat shrink. As I don’t want this end to be earthed this will ensure no accidental contact to the plug casing.

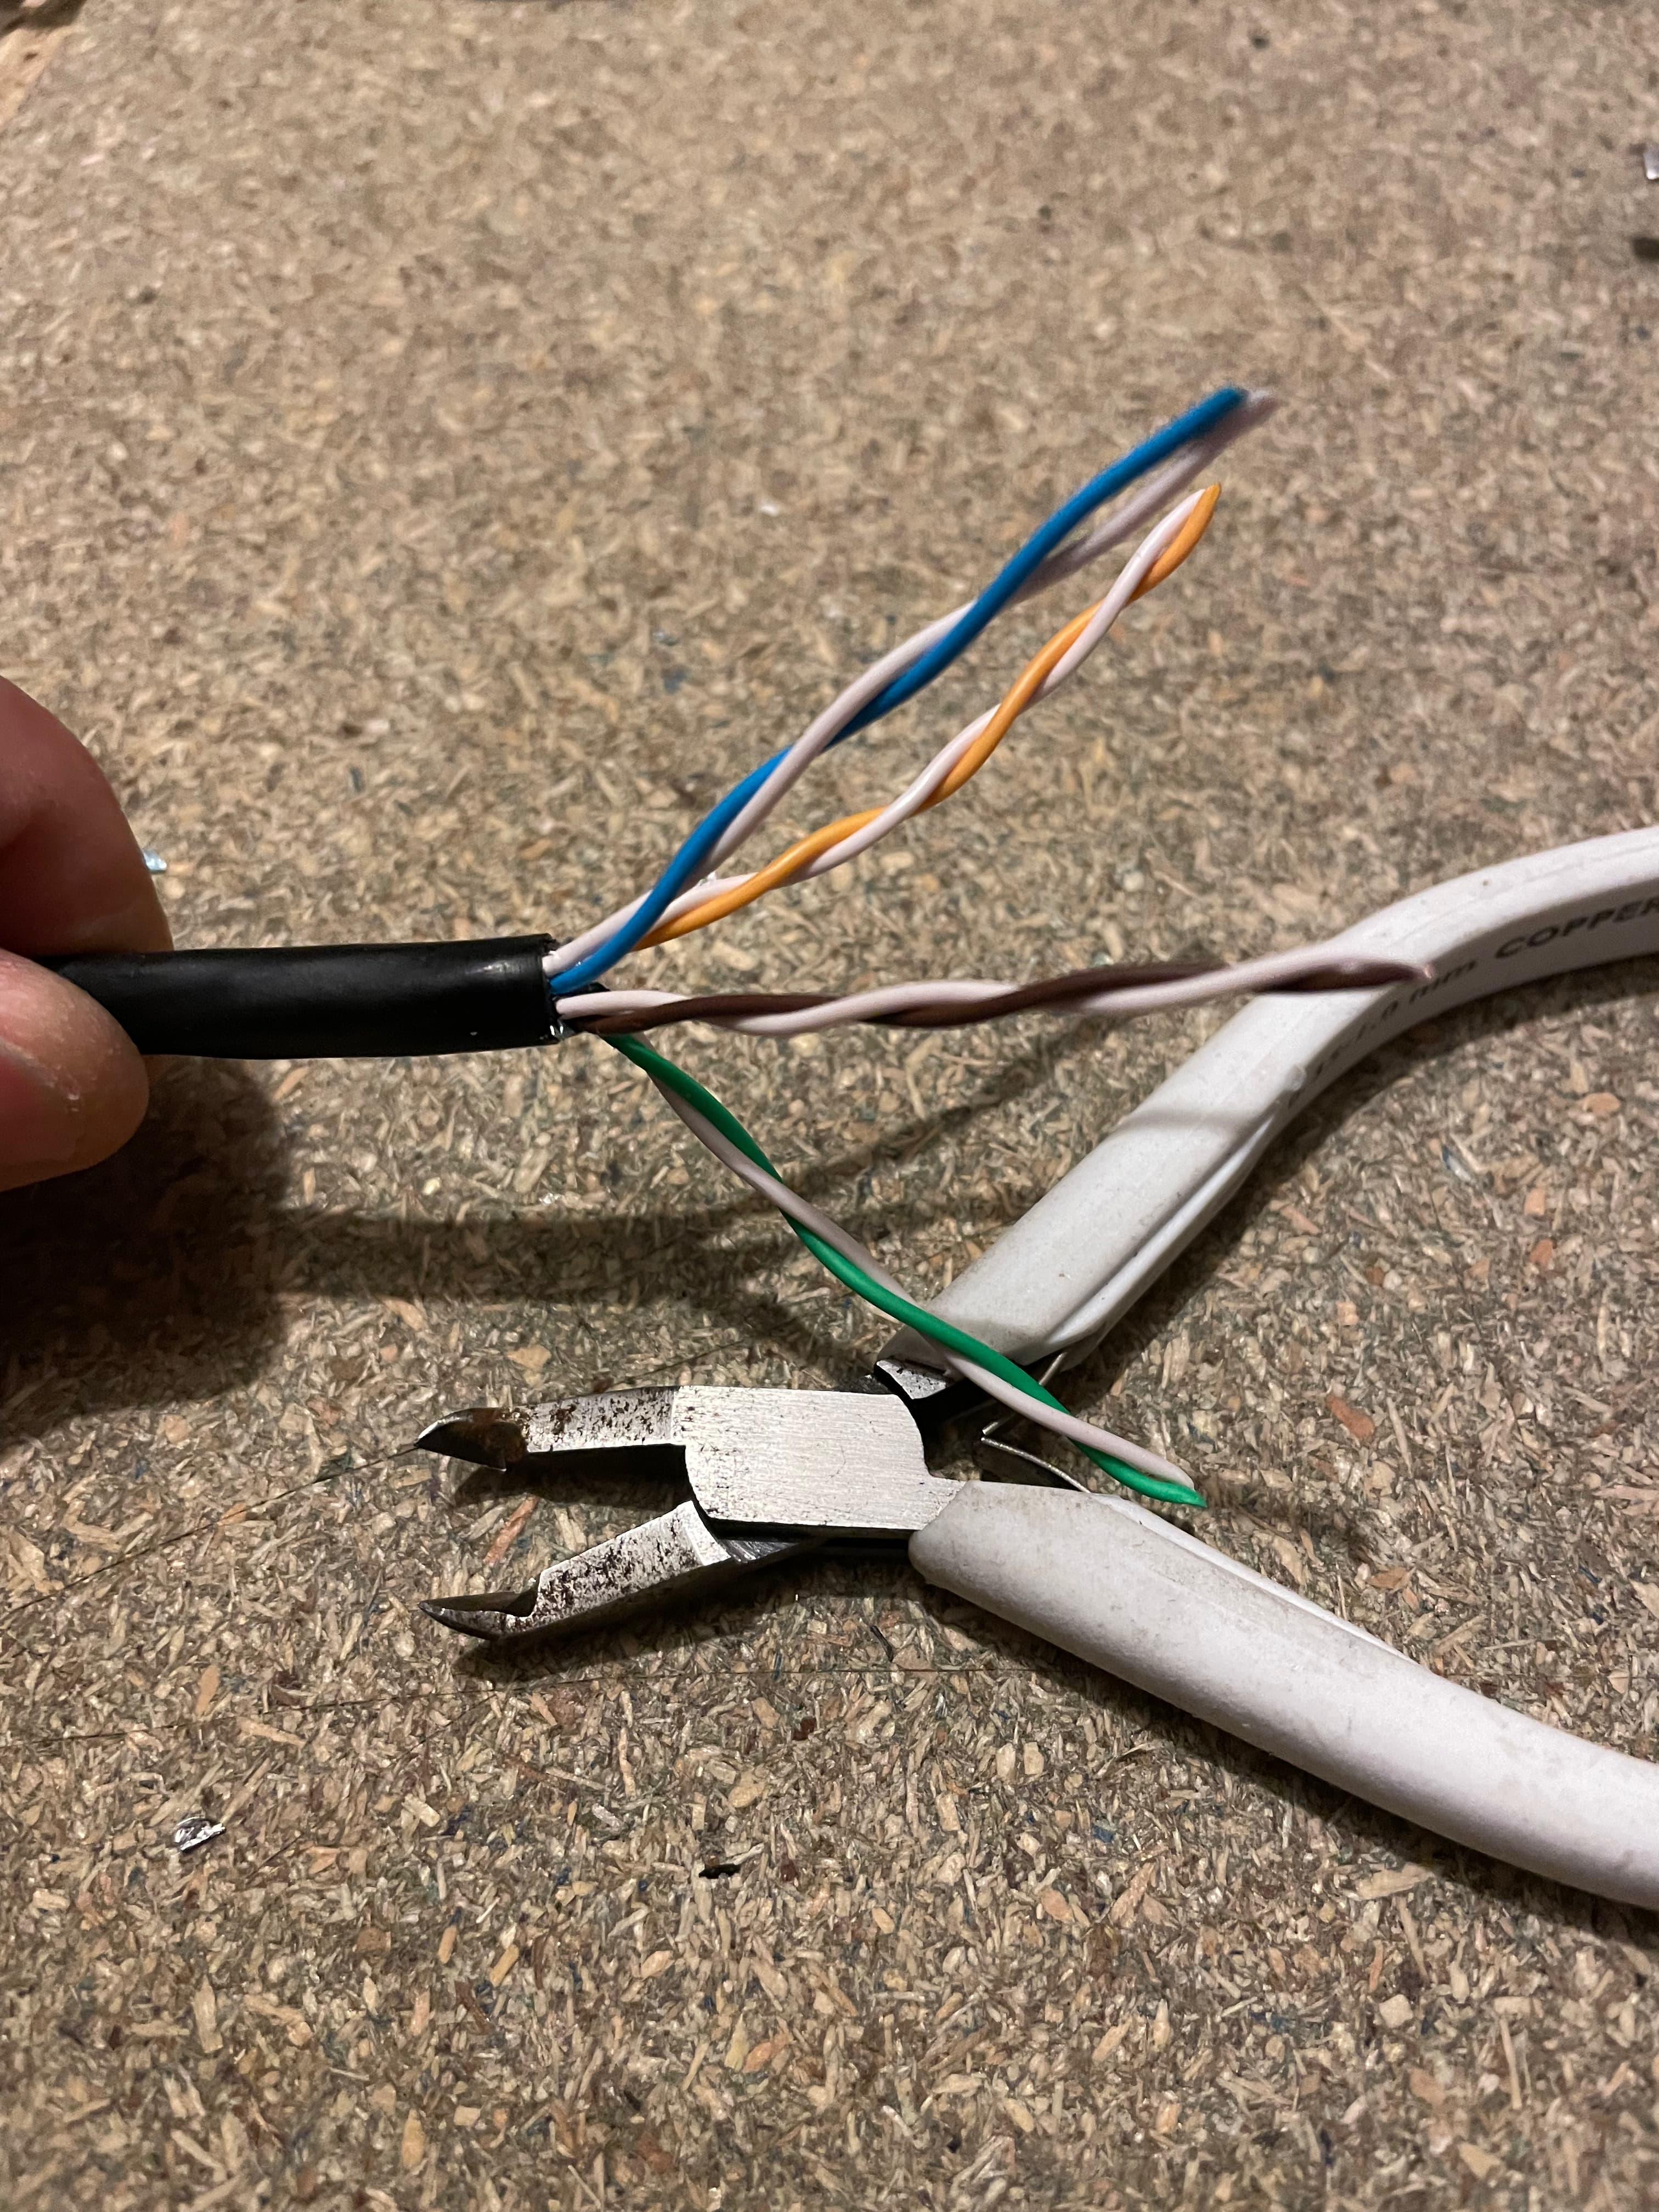
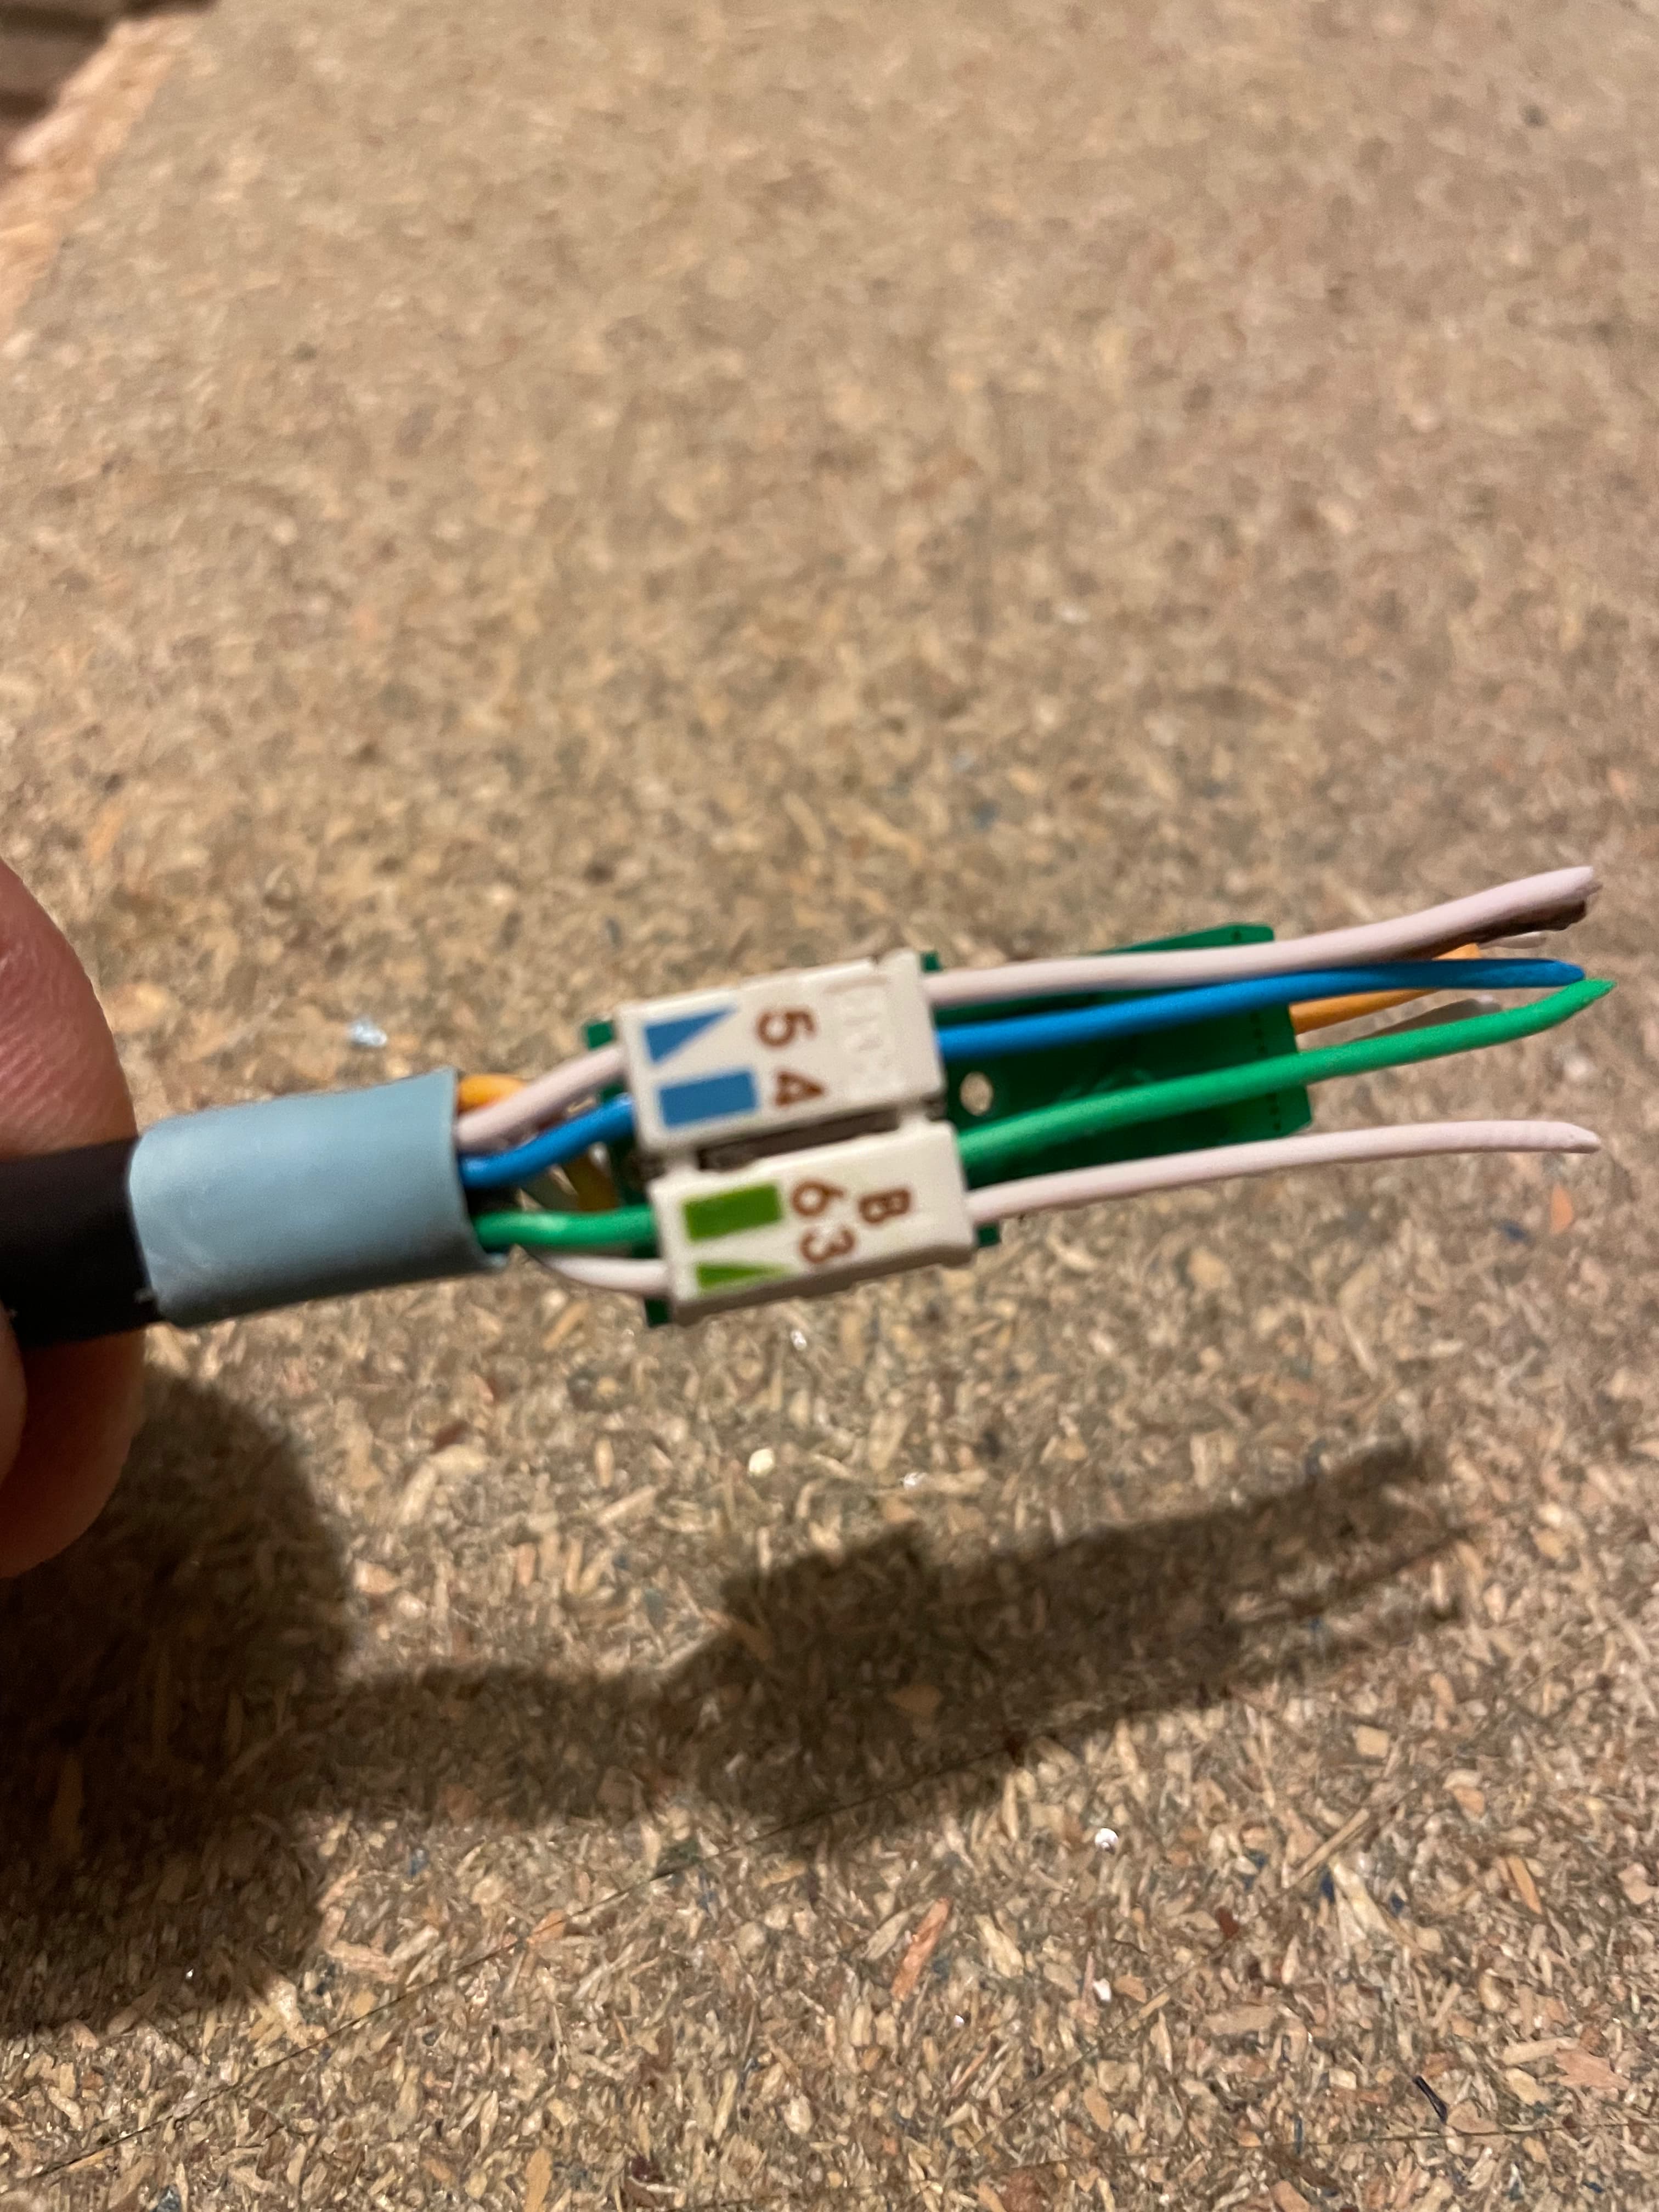
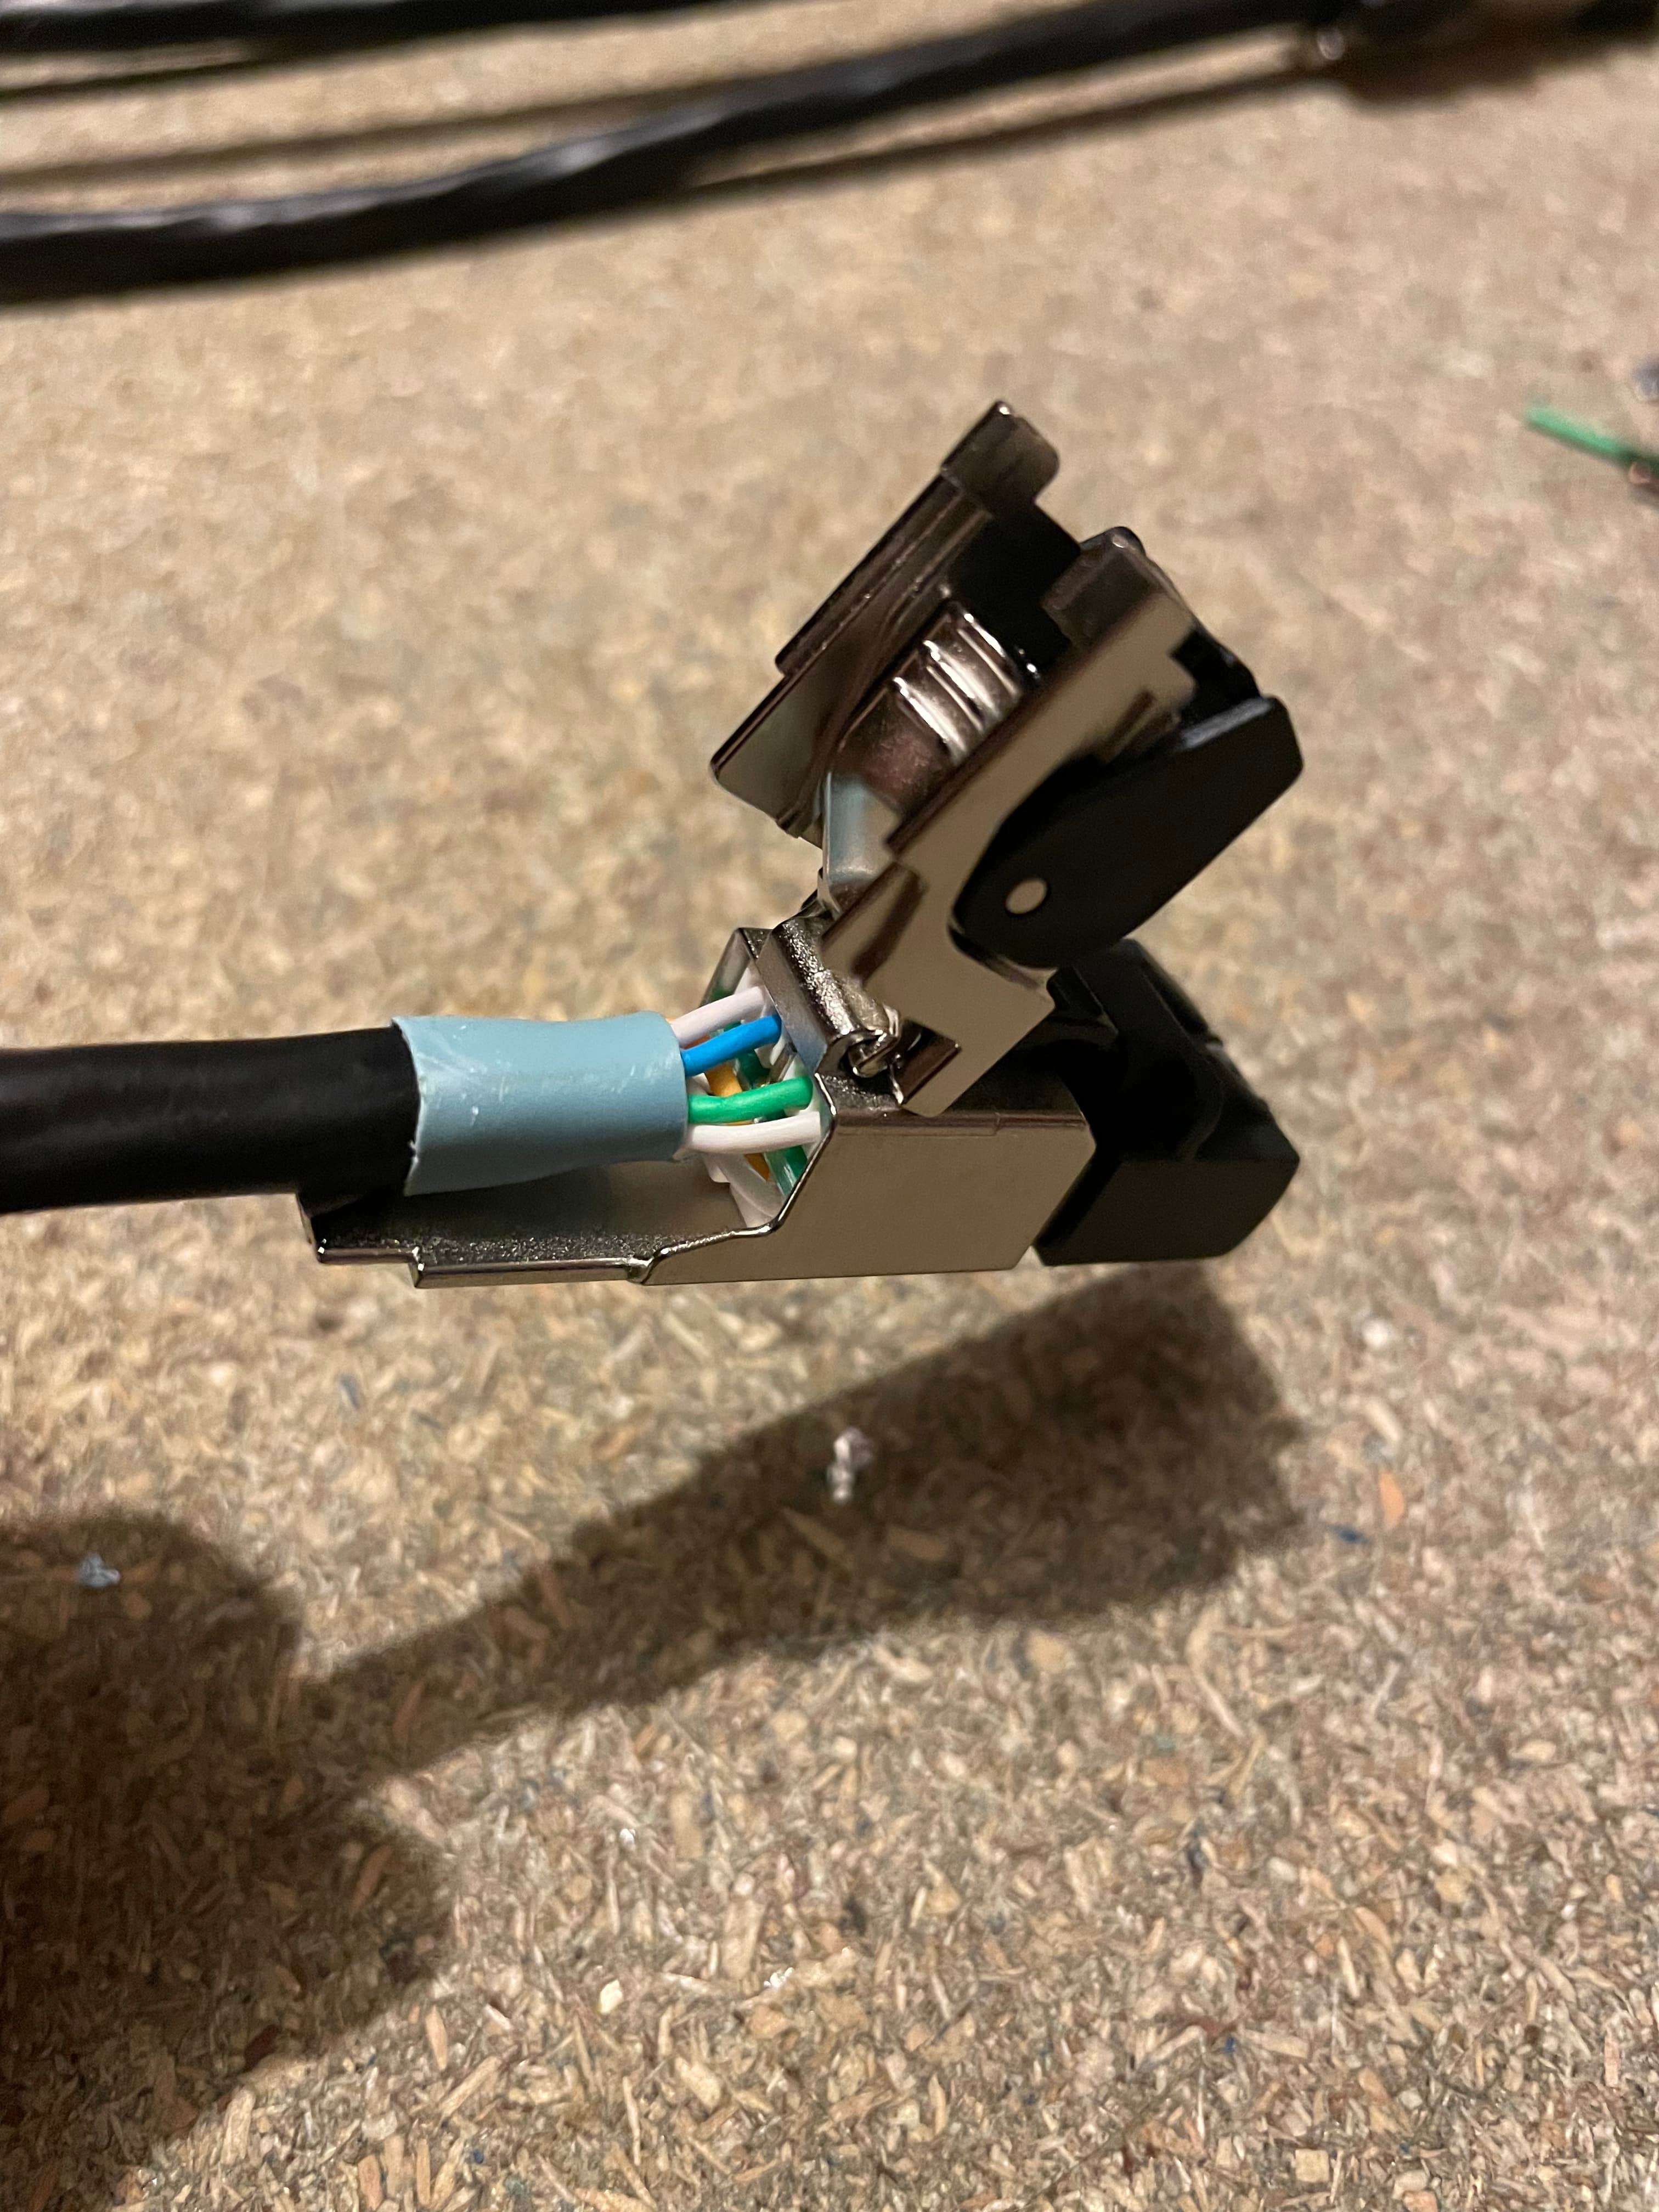
Unwind and straighten the wires, keeping them in their pairs. I’ve also arranged these to suit their fitment into the plug in the next step.
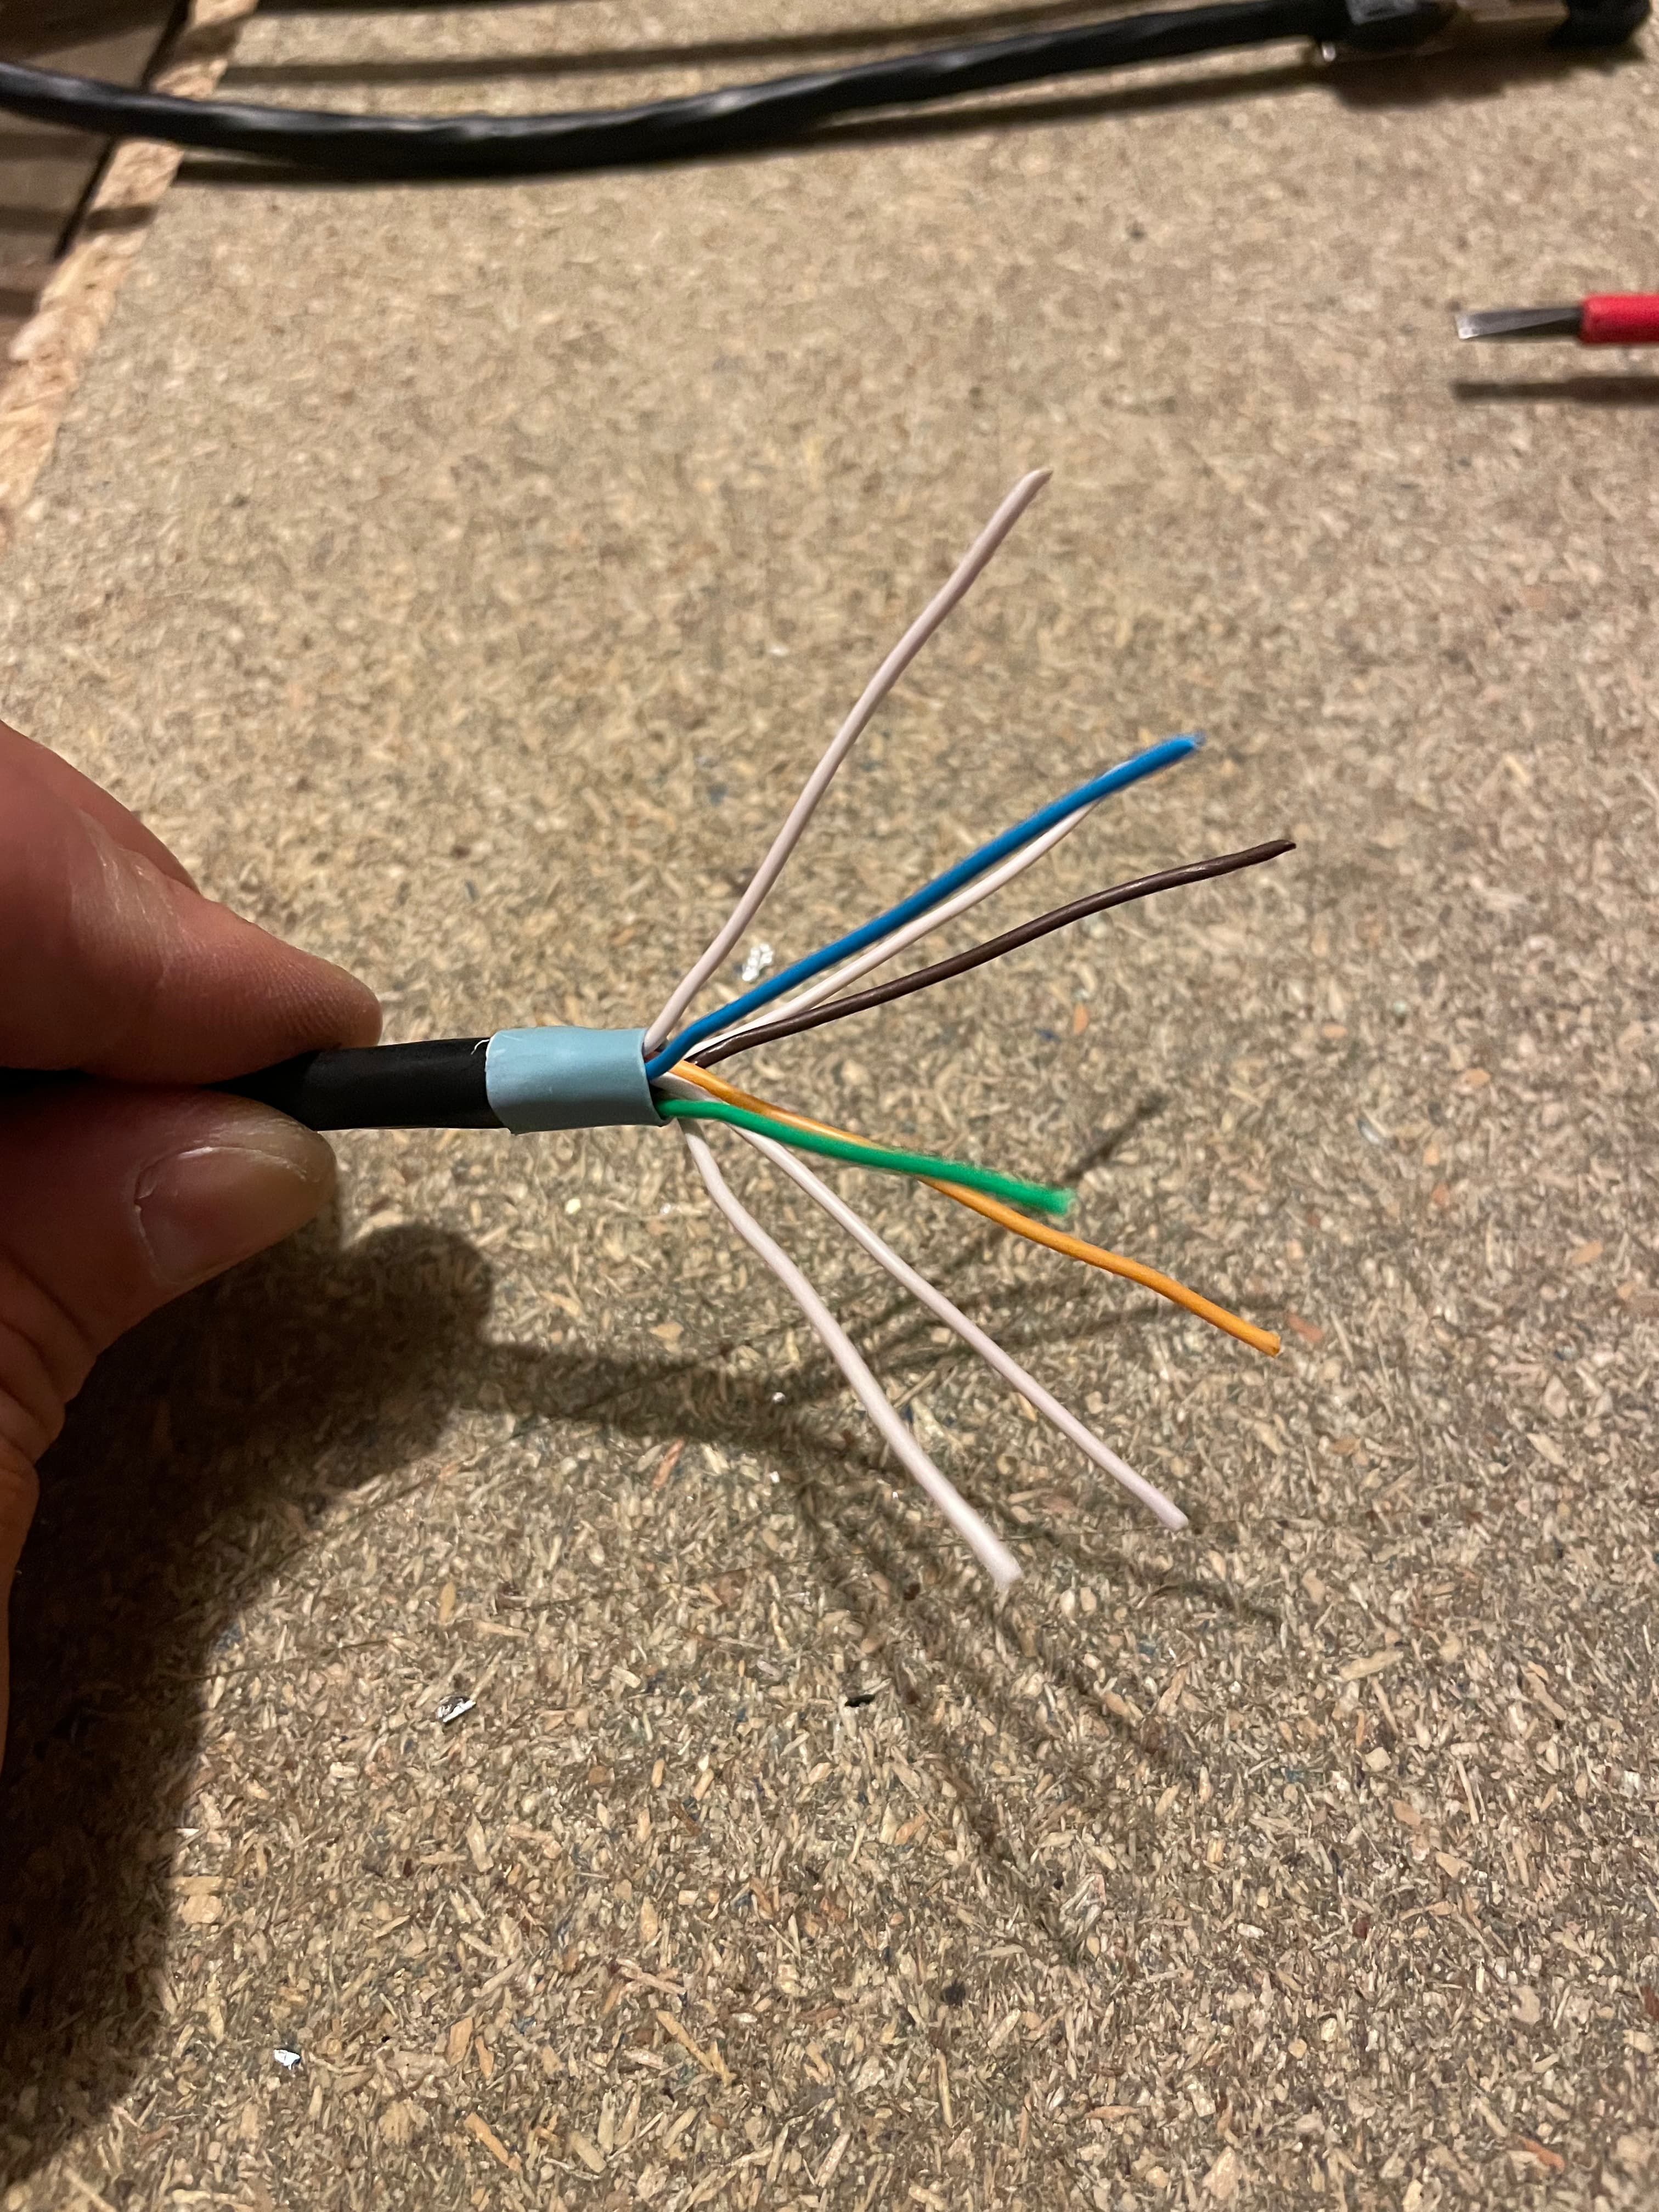
The inner connector part of the plug is now fitted, the wires simply push through the holes. Note that the wiring standard is called TIA 568, with 568B being common in Europe and I believe 568A in the US. So long as you do both ends the same it does not matter but I suggest comply to the norm. I am using 568B and this is the standard colour code on these plugs, so you cant really go wrong.
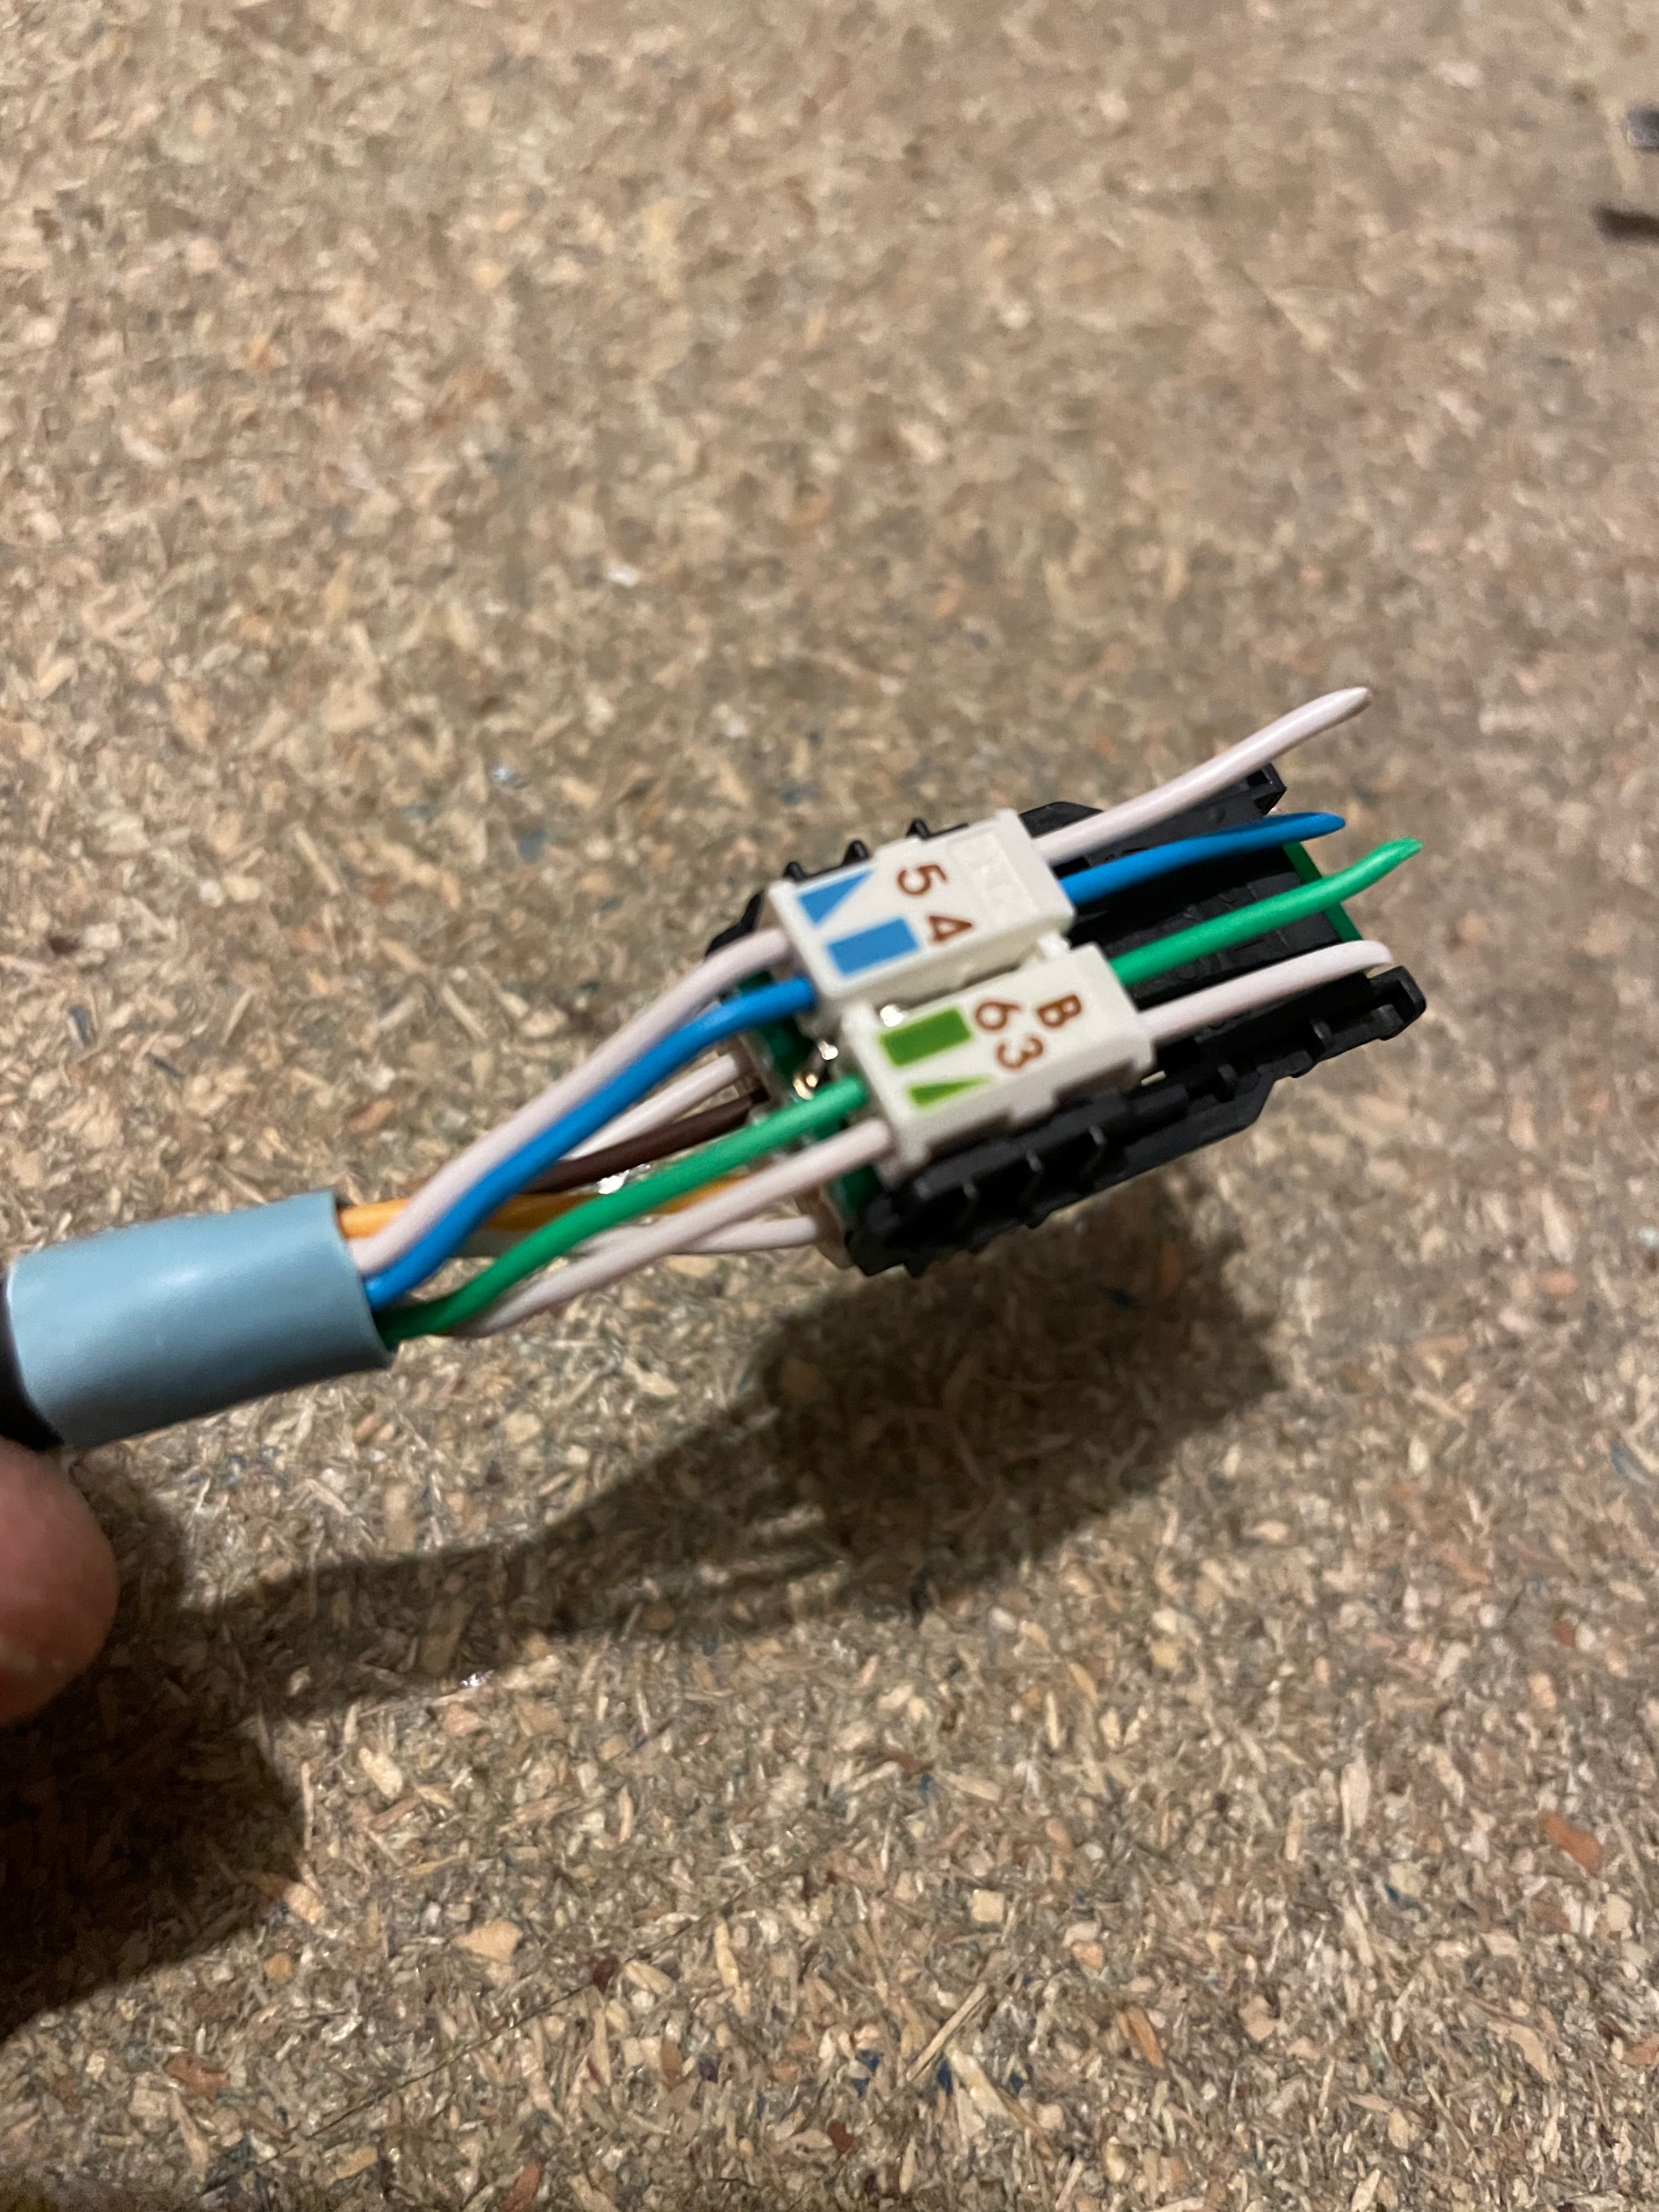
Pull the cables through taking care not to kink them. The most common error here is getting the colours wrong or simply missing the hole.
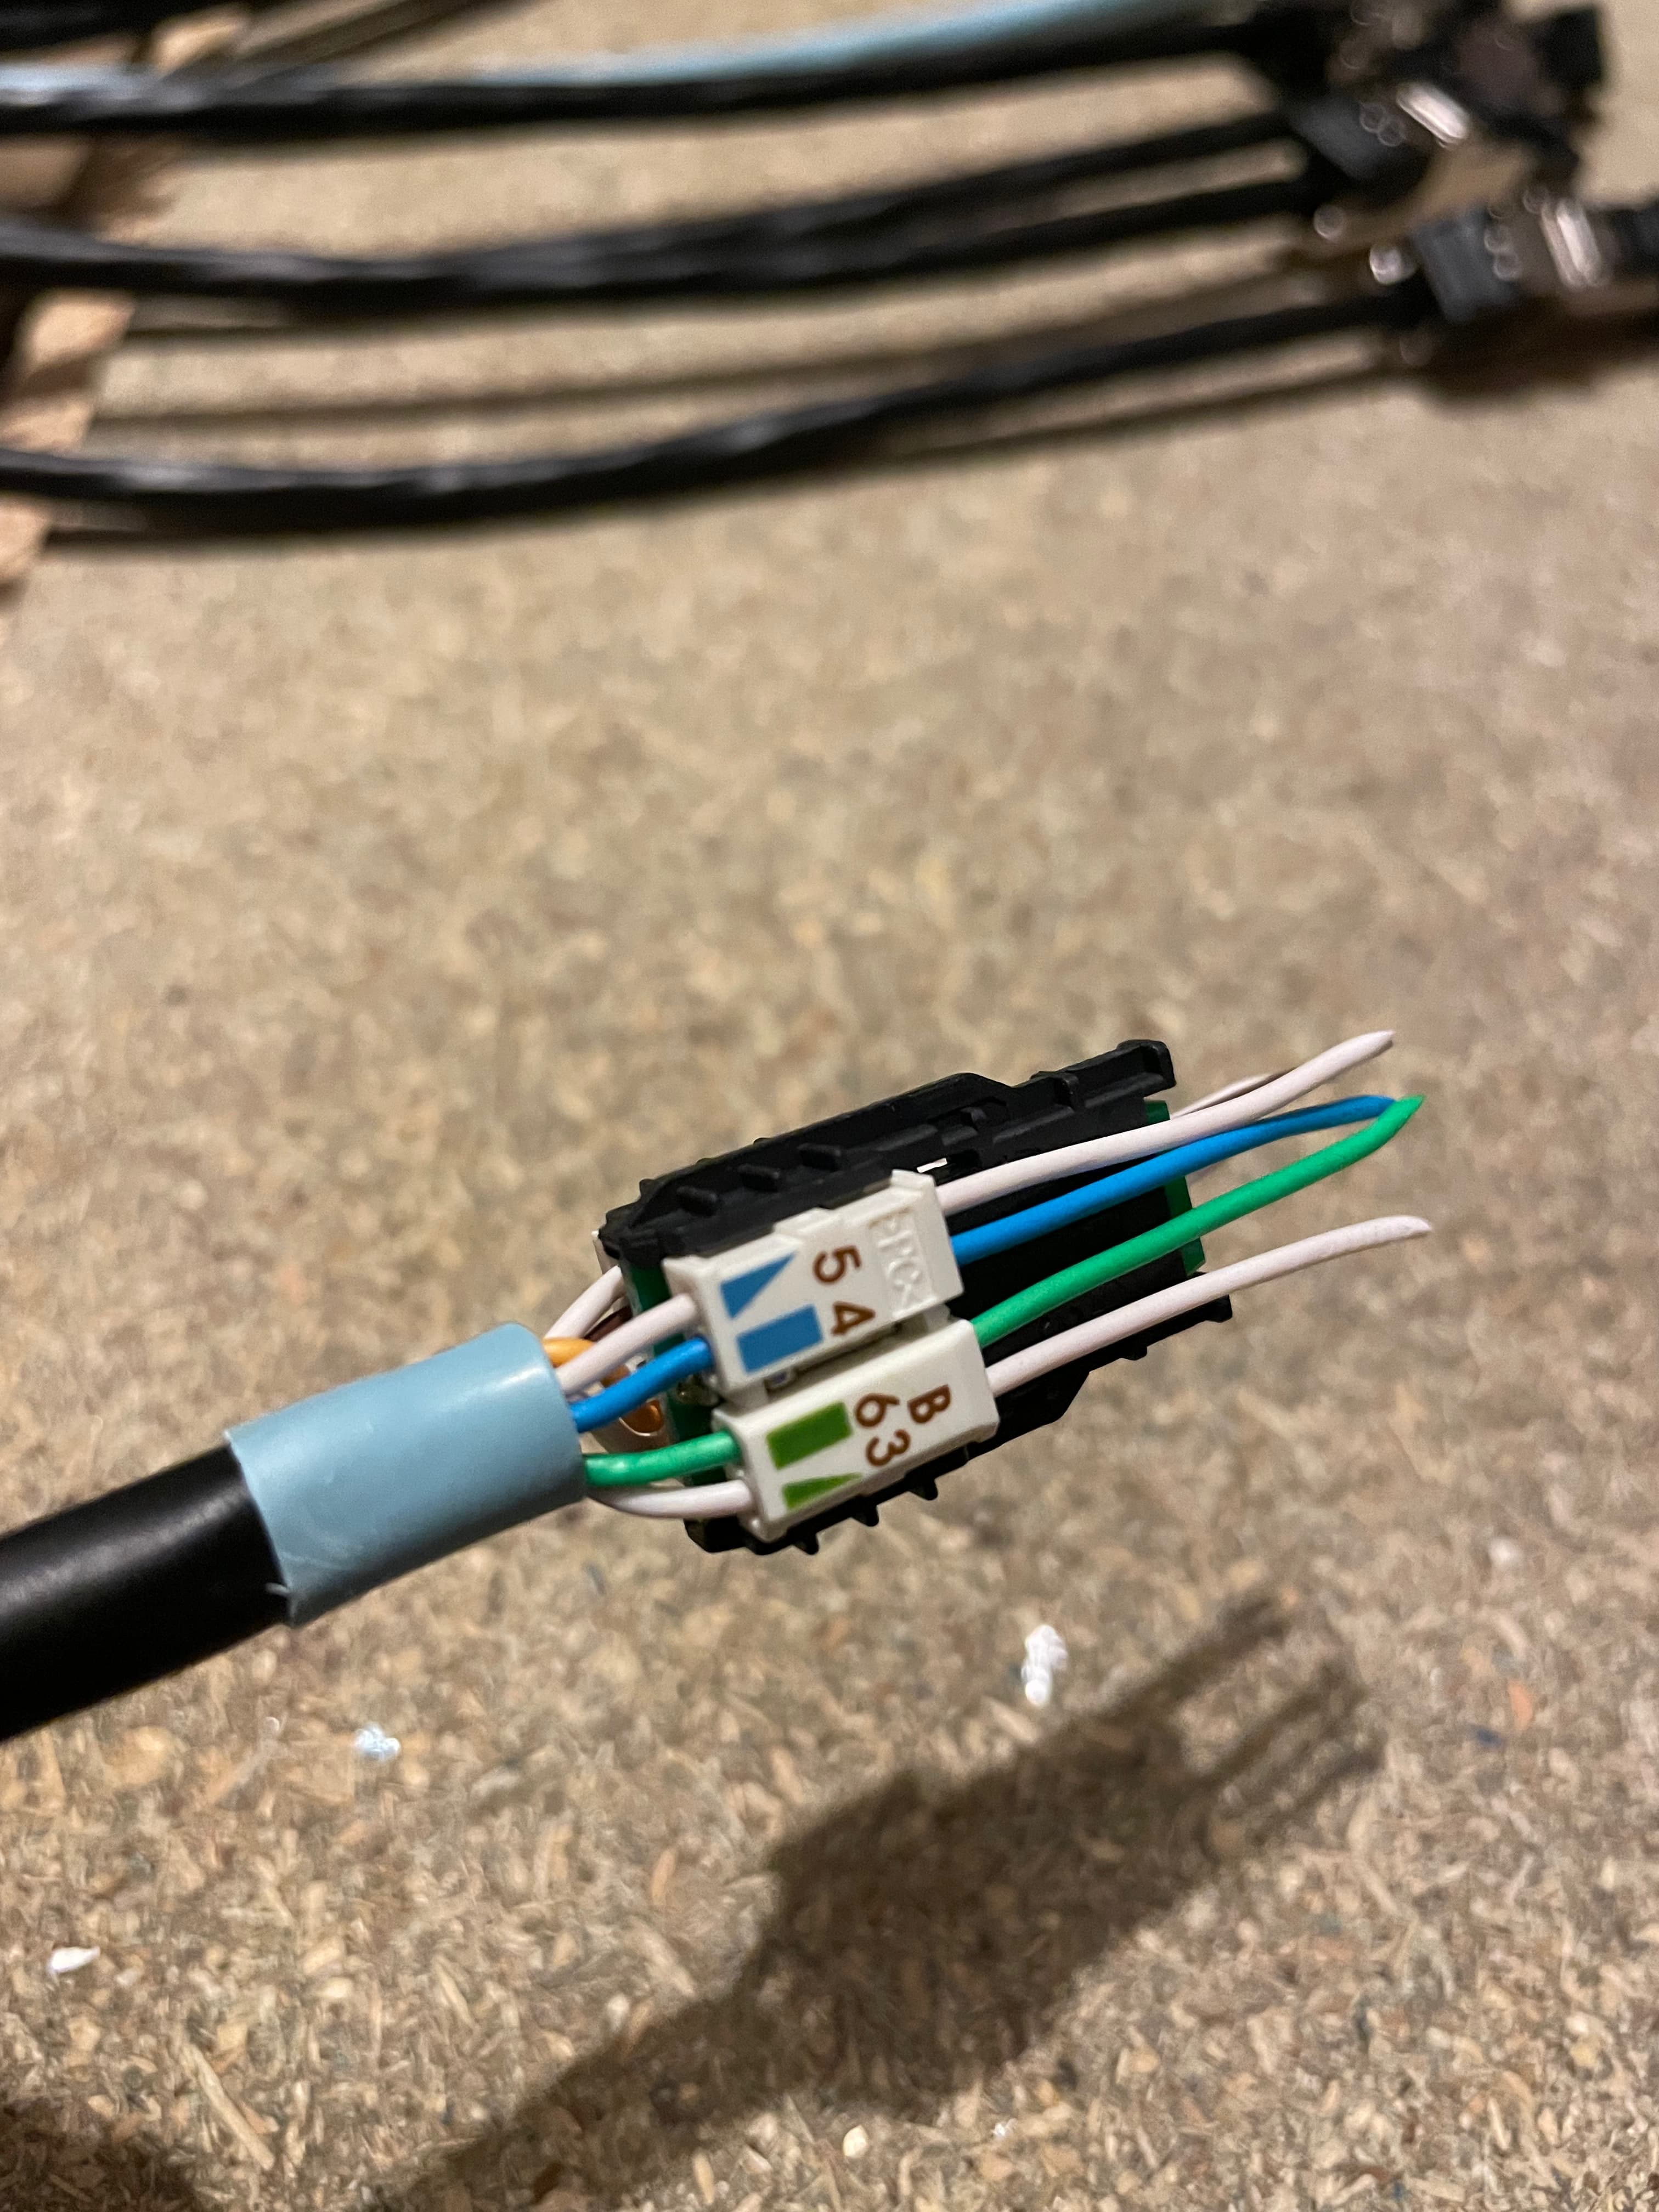
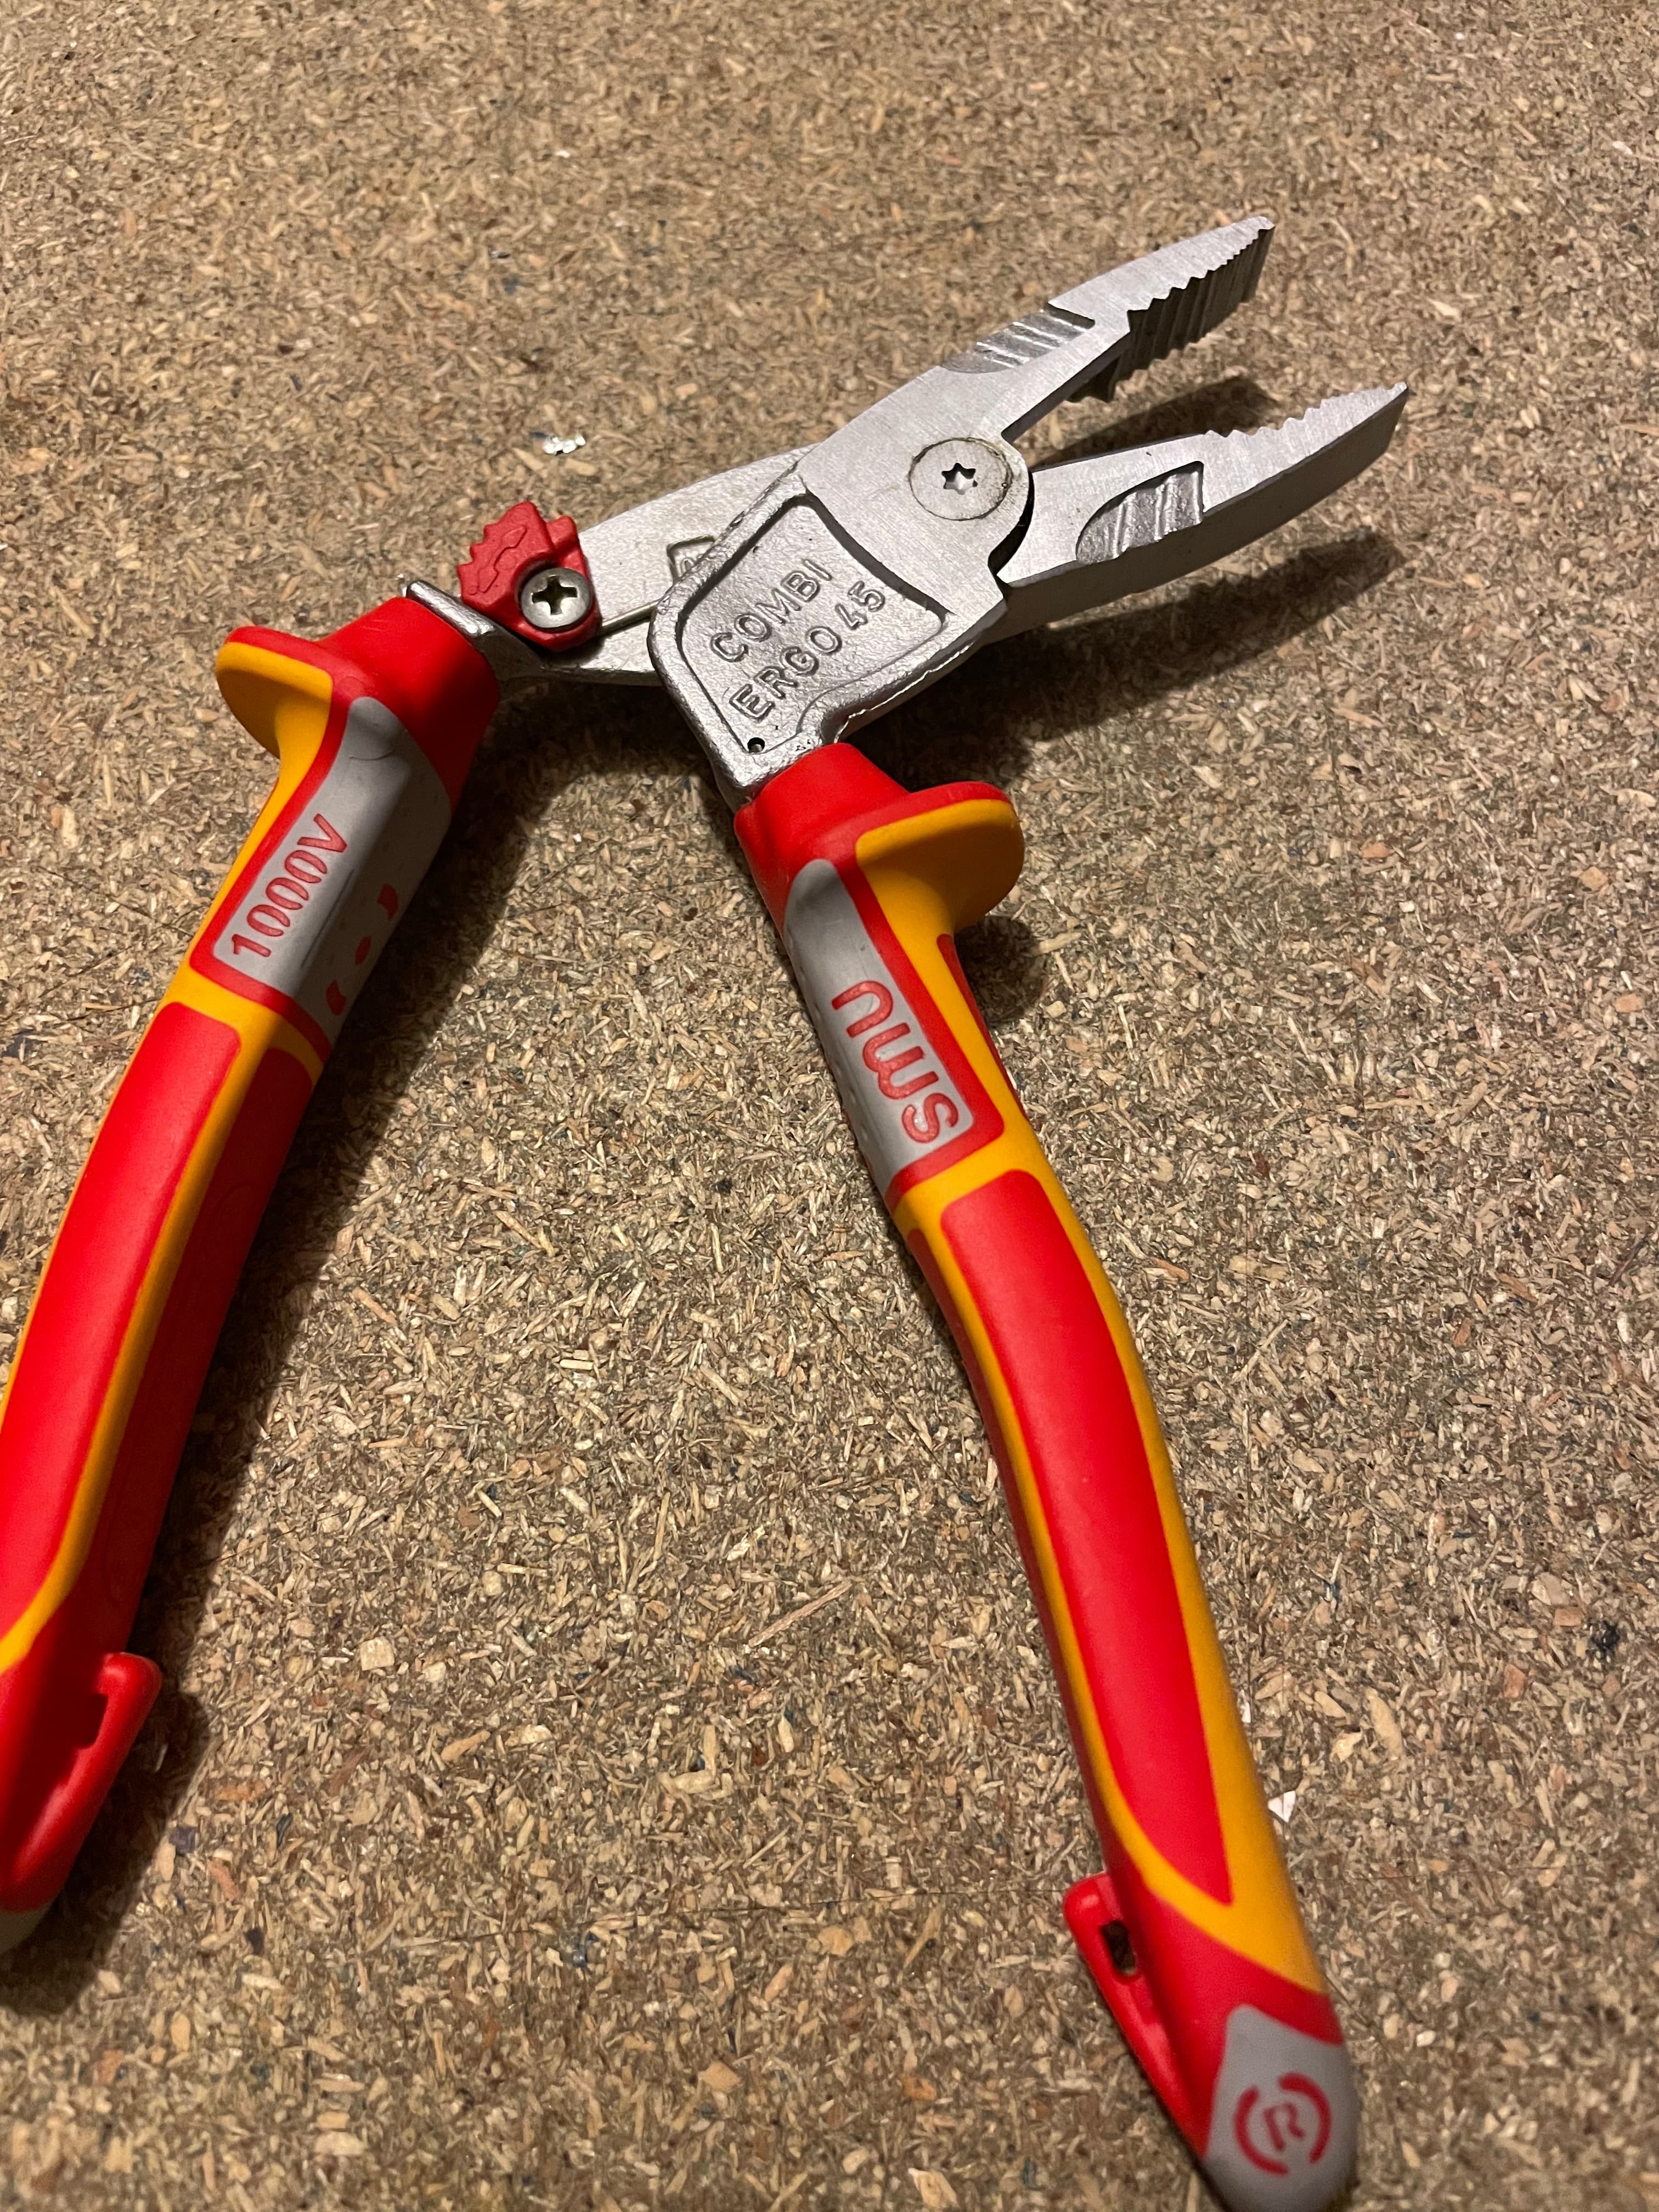
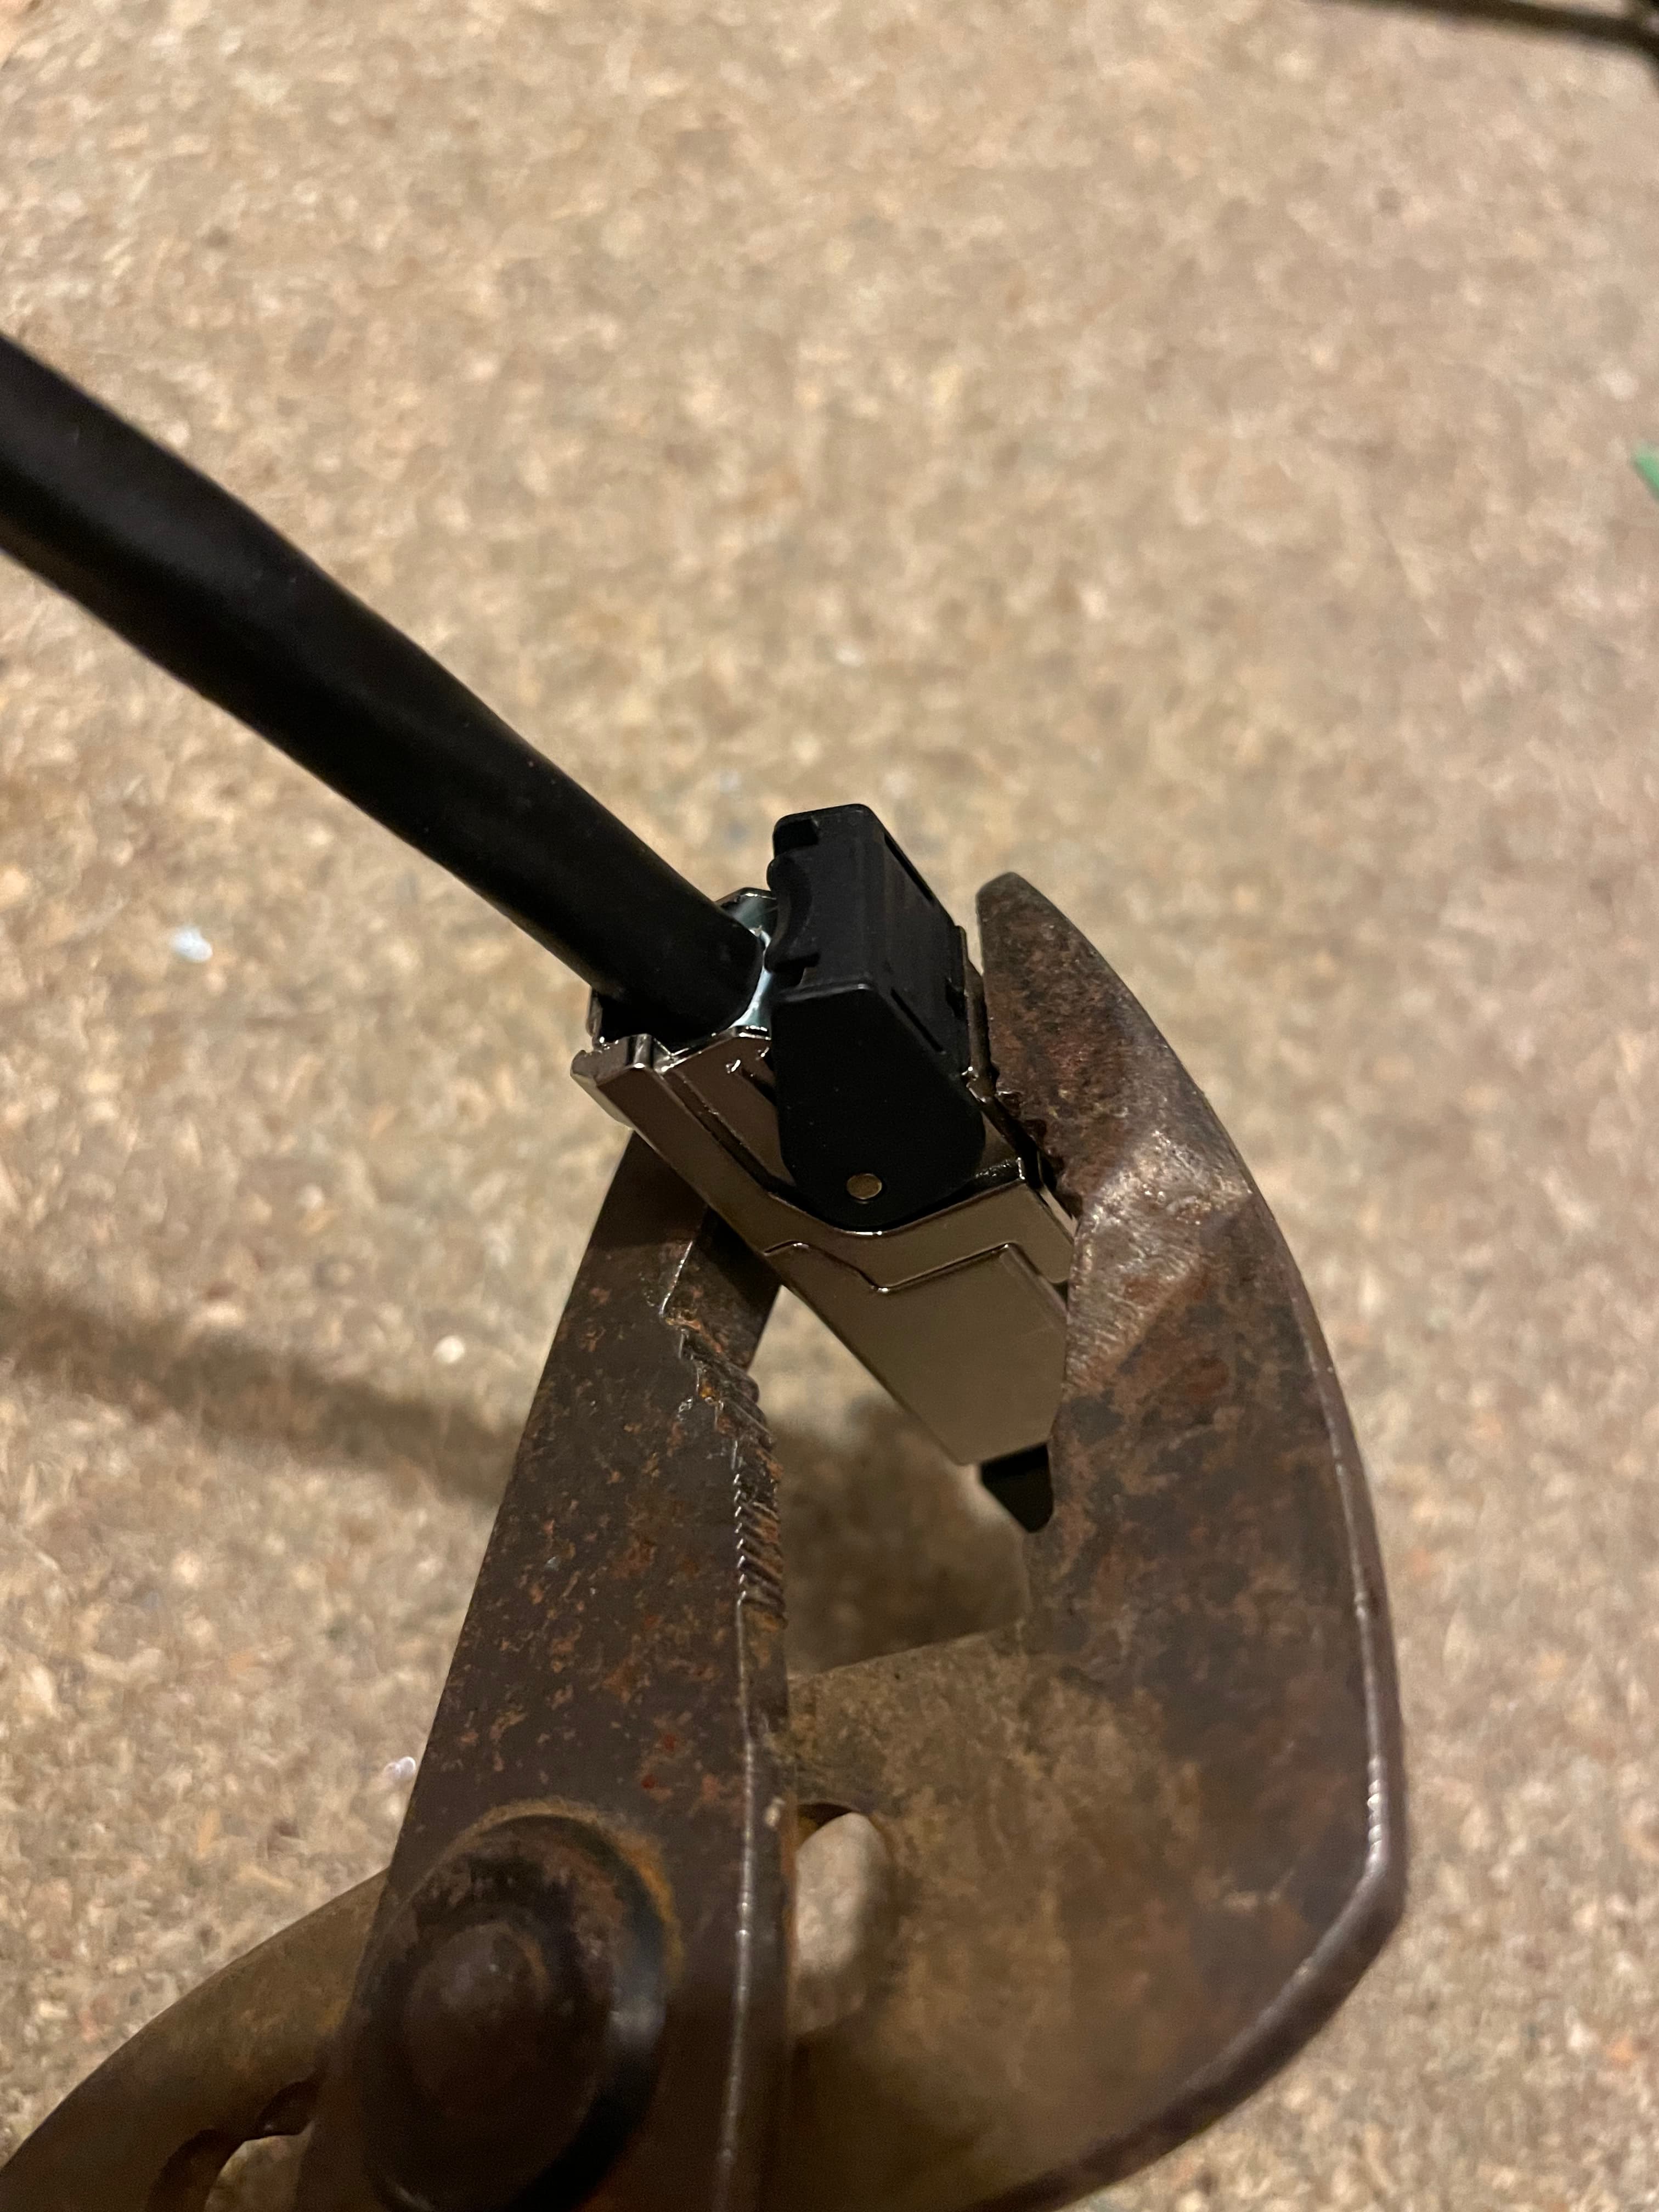
The contacts now need to be set to the wires. Any pliers are OK but water pump grips are good as they can clamp parallel. Not much force is needed, just ensure an even and straight clamp.
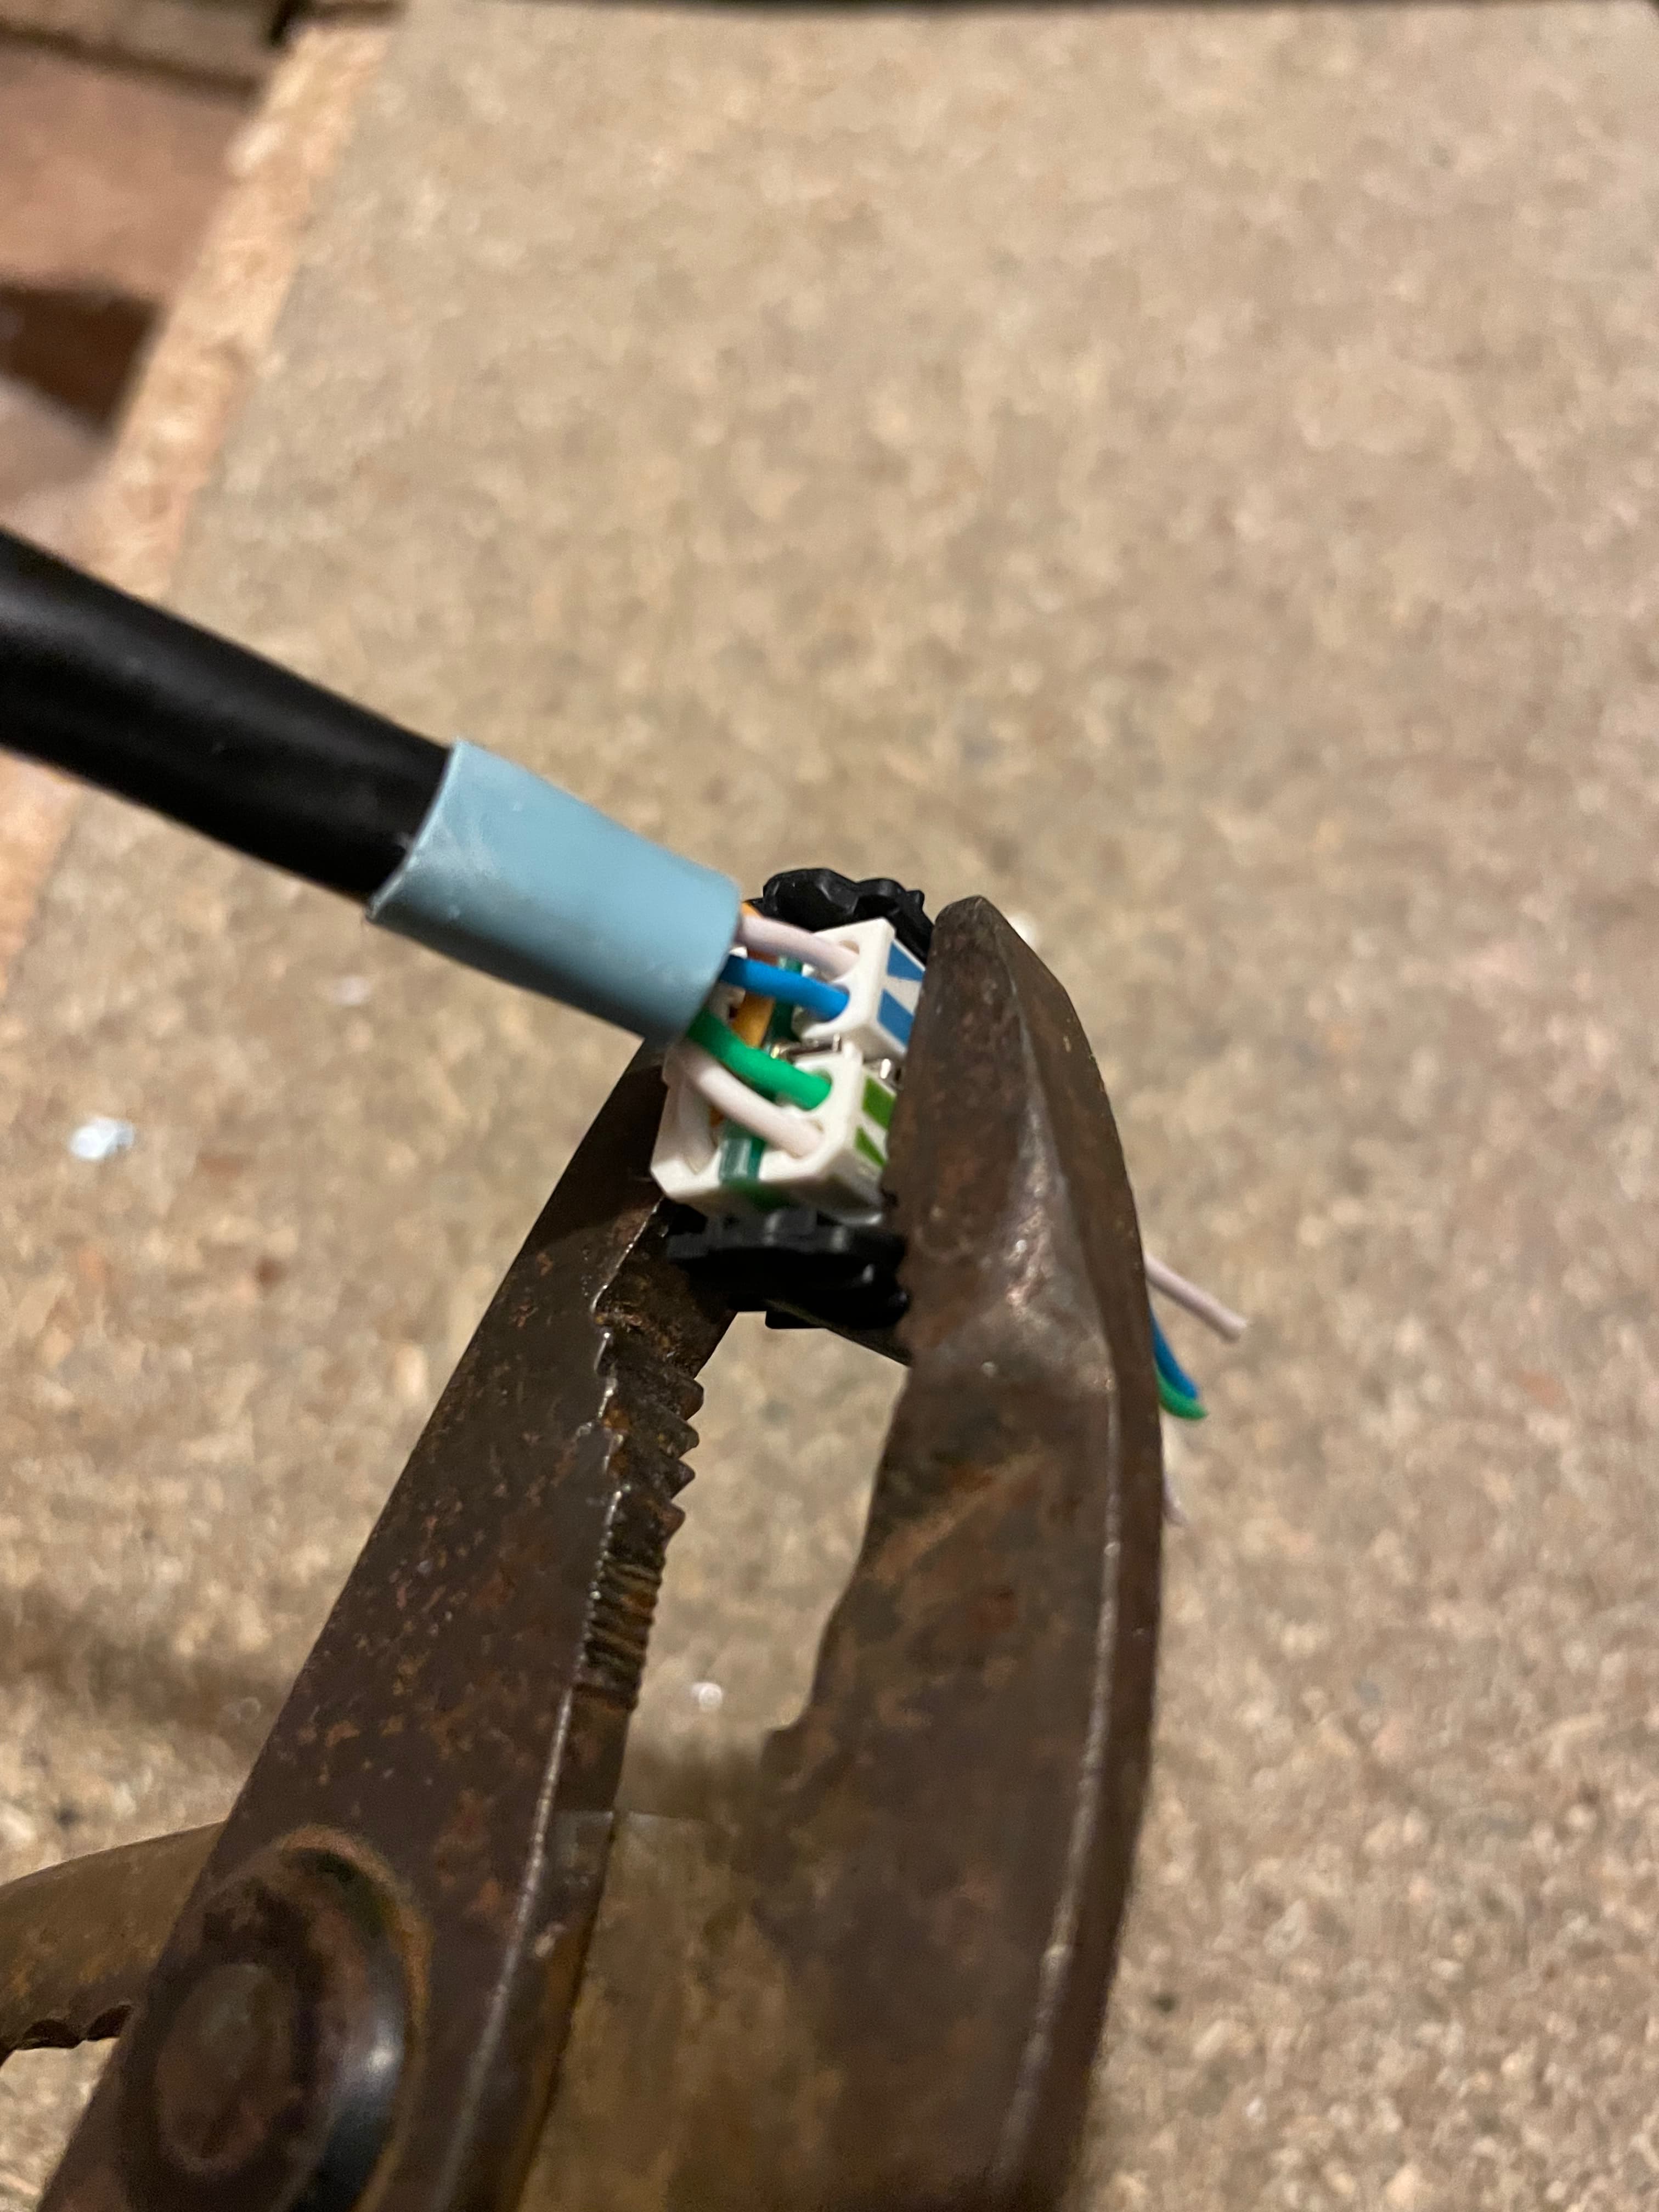
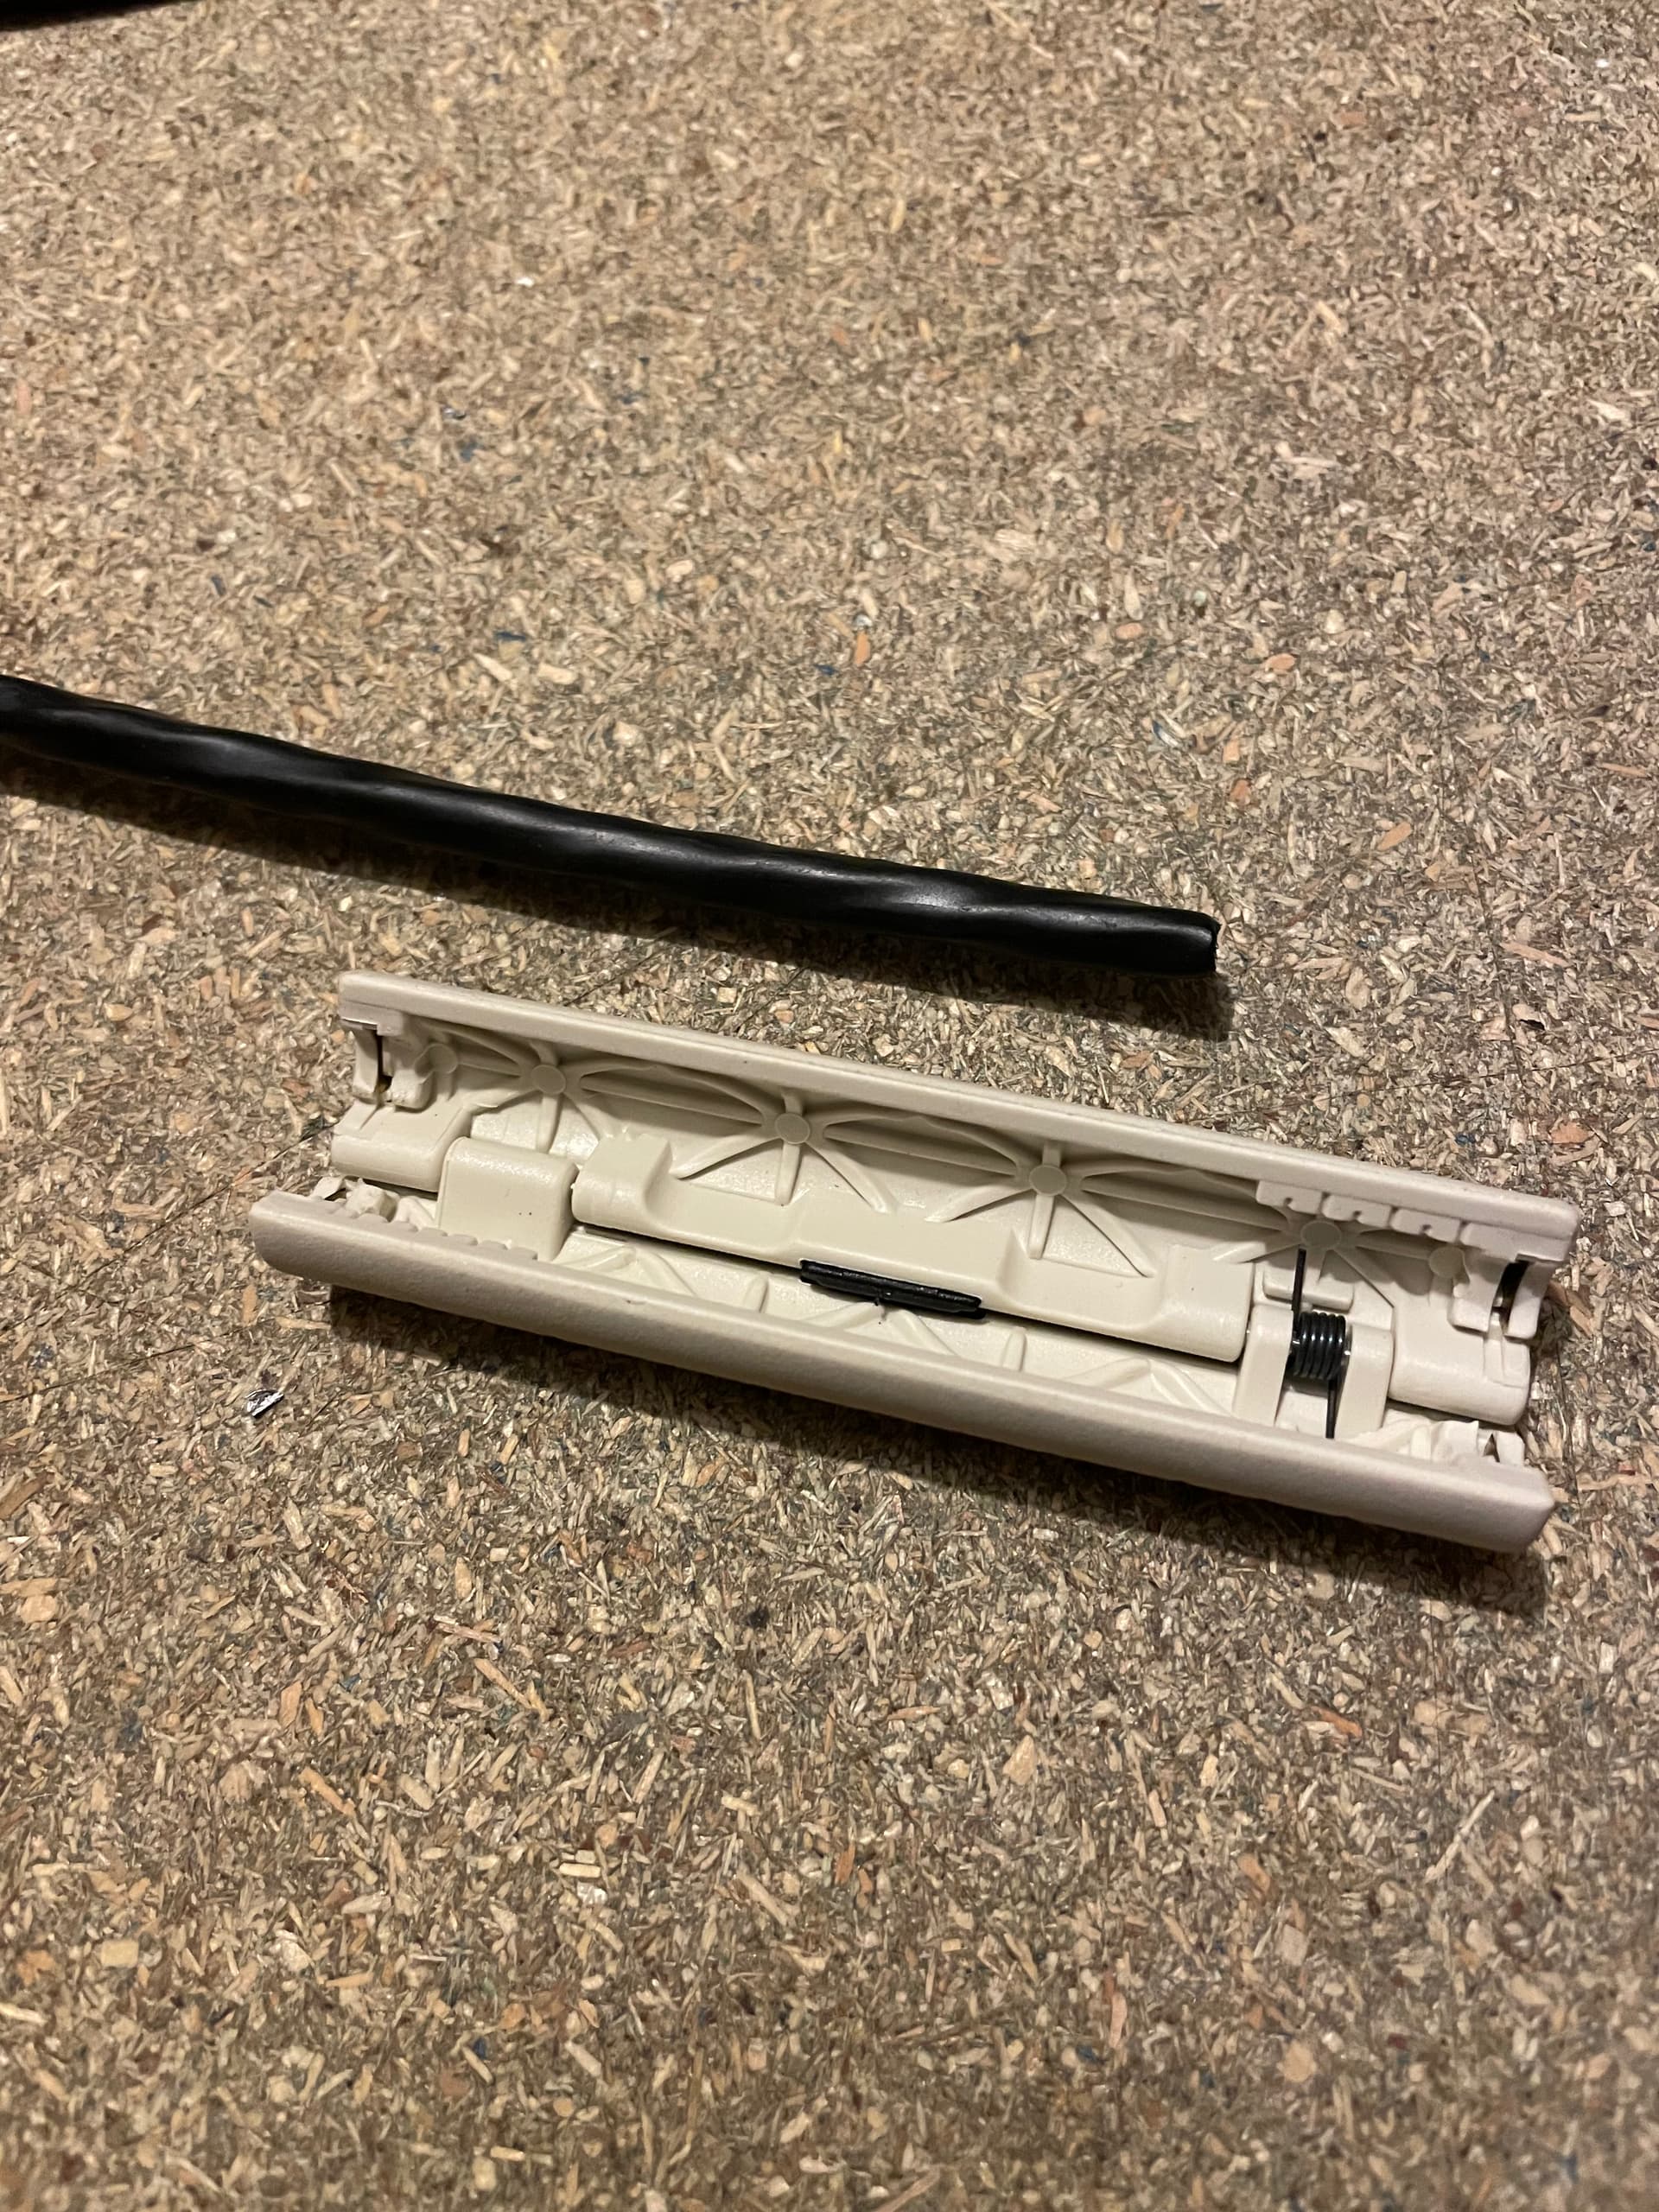
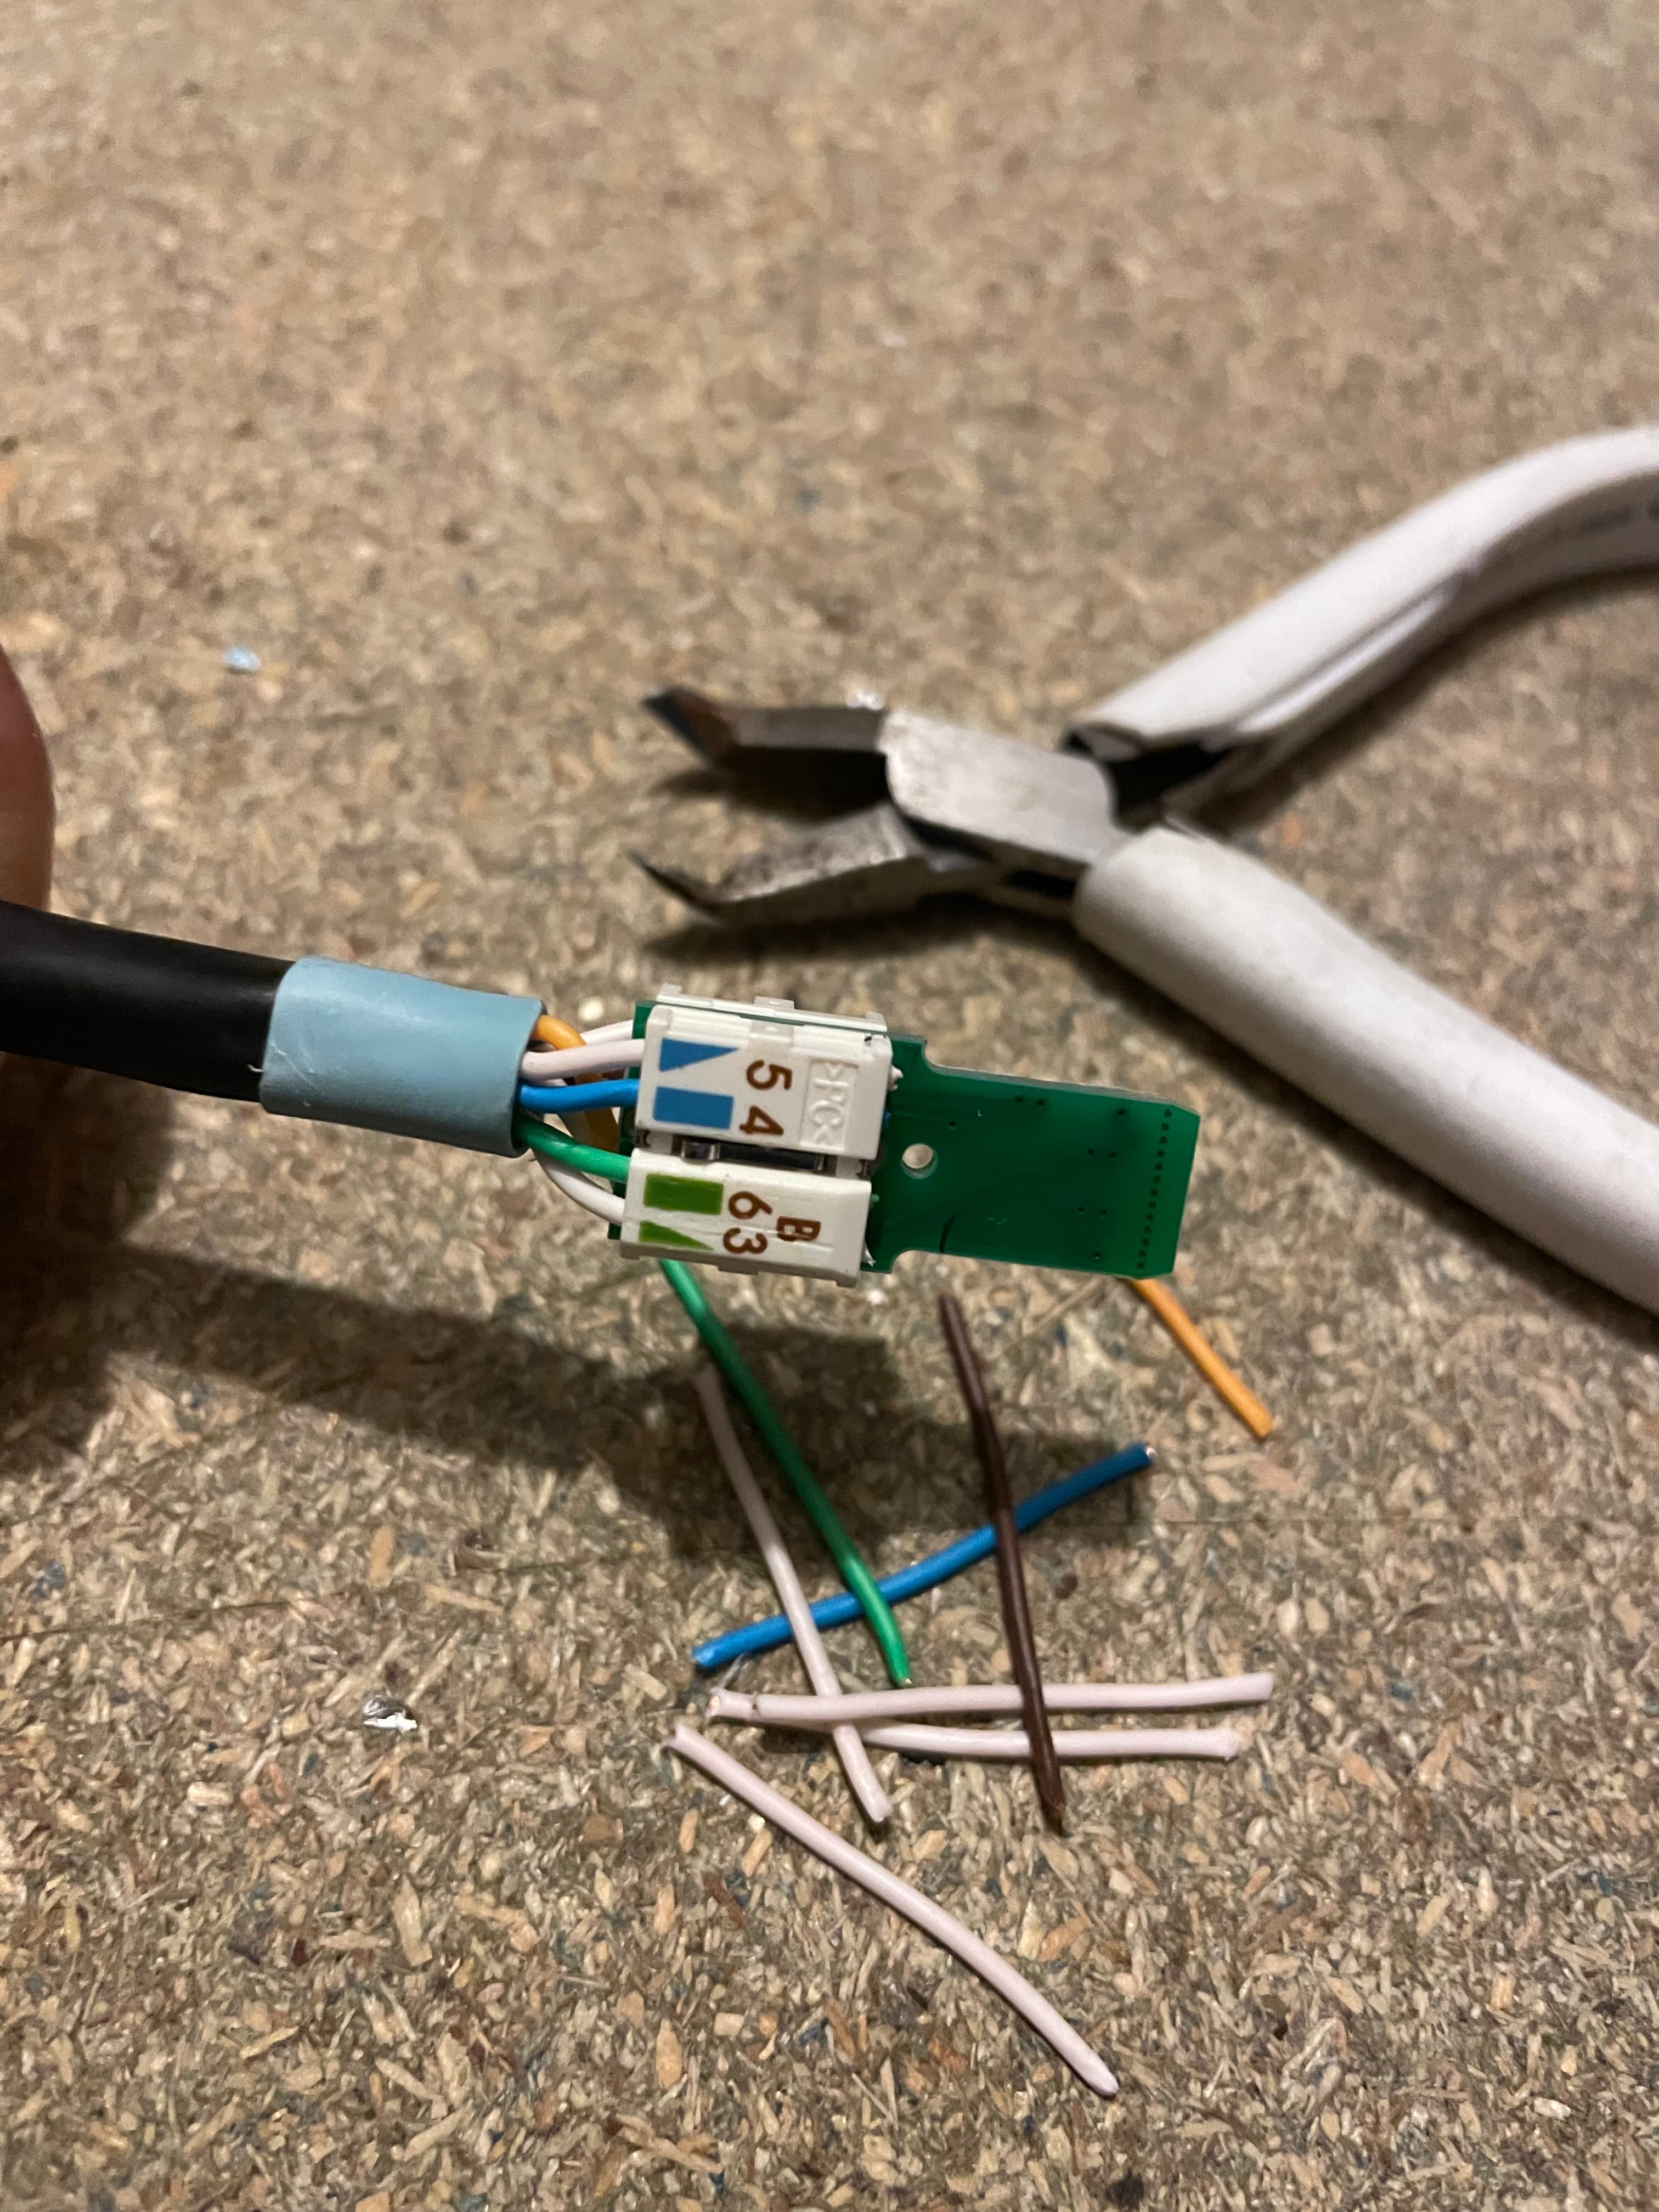
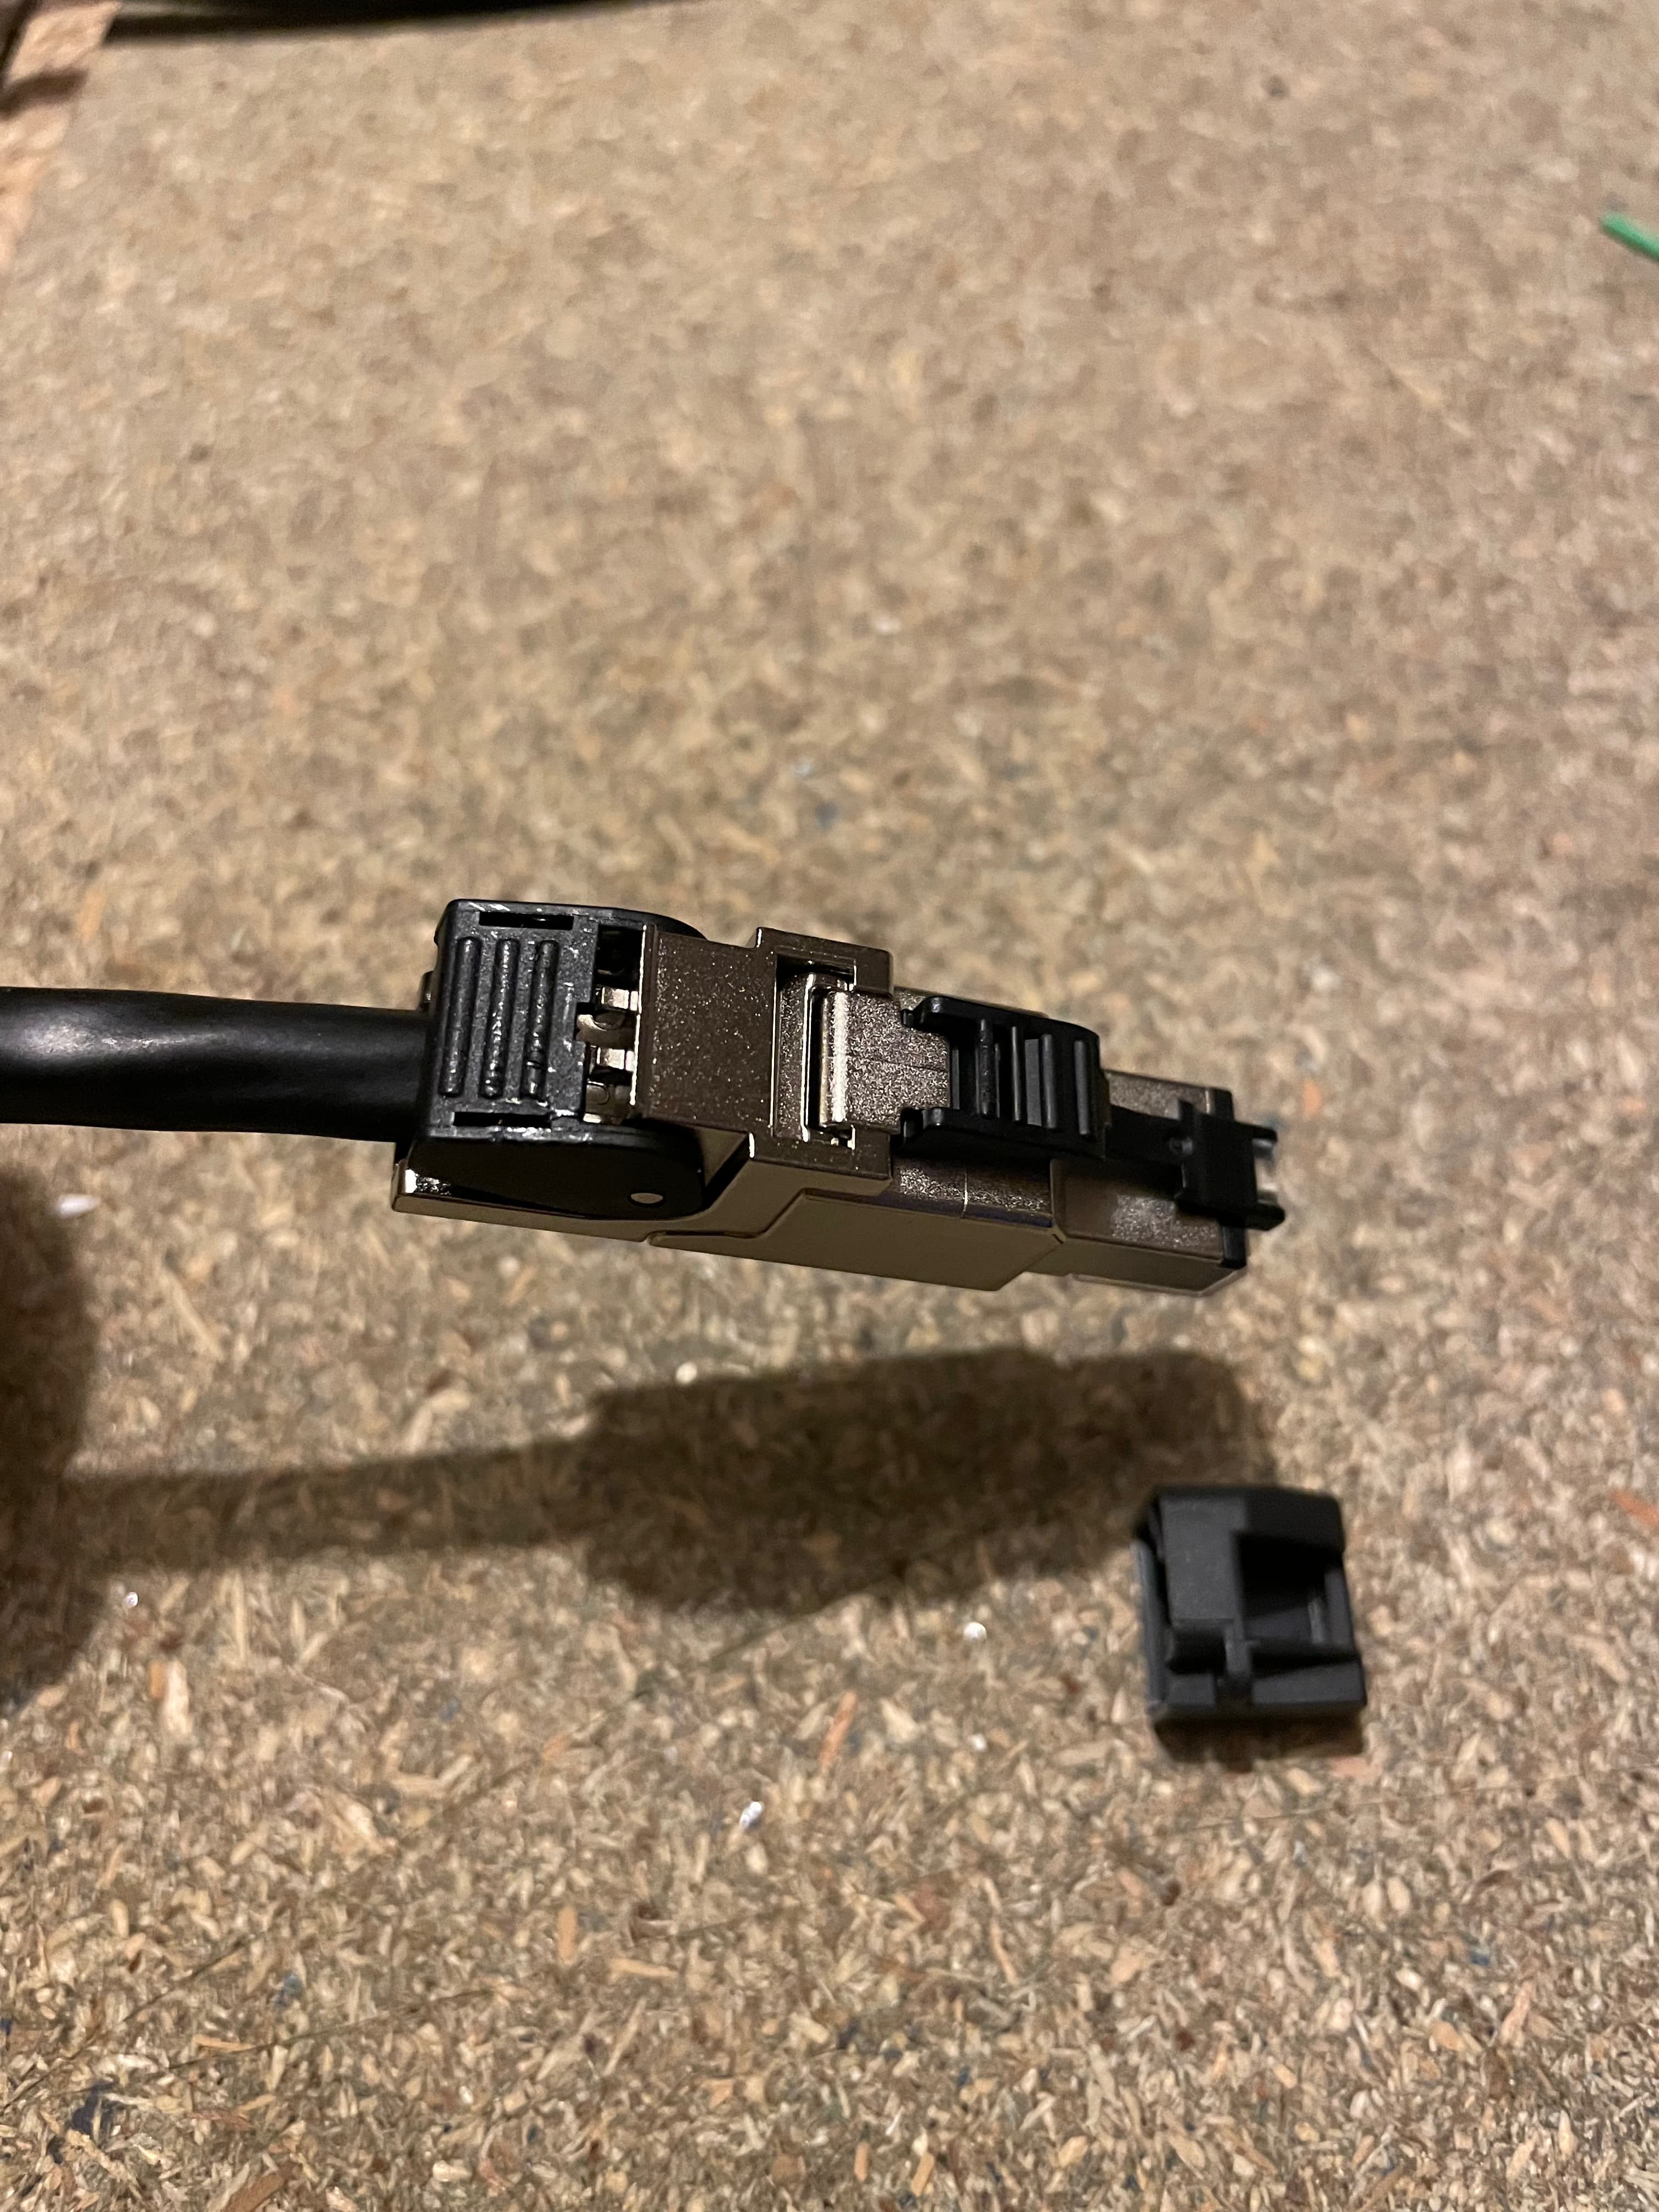
Remove the black plastic guide and snip off the excess cable. Note this is important to do neatly and a good set of mini snips is highly recommended.
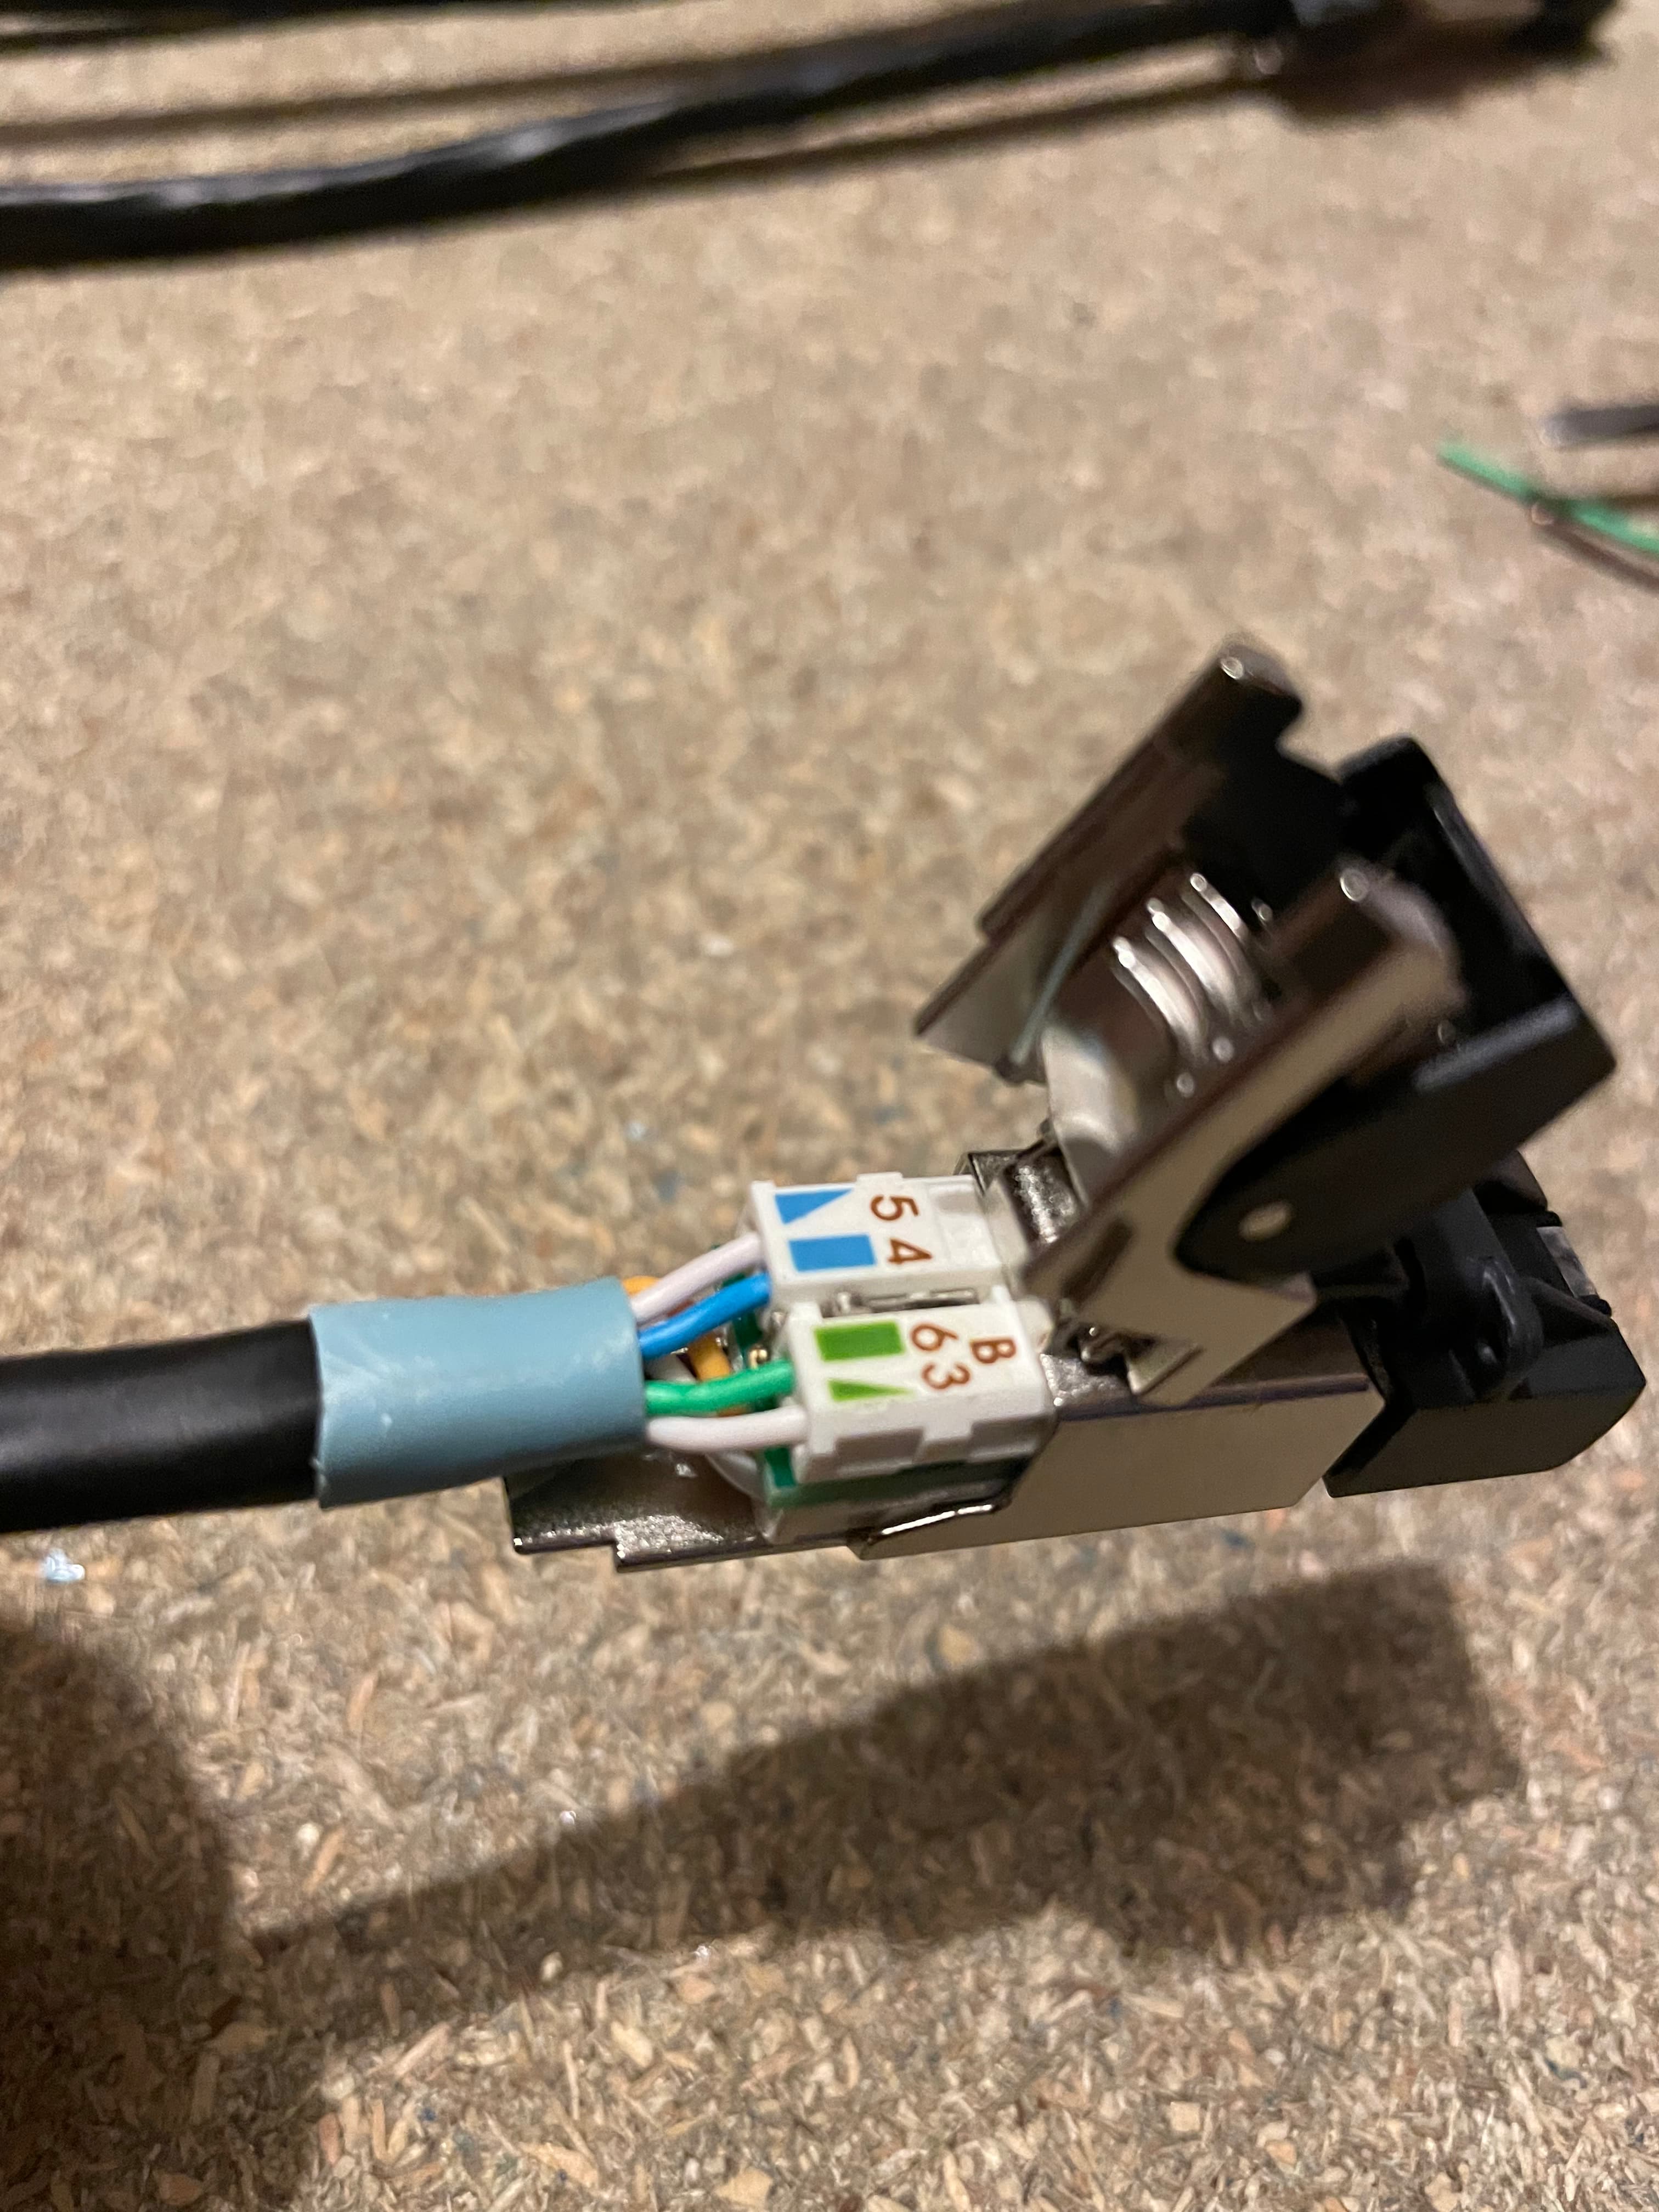
You need to insert the connector fully into the plug in the correct orientation, then lightly squeeze the metal plug to snap close.
Finally carefully squeeze the cable clamp shut noting its easy to do this too tight, all done! Shown with the end dust cap removed.

I made up this bundle, each end takes maybe 5 mins once you get going and are used to it.

I don’t normally apply Deoxit or other cleaners but I guess you could if you wish. A small drop to contacts would be all that is needed.
Hope this is of interest!