So I’ve got my new Naim gasket kit and working through the instruction sheet.
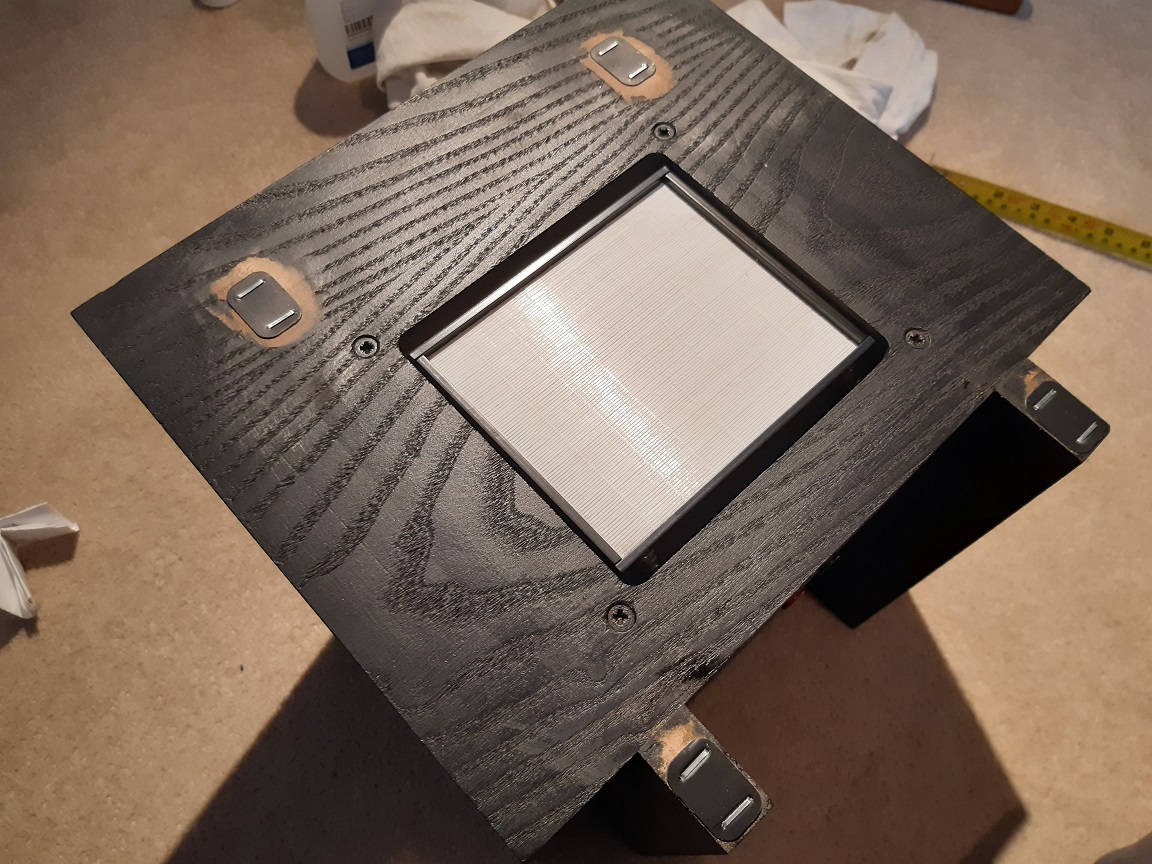
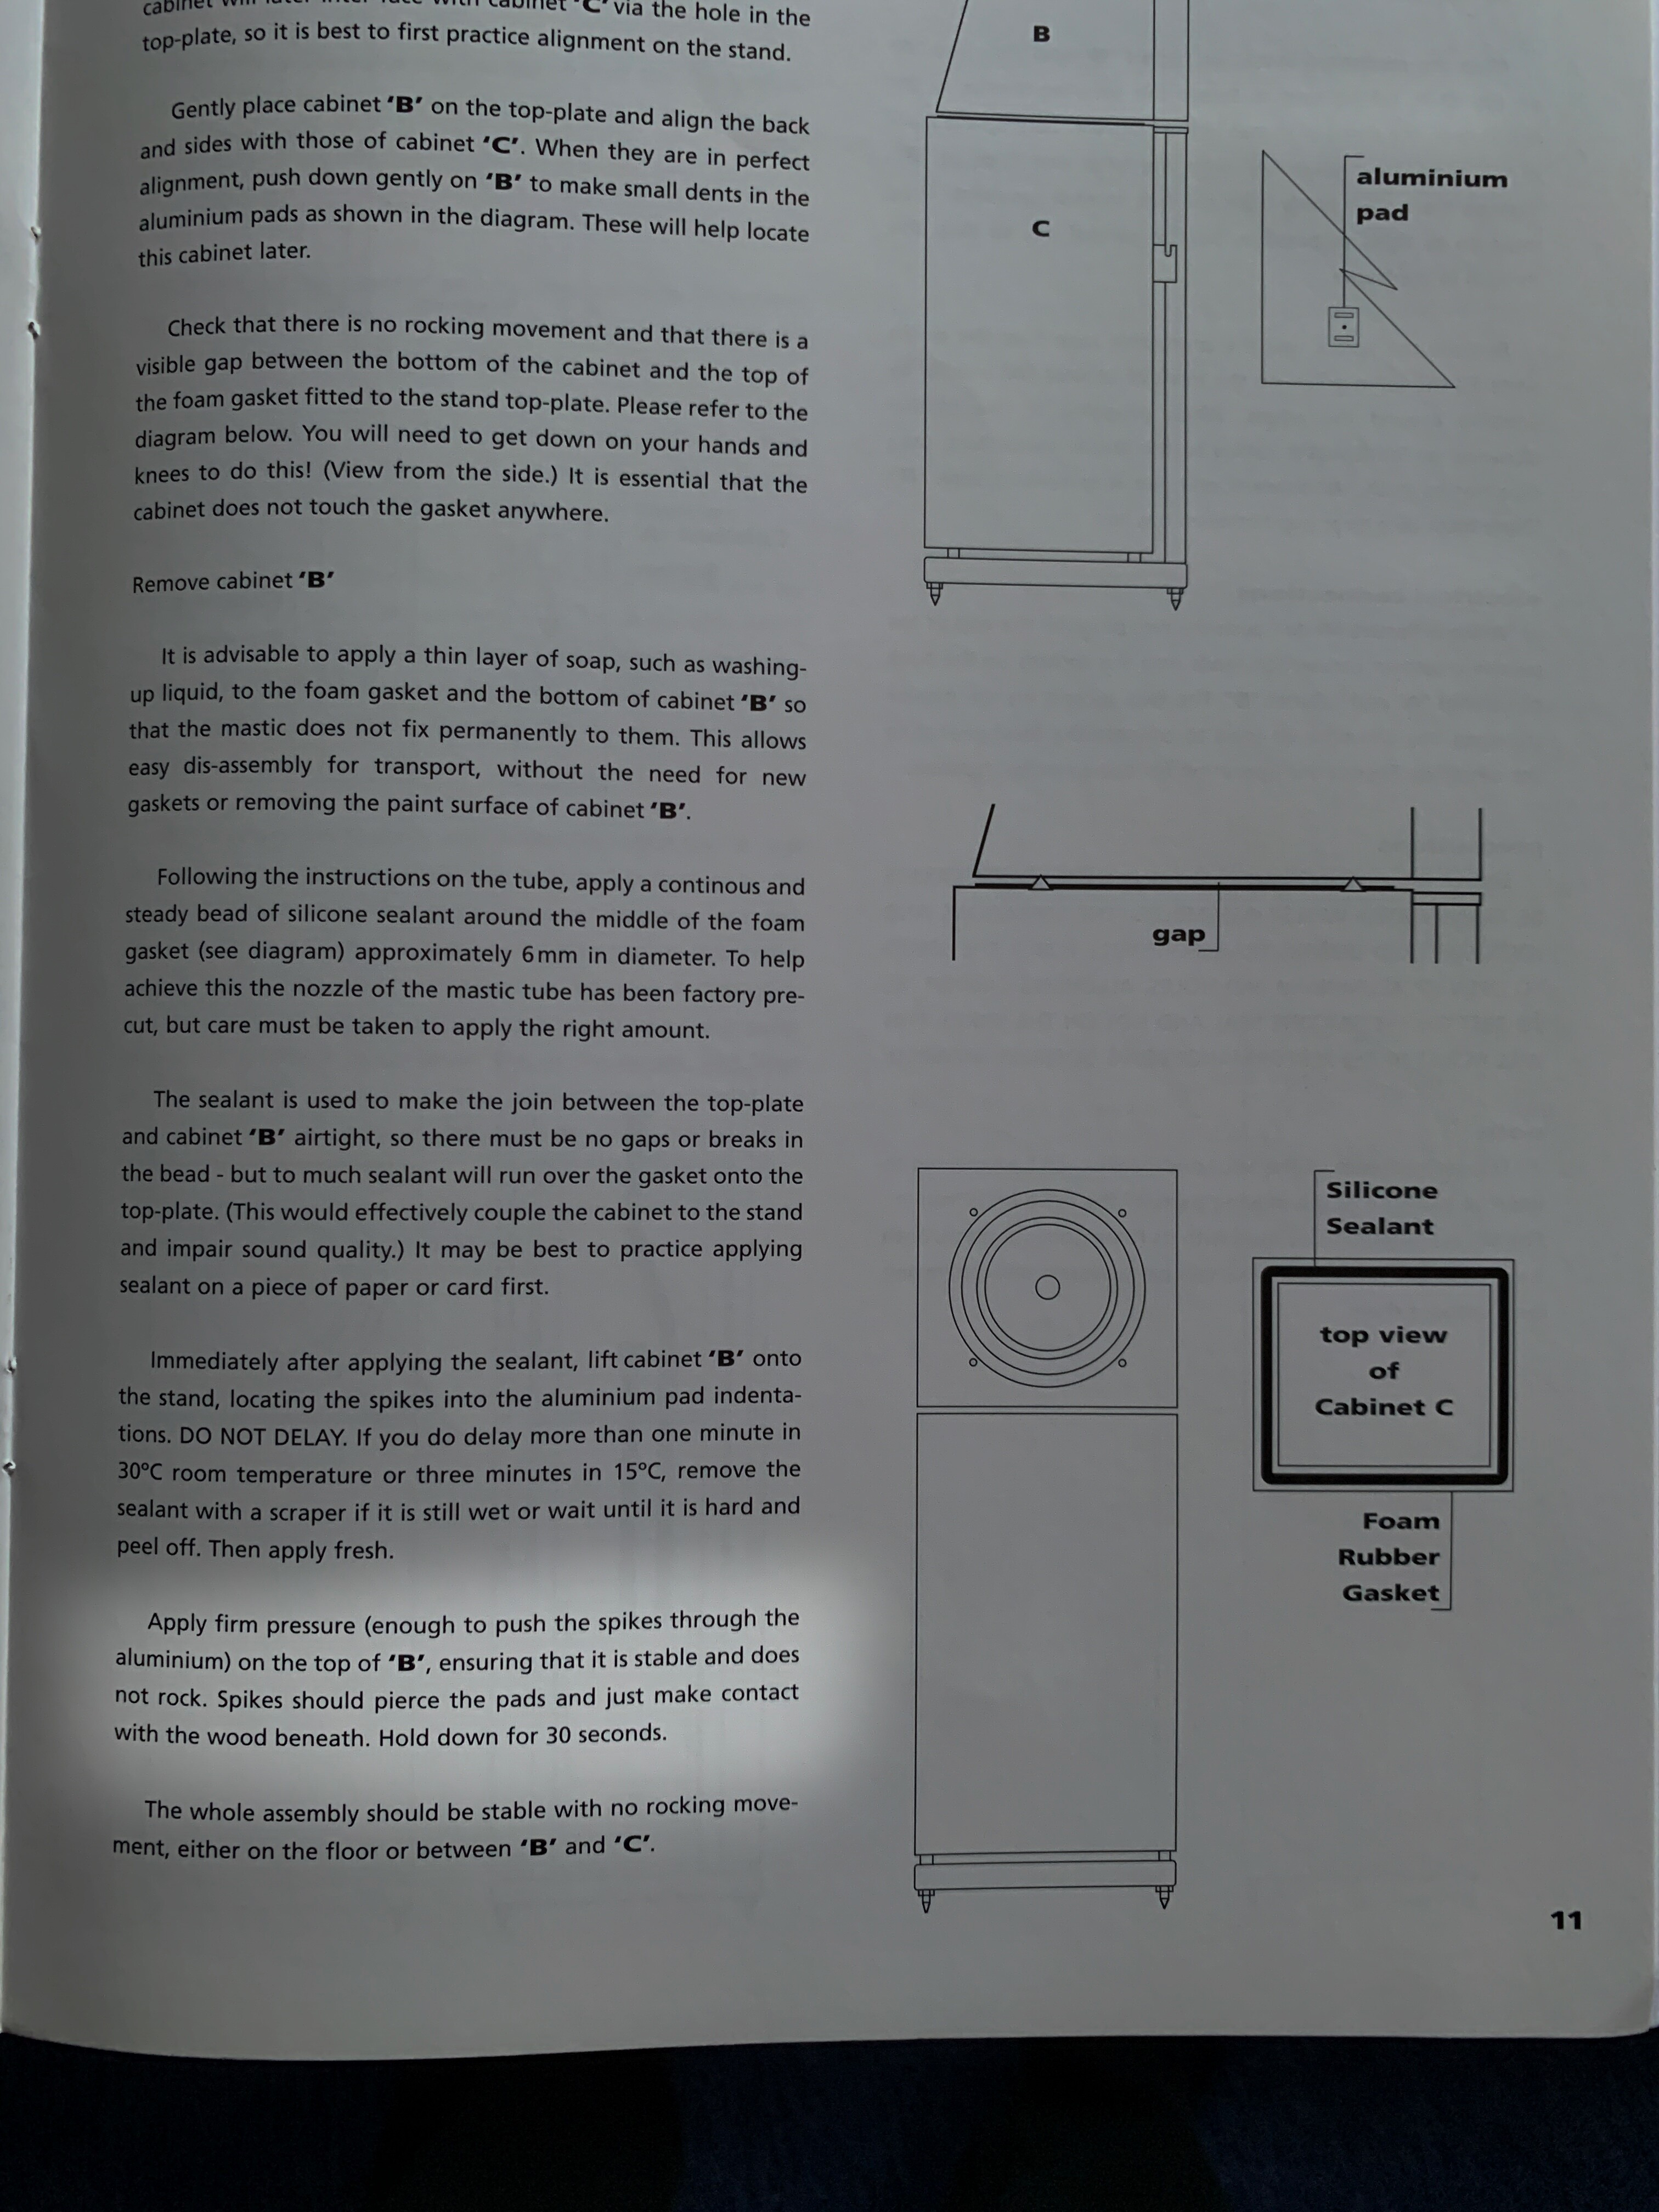
I’ve completed the step that says, ‘When they are in perfect alignment, push down gently on ‘B’ to make small dents in the aluminium pads as shown in diagram’.
That’s all good.
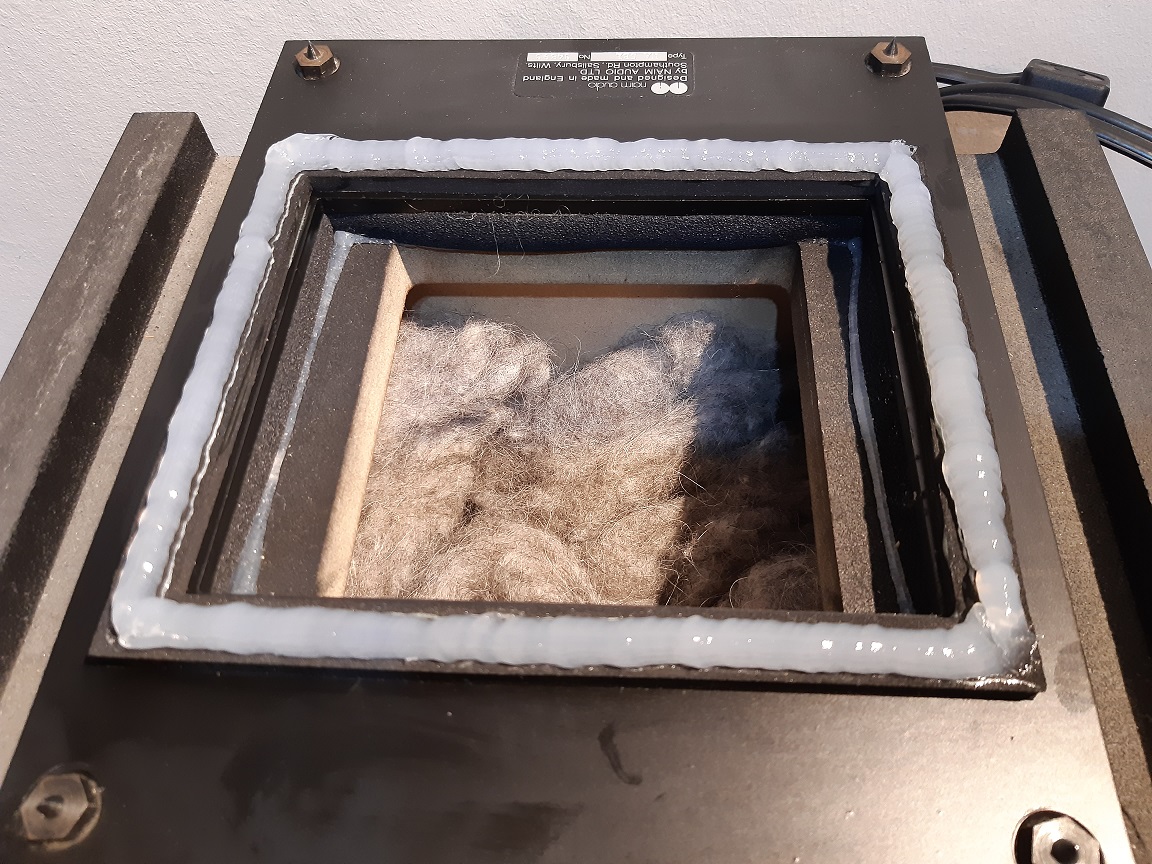
But later (after silicon is applied), it states, ‘Apply firm pressure (enough to push the spikes through the aluminium) on the top of ‘B’, ensuring that is is stable and does not rock’.
That’s gonna be a tricky one, trying to judge I’ve applied enough pressure but not too much, especially as I won’t be able to remove ‘B’ at that point!! Besides, I thought the spikes should only ever make an indent anyway, not peice the pad.
Any thoughts or experences members can share on this step? Thanks.
Yes, it’s not clear is it. You are right though, the pads should not be pierced.
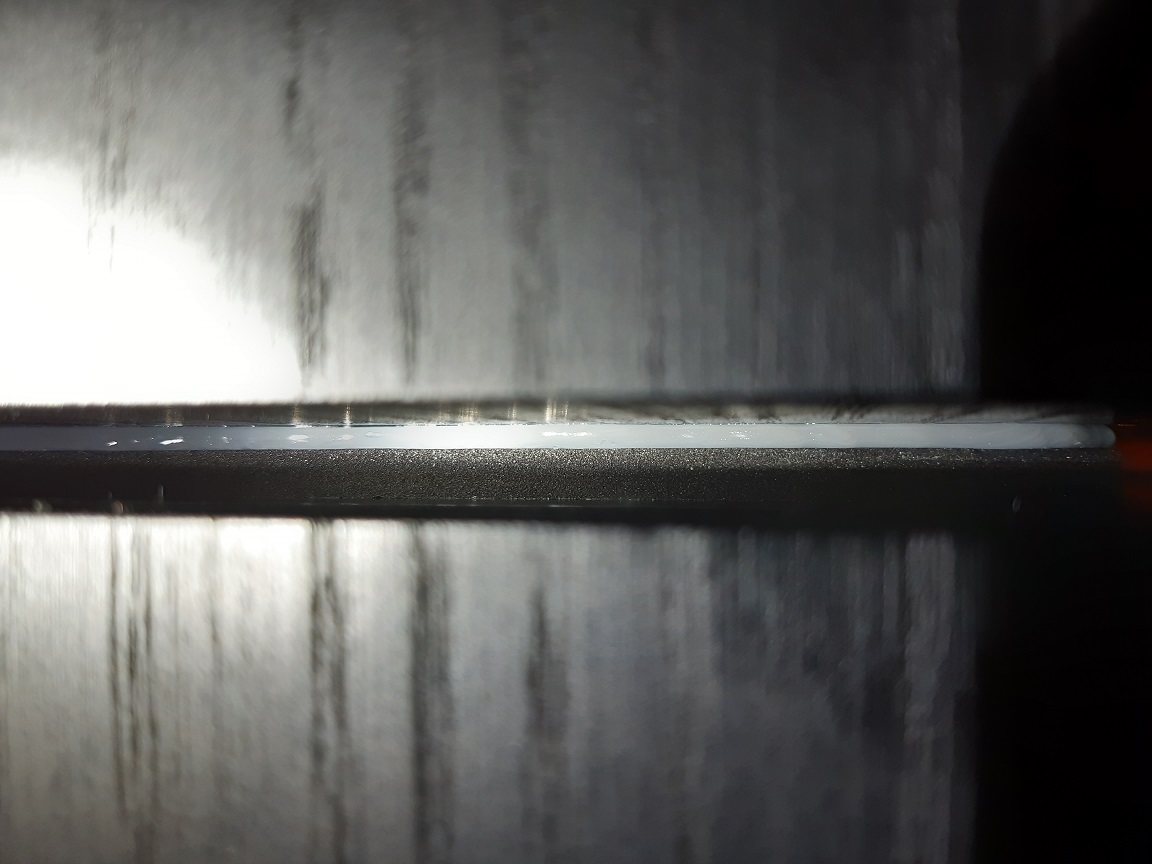
I applied the bead of silicone sealant, placed B and just pushed down slightly to displace the bead of sealant to make the seal. I did not push down hard because that would have pierced the pads.
Don’t forget the washing up liquid.
Be careful with placing the tweeter box. It’s fairly weighty and you don’t want it dropping accidently onto B and perhaps piercing the pads.
It went well and they sound much better than before. I’d previously thought the Nait was too weedy for them but there’s much more bass now so it would be fine. I will stick to a 32.5/160 or 12/BD160 though. They are super fast and it becomes a bit frenetic wth the Nait. I wonder if they were originally voiced for with a more lazy 250 but the 32.5/160 is still a good match.
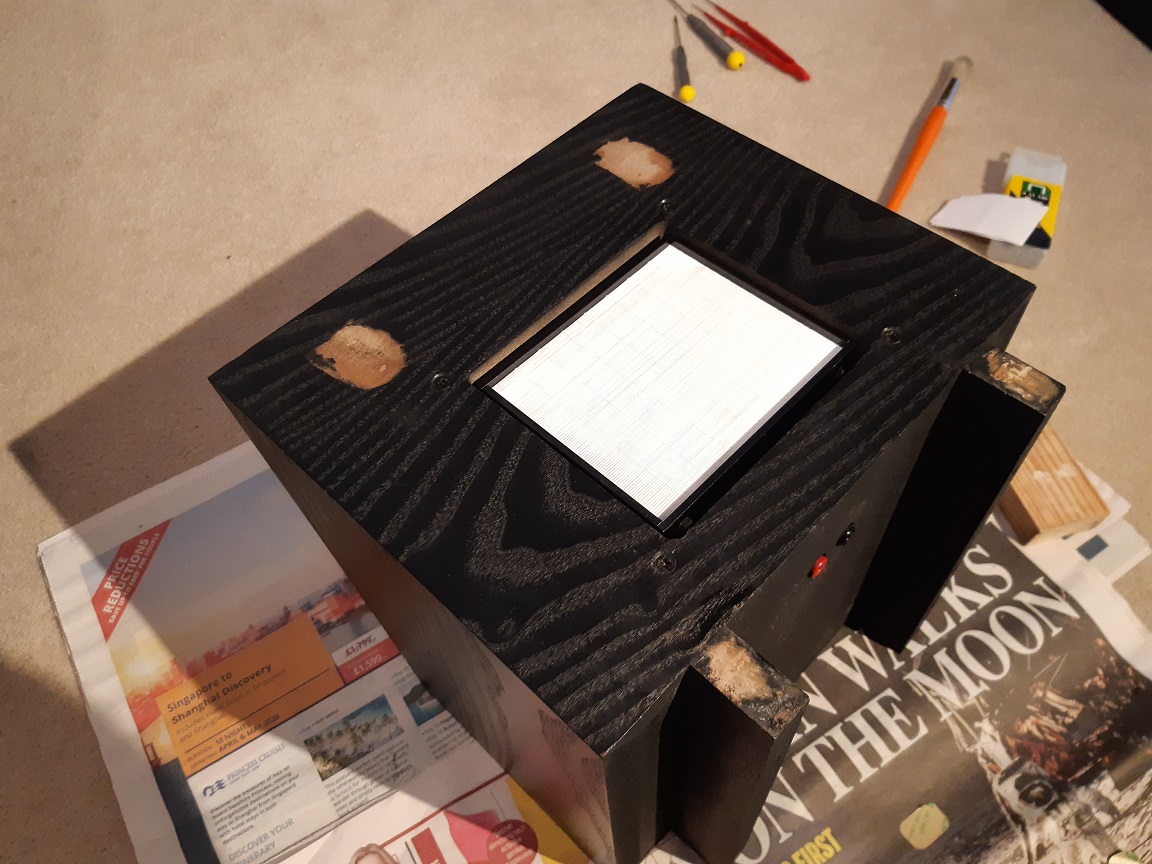
I filled the original holes with ronseal as instructed and rubbed down:
The only tricky part was when I found that one of the mid/bass units didn’t sit level on the spikes and rocked - it wasn’t the unit cos it was fine on the other base so must have been the spikes - probably only half a mm but it needed sorting. I had to sand down beneath one aluminium pad to get it to sit flat without rocking. This also explains why one of the splikes had completely pierced through one of the pads when I bought them.
Pretty amazing performance for 500 quid plus the cost of a kit. My dealer was saying he spoke to another dealer that has 4-5 pairs they can’t shift which I think is a great shame. Hopefully they’ll get re-homed eventually.
With regard to piercing the pads (for future reference) -
I believe there are two versions of the manual for Naim loudspeakers. Mine came with my Credo’s which I bought new in 1999. I have never seen the other version, if indeed it exists. Anyone got a copy?
The assembly instructions in the orginal ‘Separate Box Loudspeaker’ owners manual states:
…Apply slight pressure on top of cabinet B and also that cabinet B is stable and does not rock on the stand. This will make small dimples in the aluminium pads on the underside of cabinet B and will make it easier to position cabinet B when you have applied the silicone sealant.
In other words, it’s a process to do before applying the silicone, and in order put dimples in the aluminium pads that will easily guide the B cabinet (with the mid-bass driver) into a straight and lined up position after the silicone bead has been applied.
I think the alternative pad piercing advice is too heavy handed
Hi @Debs, i had heard that there was another manual, and that it contradicts the manual I have. Now I KNOW it to be true. I guess at some point, someone decided that piercing the pads so the point just touches the wood was a better idea.
Mine sat there loosely until my dealer came and sorted them out for me recently. Pads were pierced if the use of body weight is anything to go by. They sound so good I kept them, when my intention was to scratch the SBL itch and move on. I’m happy leaving them as they are.
In the face of two, contradicting, sets of advice, people will have to make their own minds up.
I wondered if I’d have to redo the silicone if I pushed down further. The silicone will have dried now so pushing down will cause it to start resisting the weight of the B unit due to reduced clearance.
At present, the spikes have only made small indents, but if I were now to apply more pressure on B so that the spikes pierce through the pads (how do you even know?), then the danger is that the silicone will start to take some of the weight of unit B.
I have pdfs of both versions of the manual. they contradict each other (I’ve posted the variants on an old thread). perhaps the (Naim) thinking changed?
My mk.2 are working just fine…I have no intention of taking them apart!